Investor App – Qualification Module: Investor Journey
In this demo, we will walk you through the Investor qualification process, showcasing each step that investors go through to complete their qualification.
Investor App – Qualification Module: A Step-by-Step Guide to the Investor Journey
1. The Issuer can customize the highlighted sections in yellow with their own branding, including a background image, logo, and primary color.
Account creation & qualification process
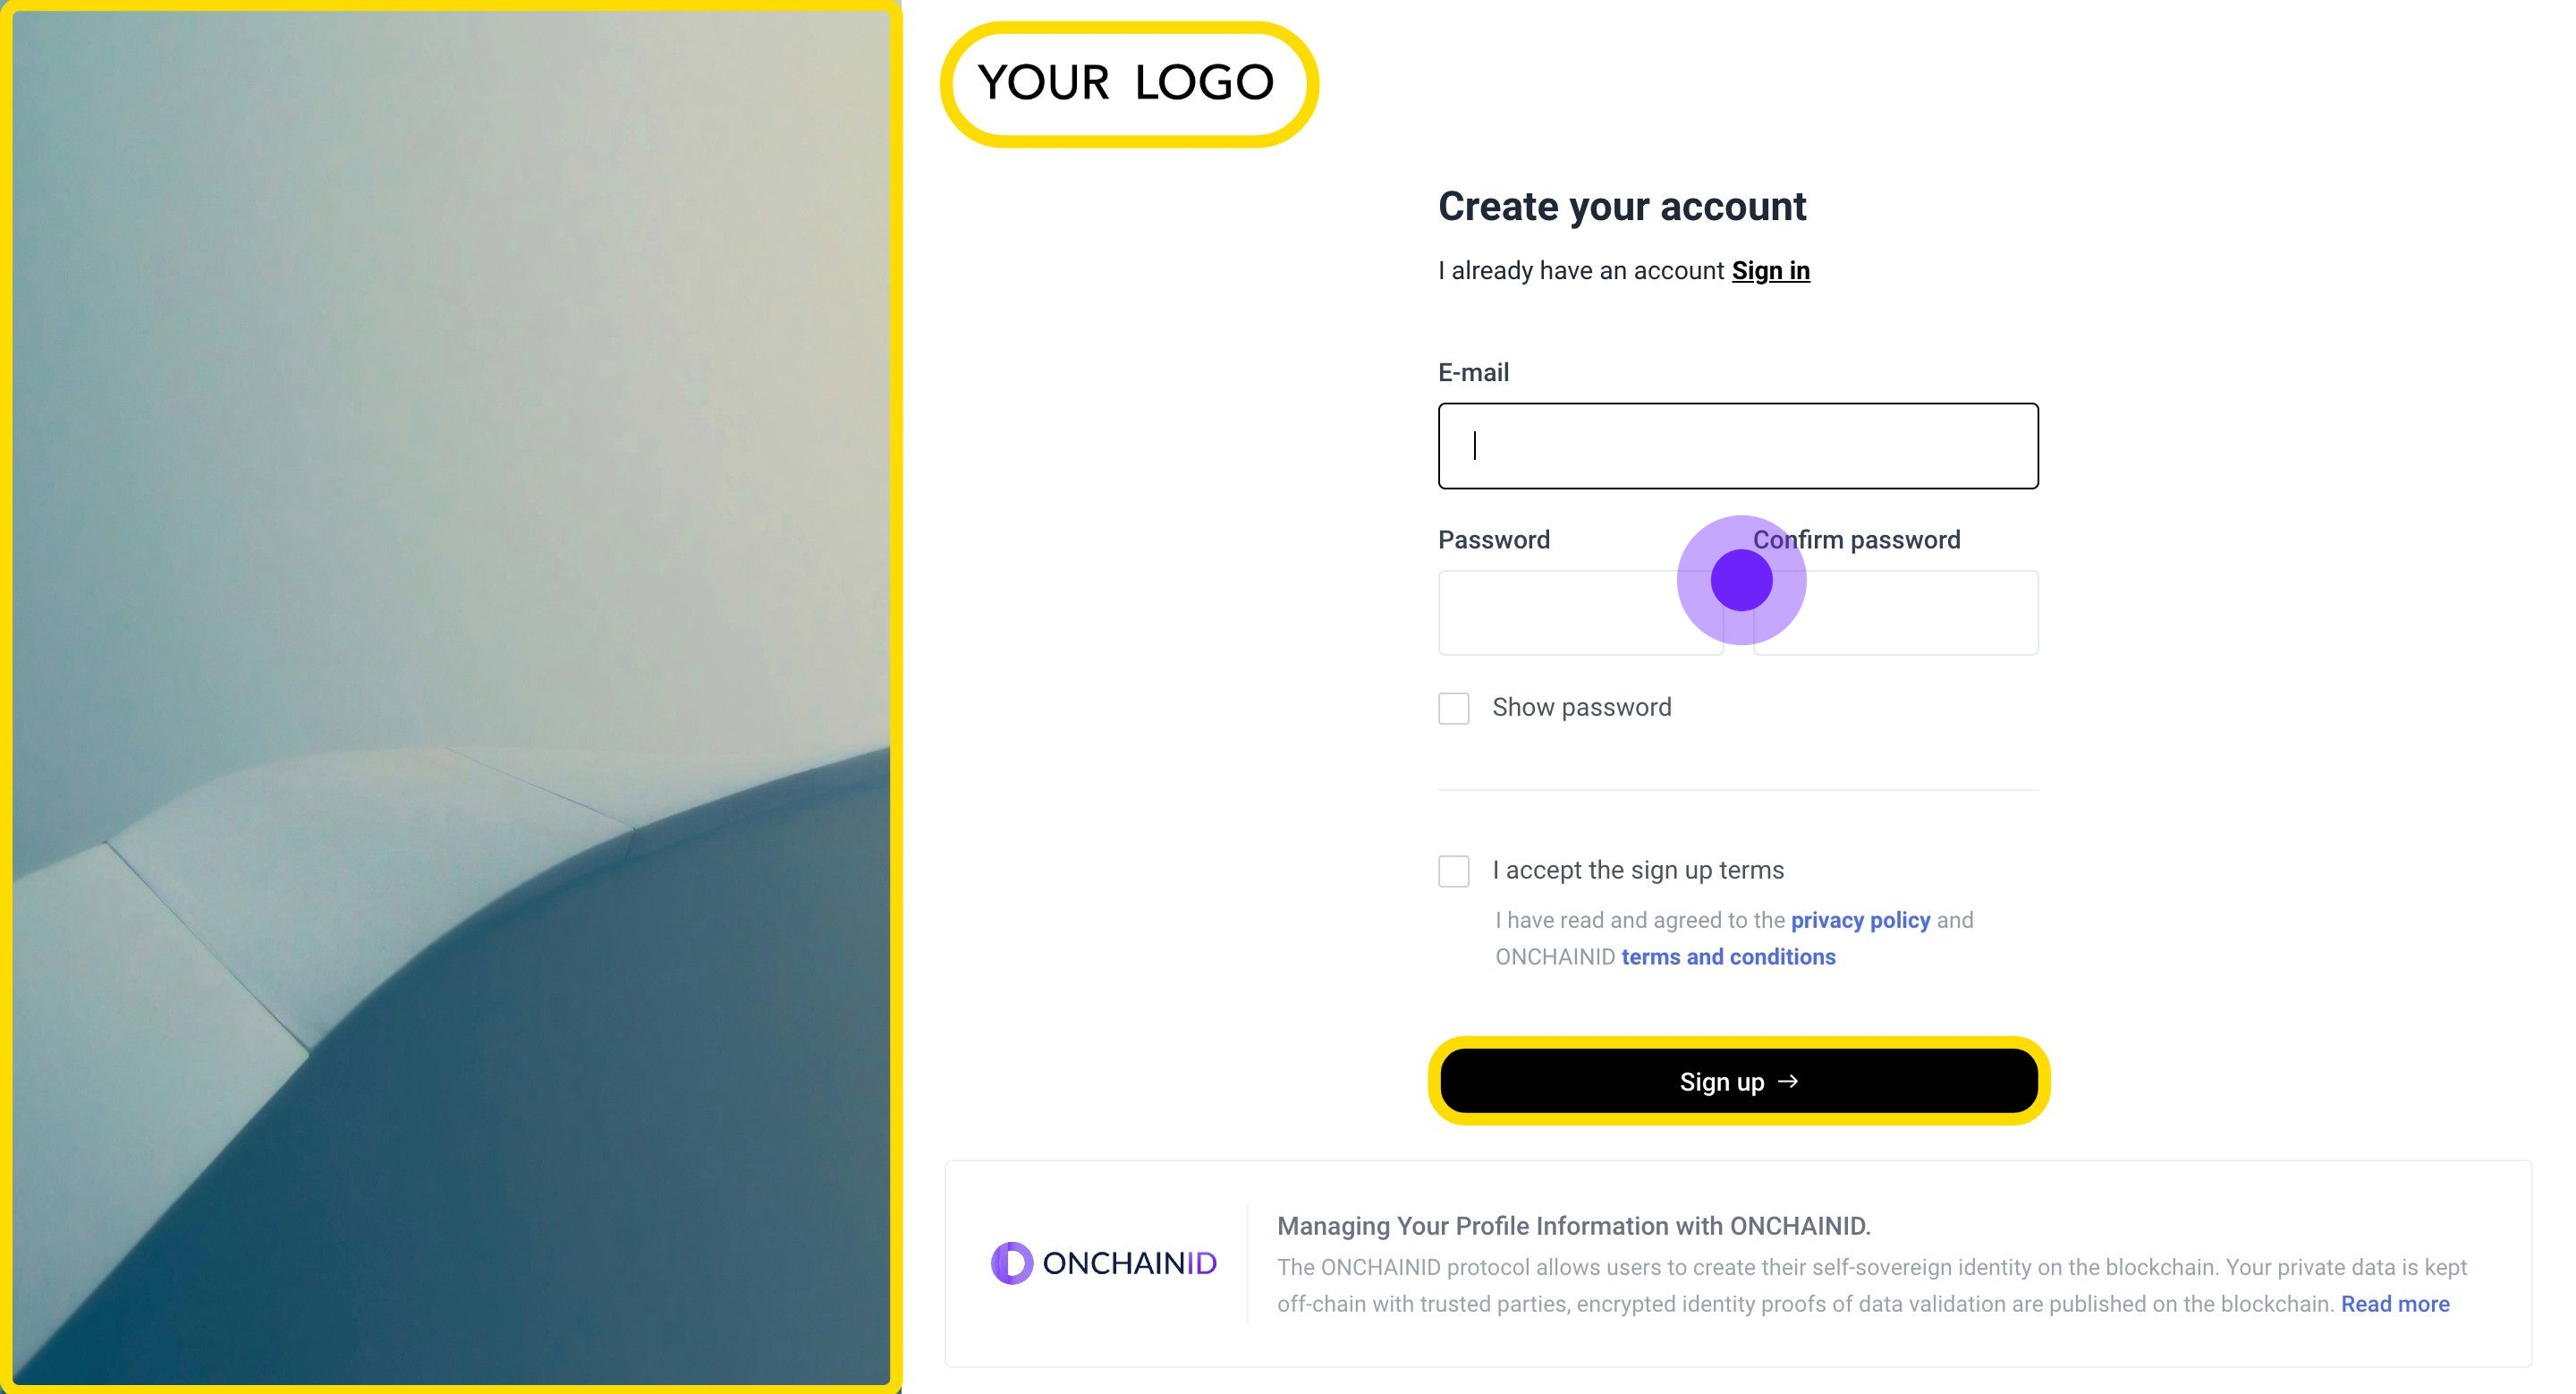
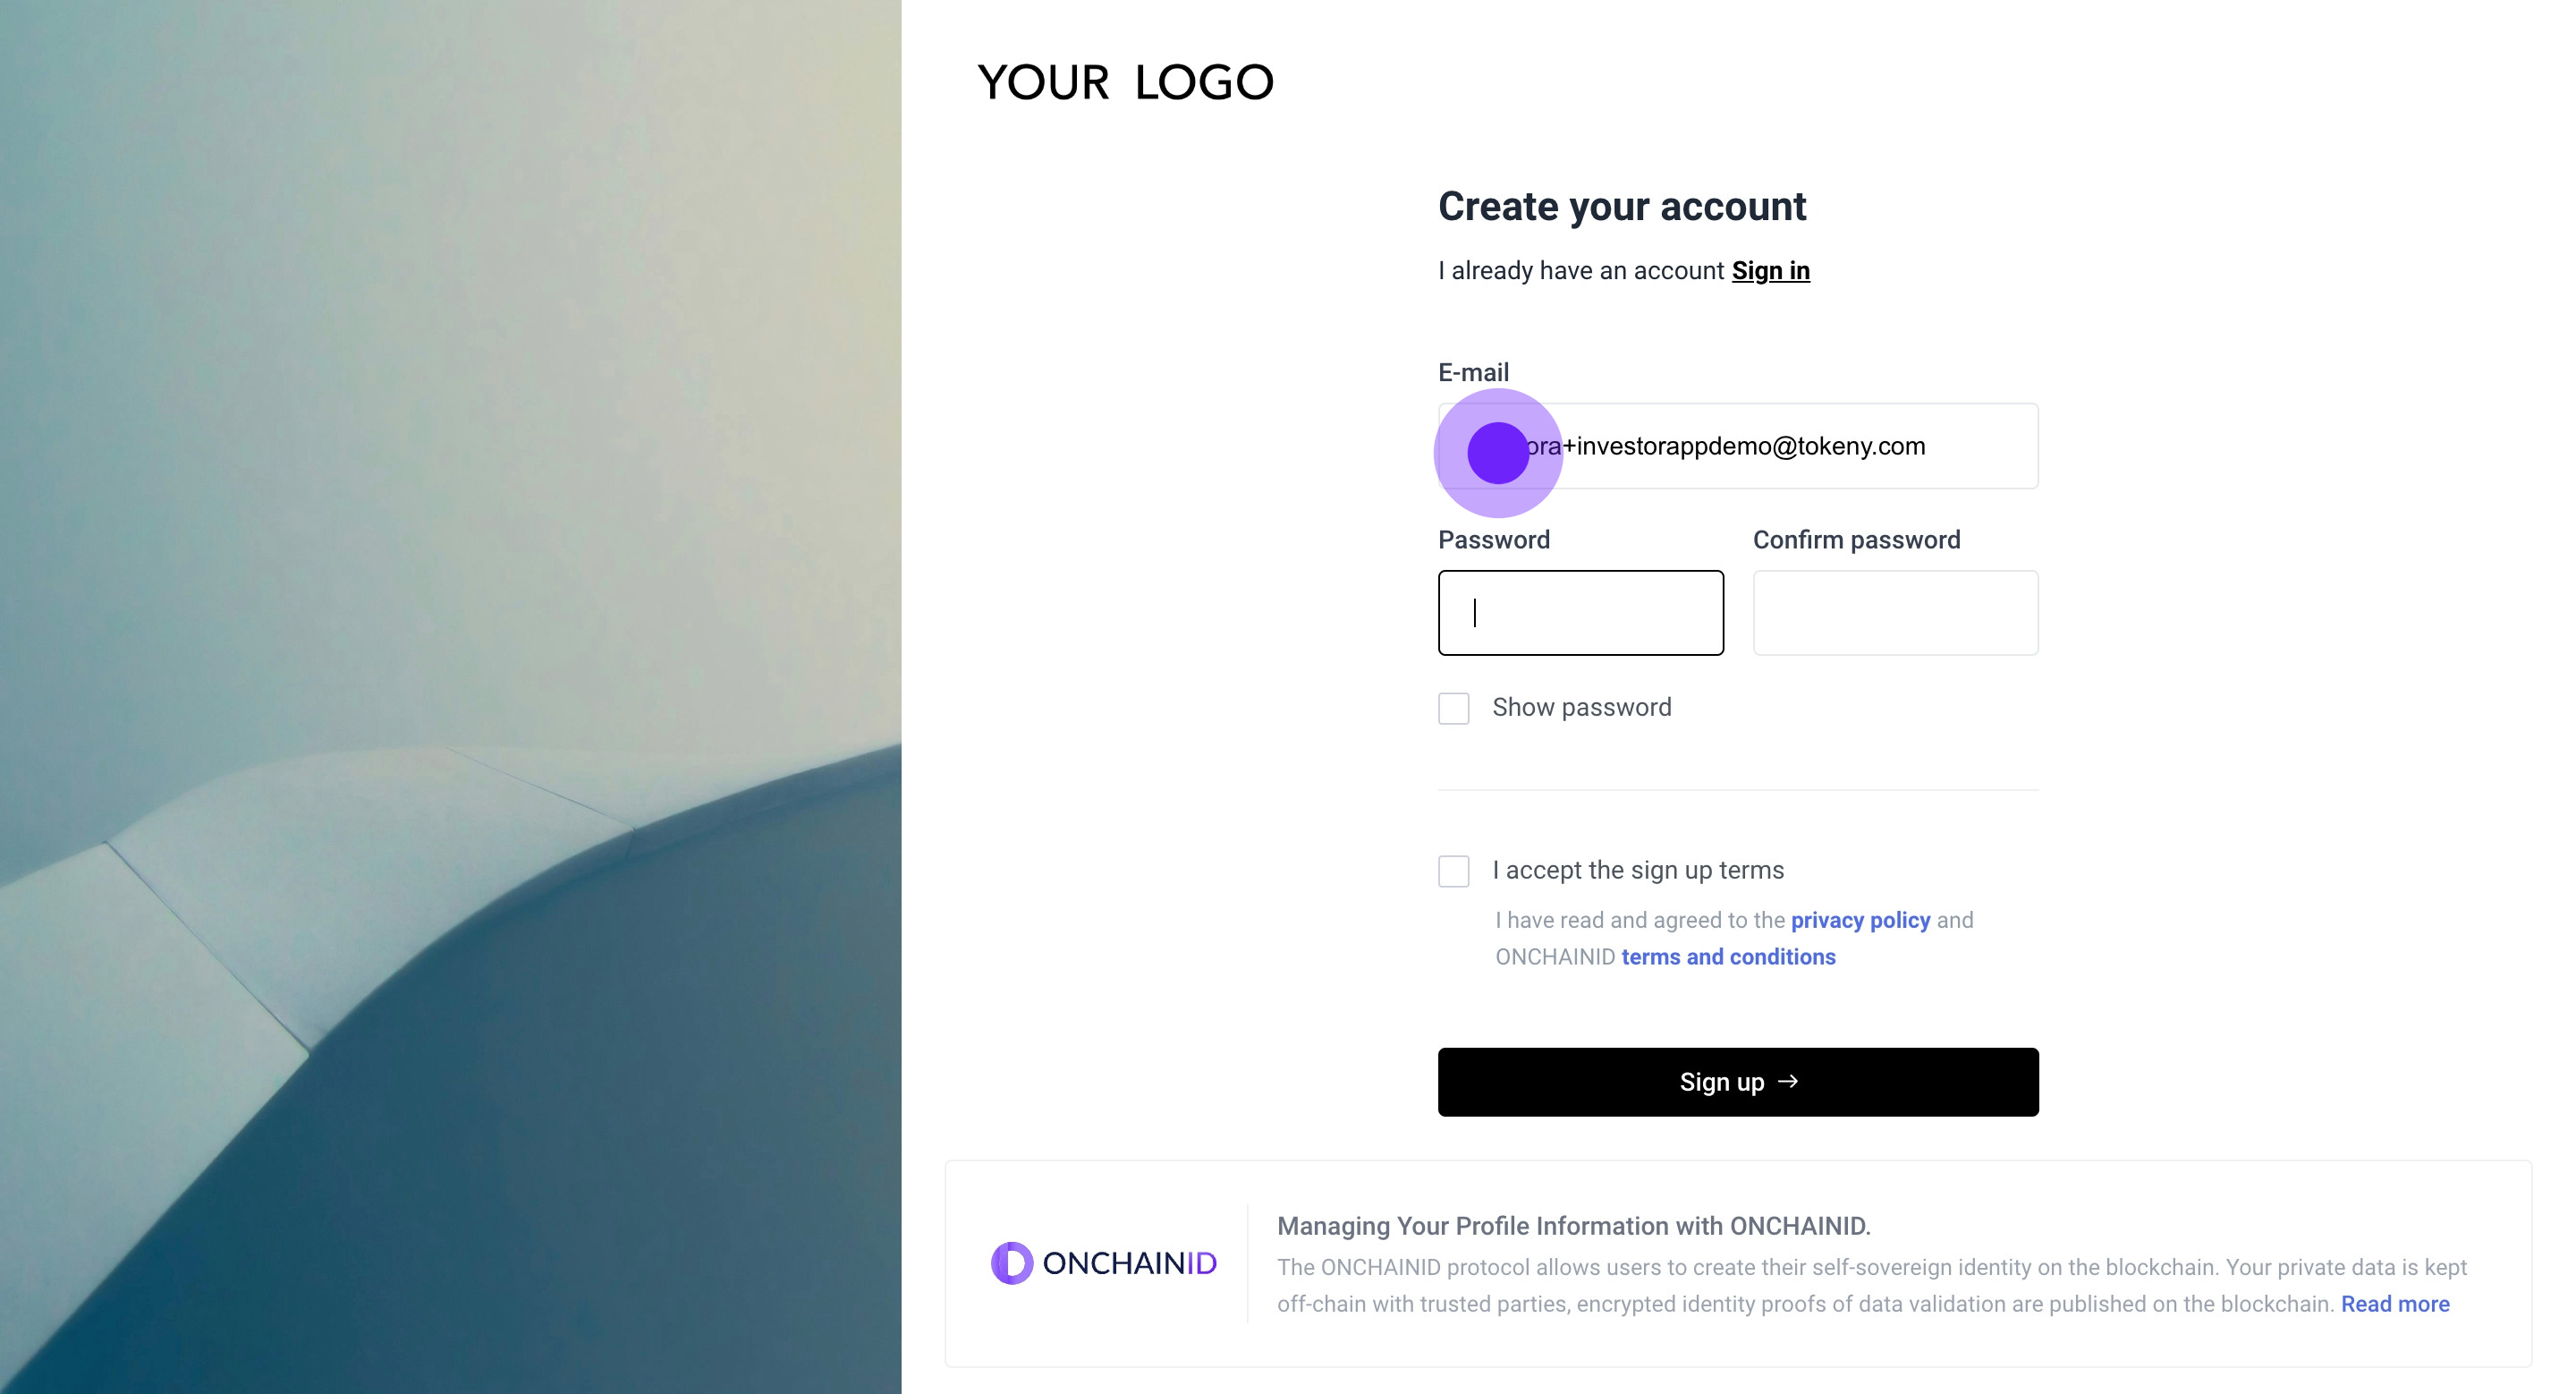
2. Start by entering your email address.
3. Now set your password.
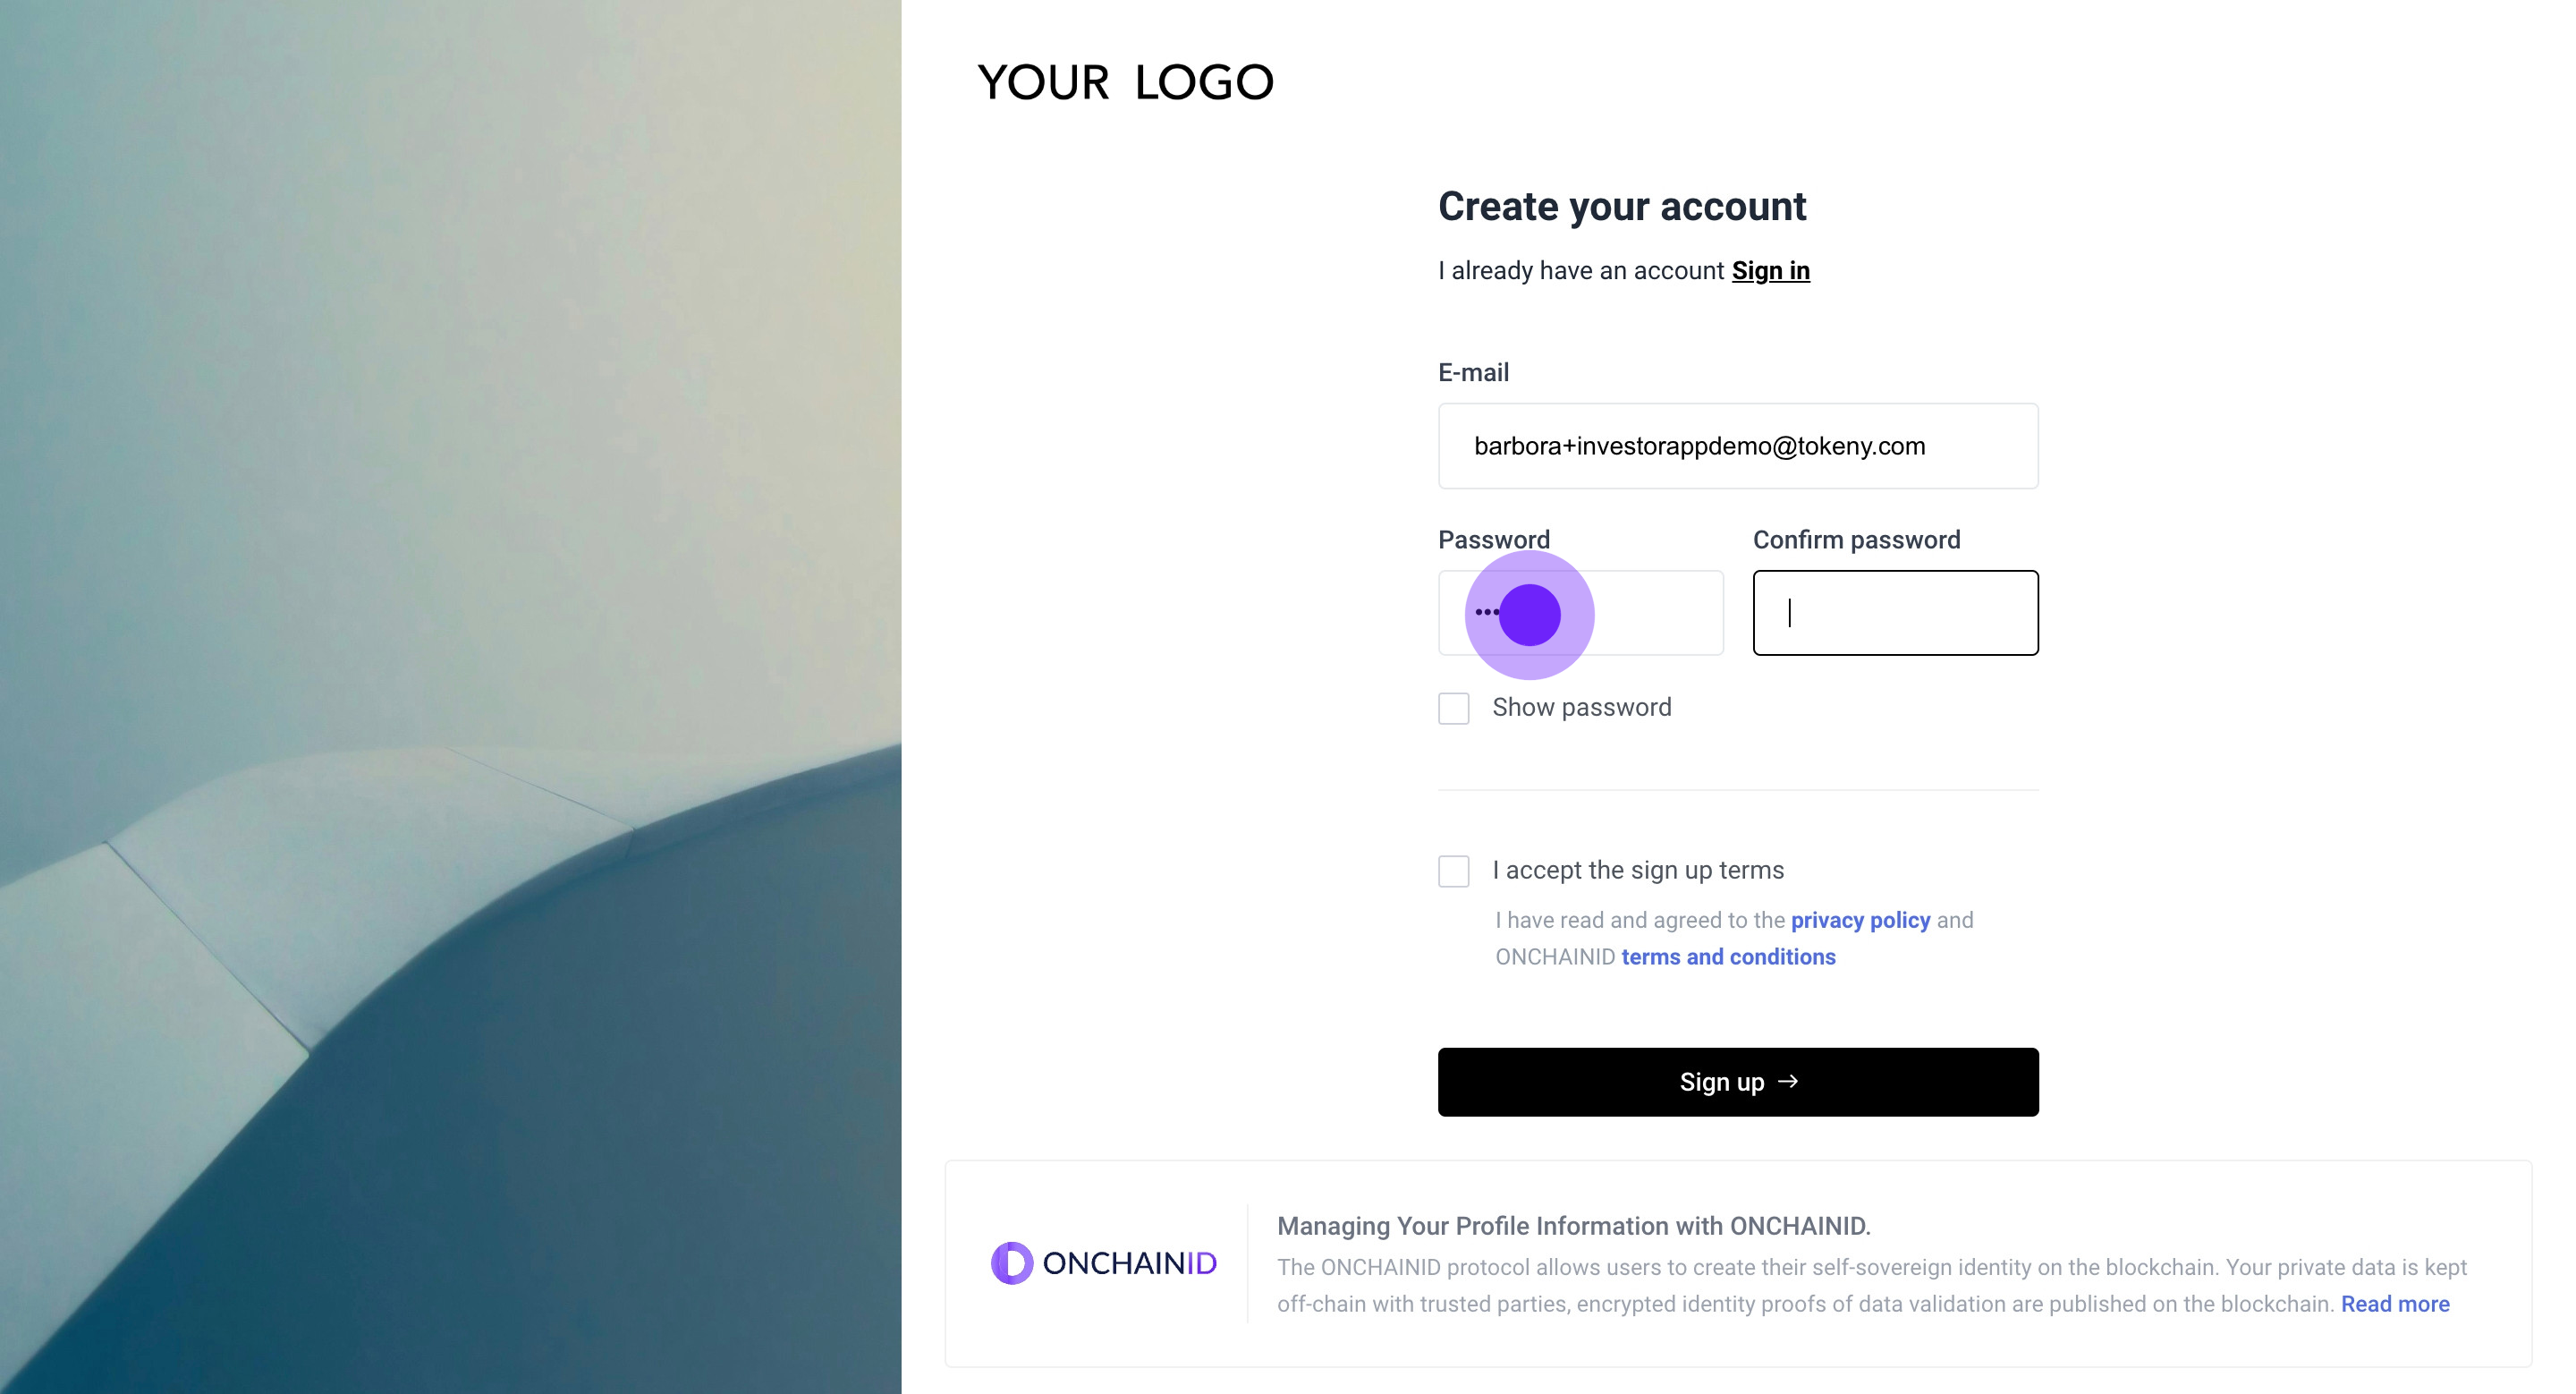
4. Next, confirm your password to proceed.

5. Then, read and agree to the ONCHAINID privacy policy and terms to continue.

6. Click 'Sign up' to create your account.

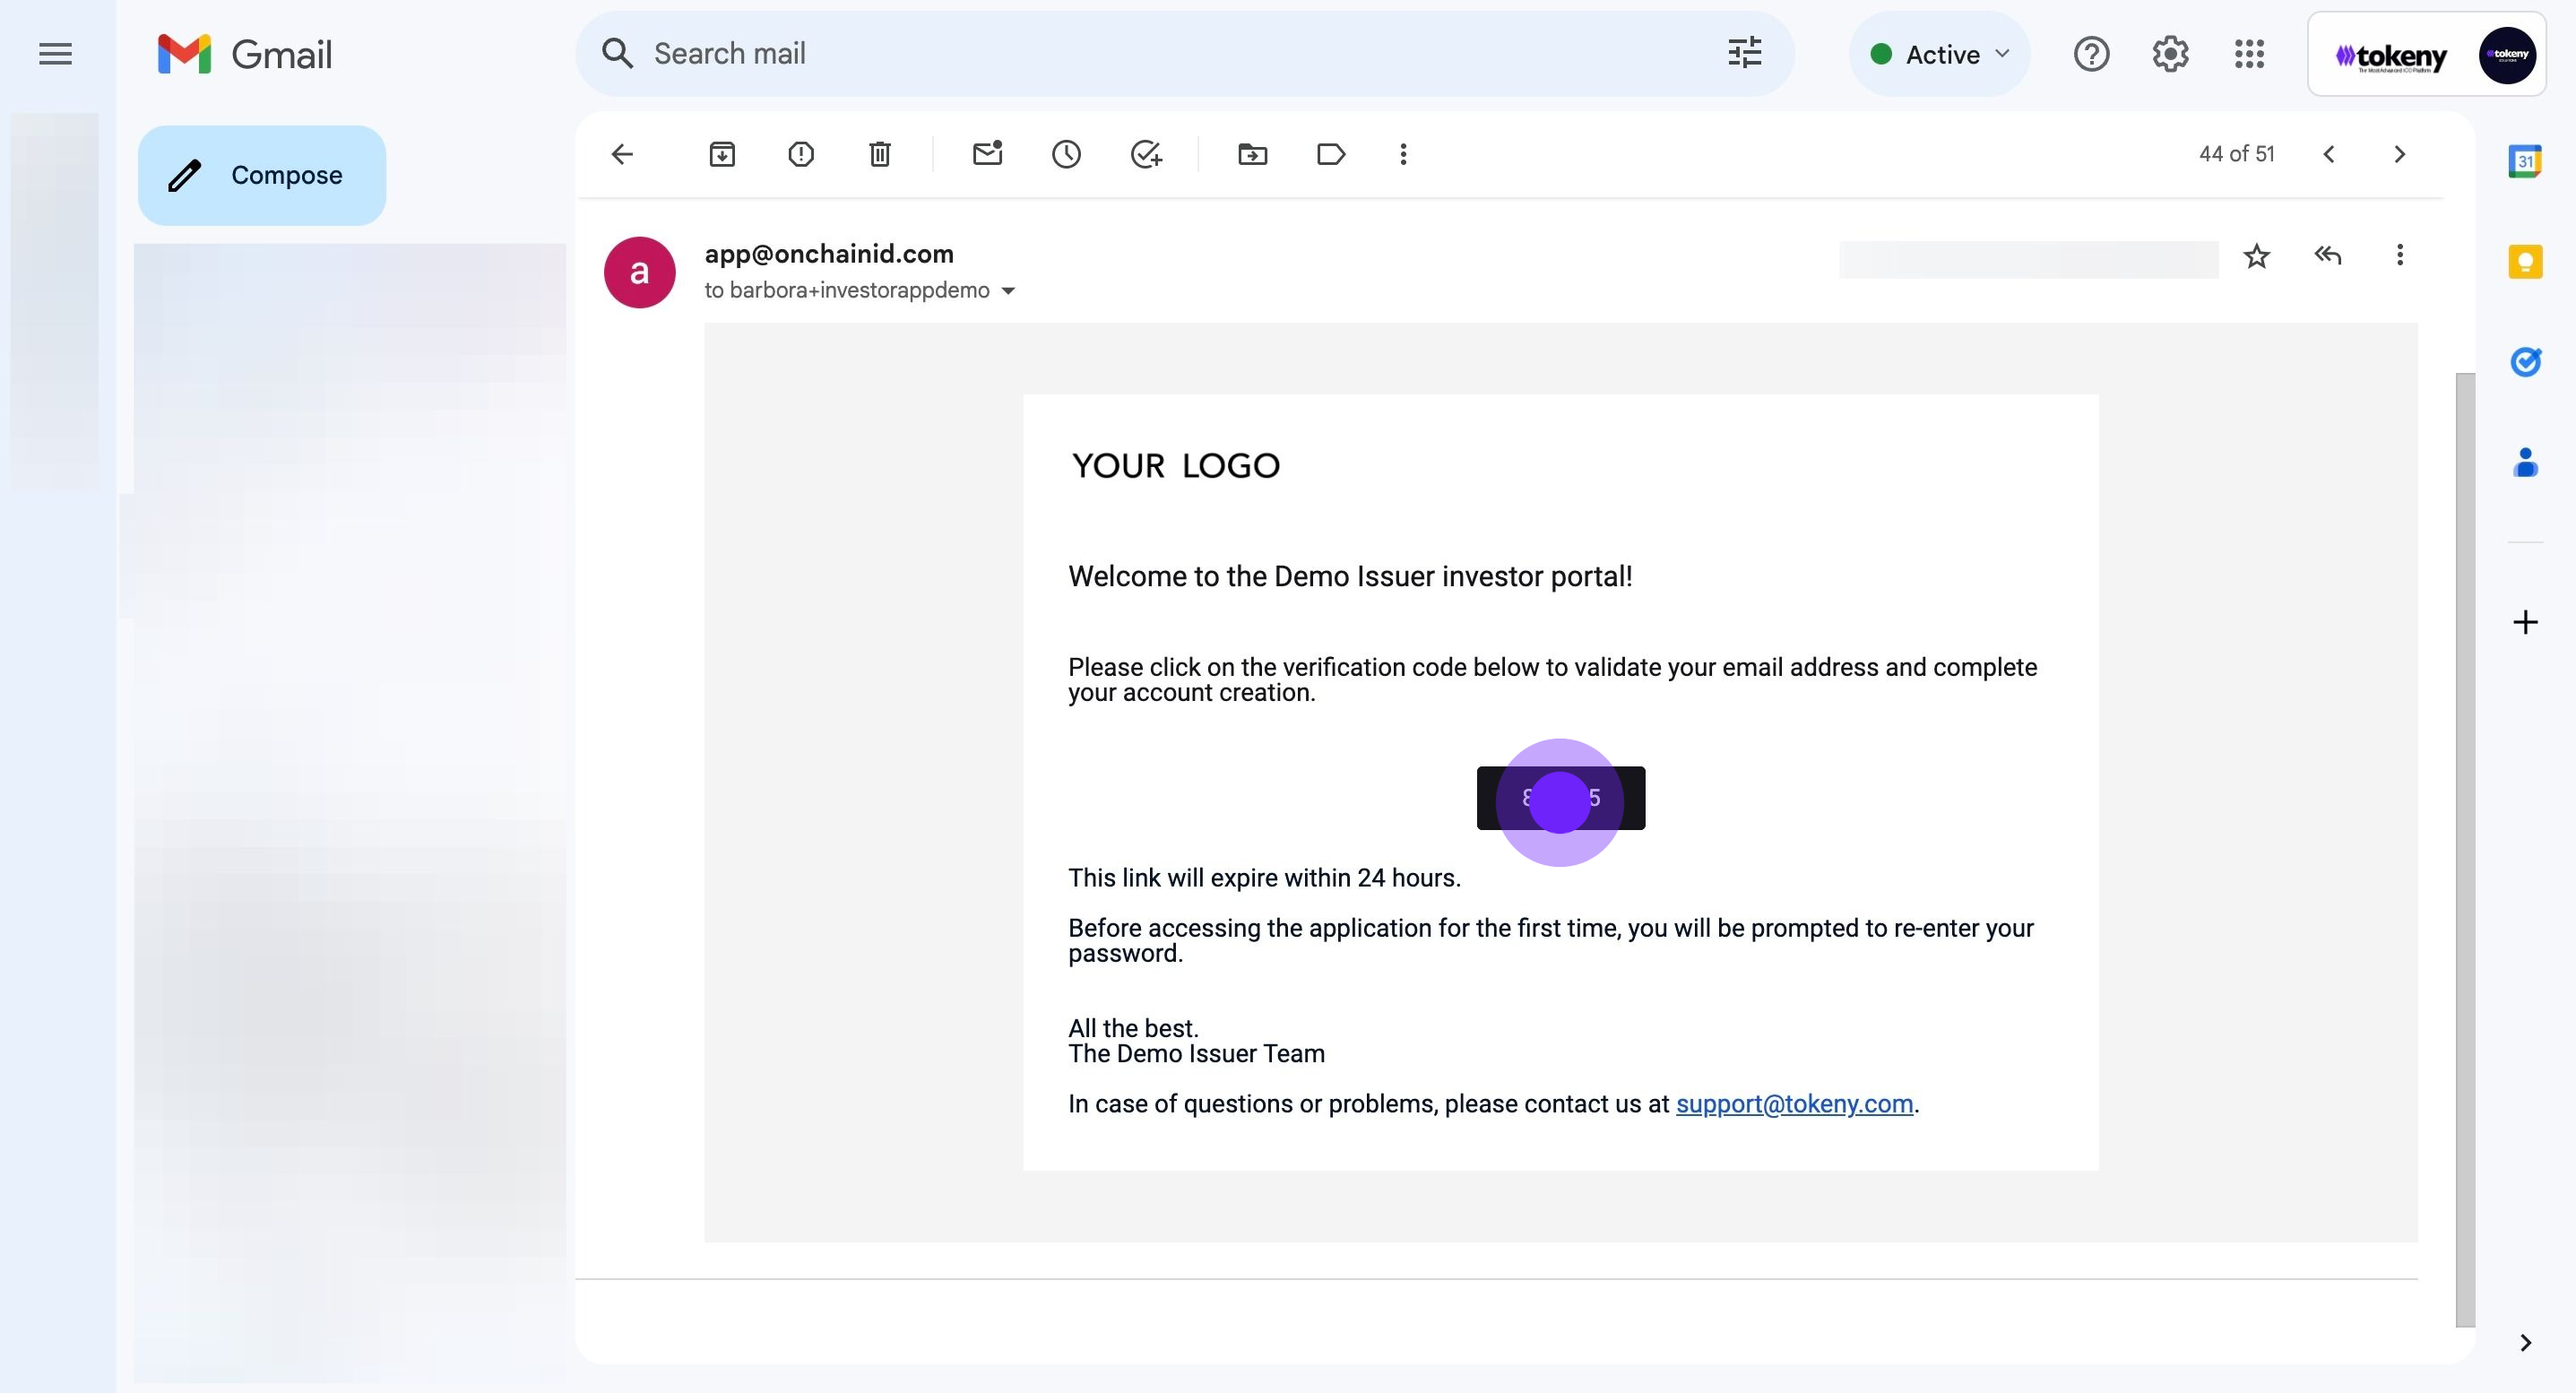
7. Please check your inbox for an email from app@onchainid.com. Click on the button containing the 6-digit verification code to proceed.
8. Now, click 'Confirm' to finalize account creation.

9. Log in by entering your email and password.
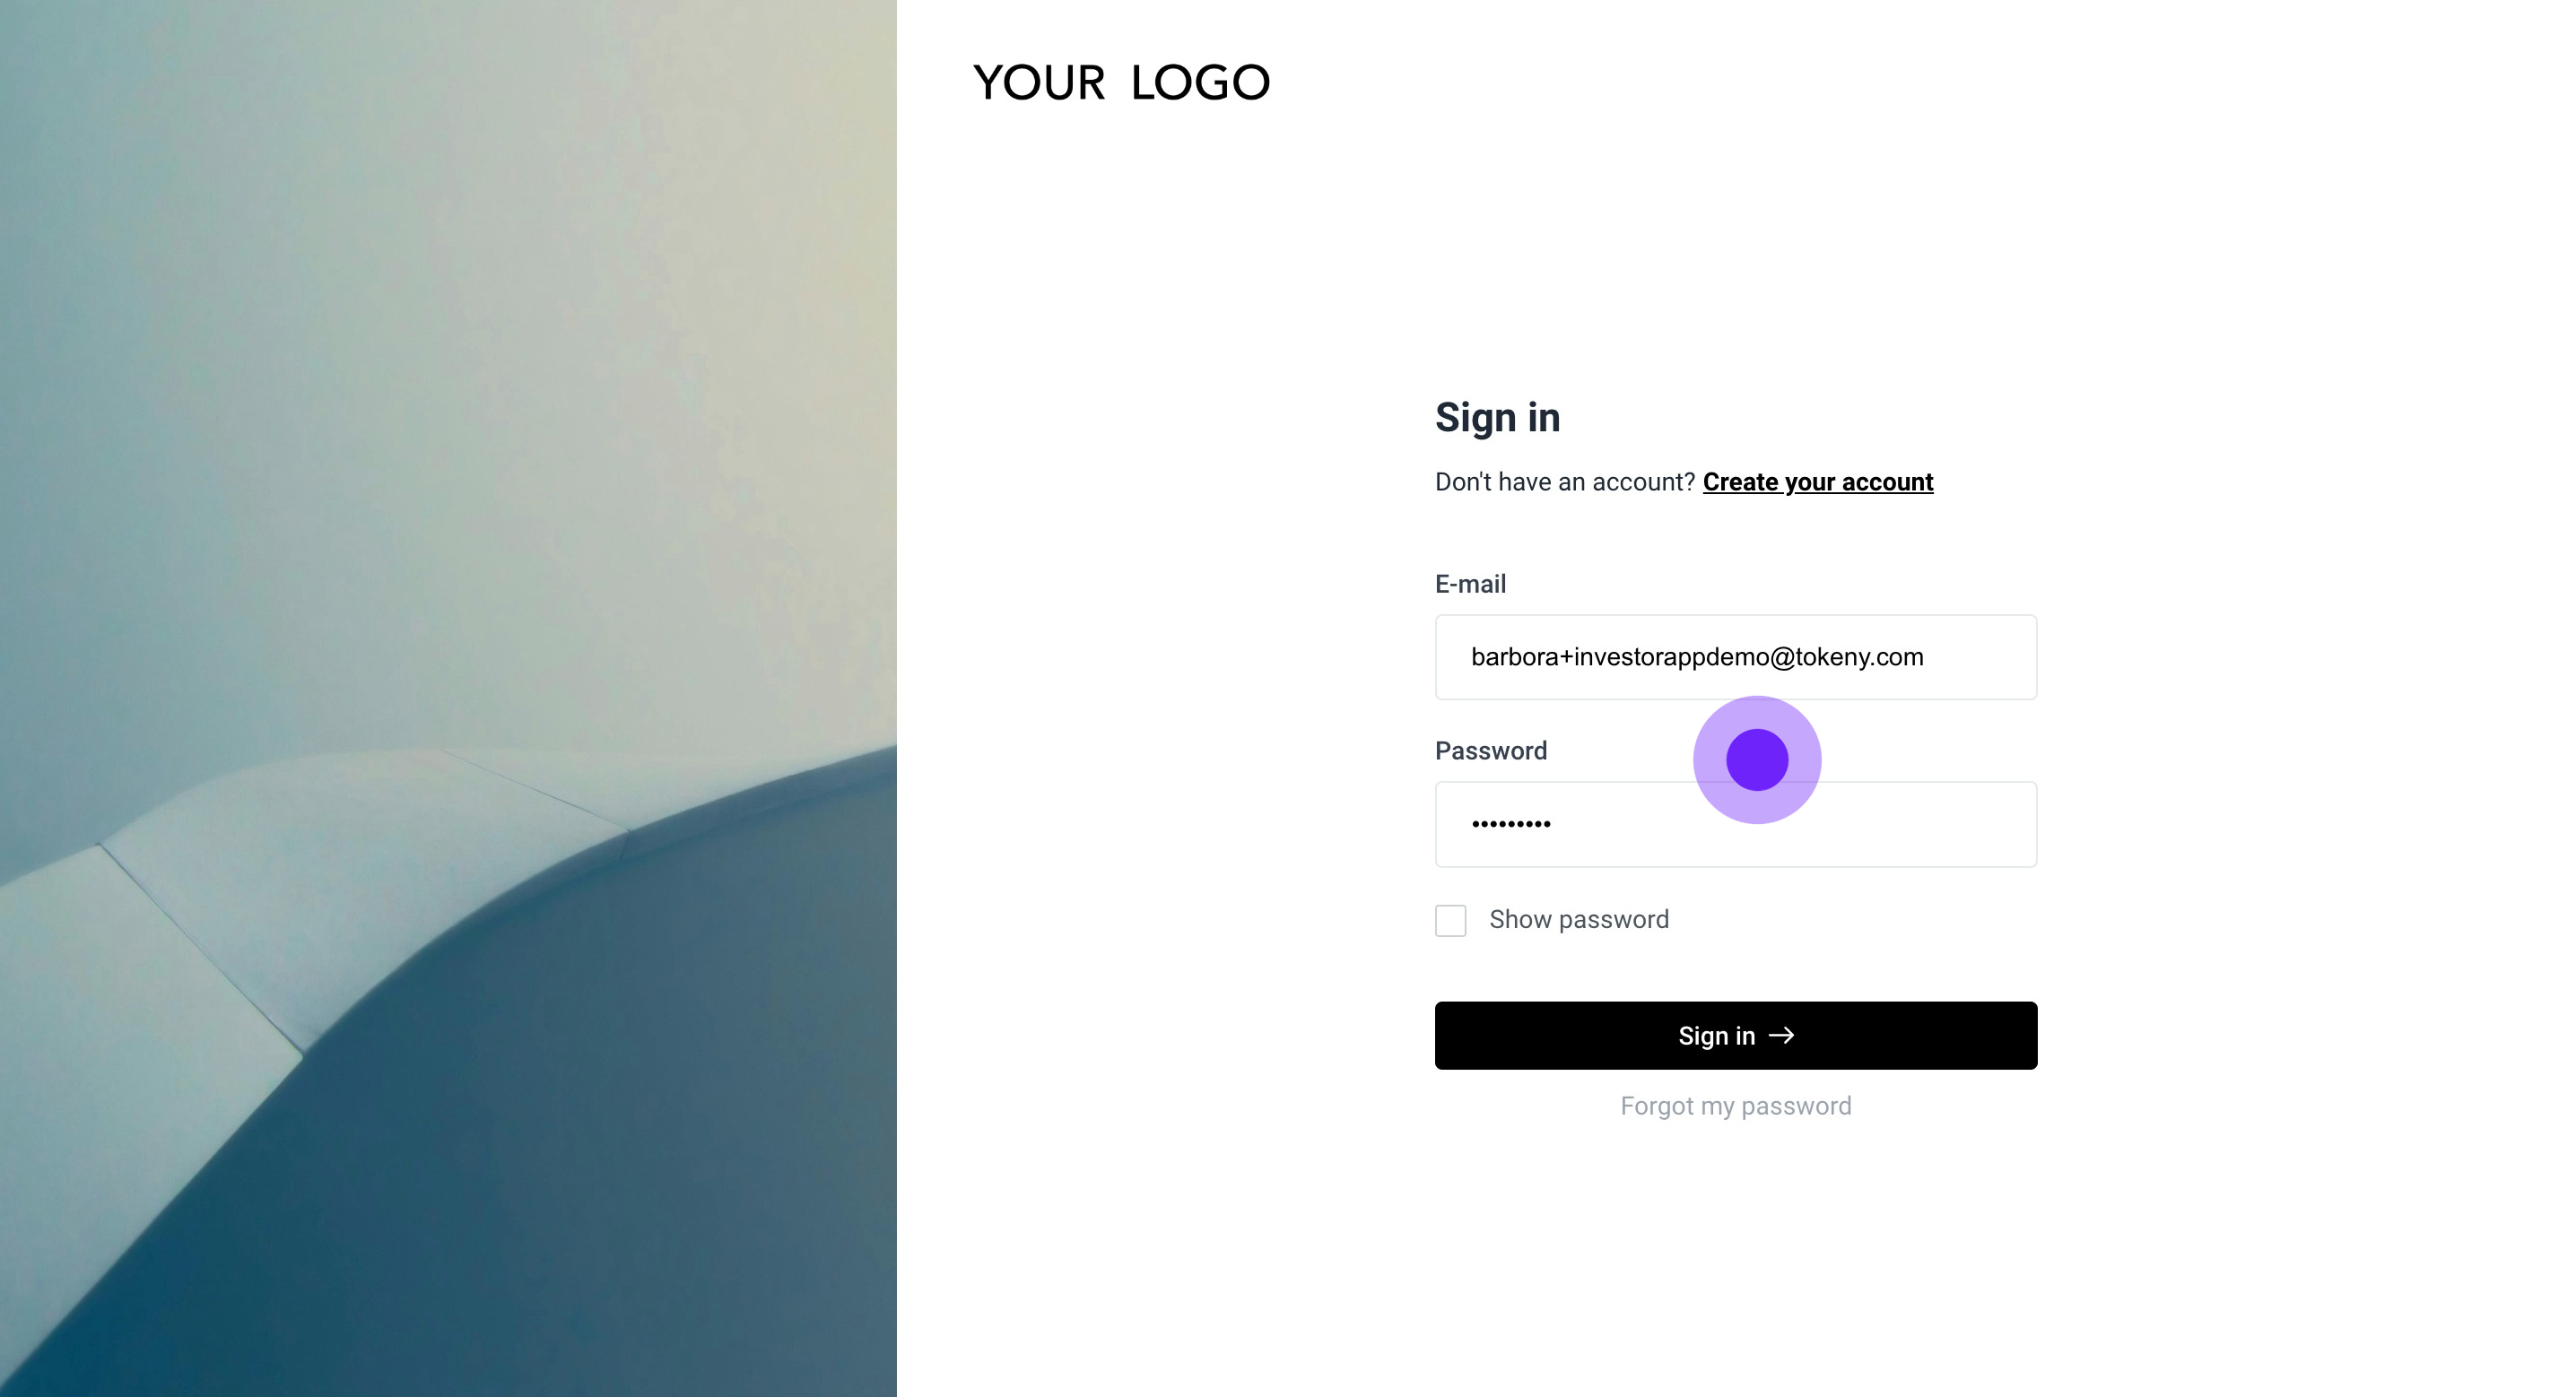
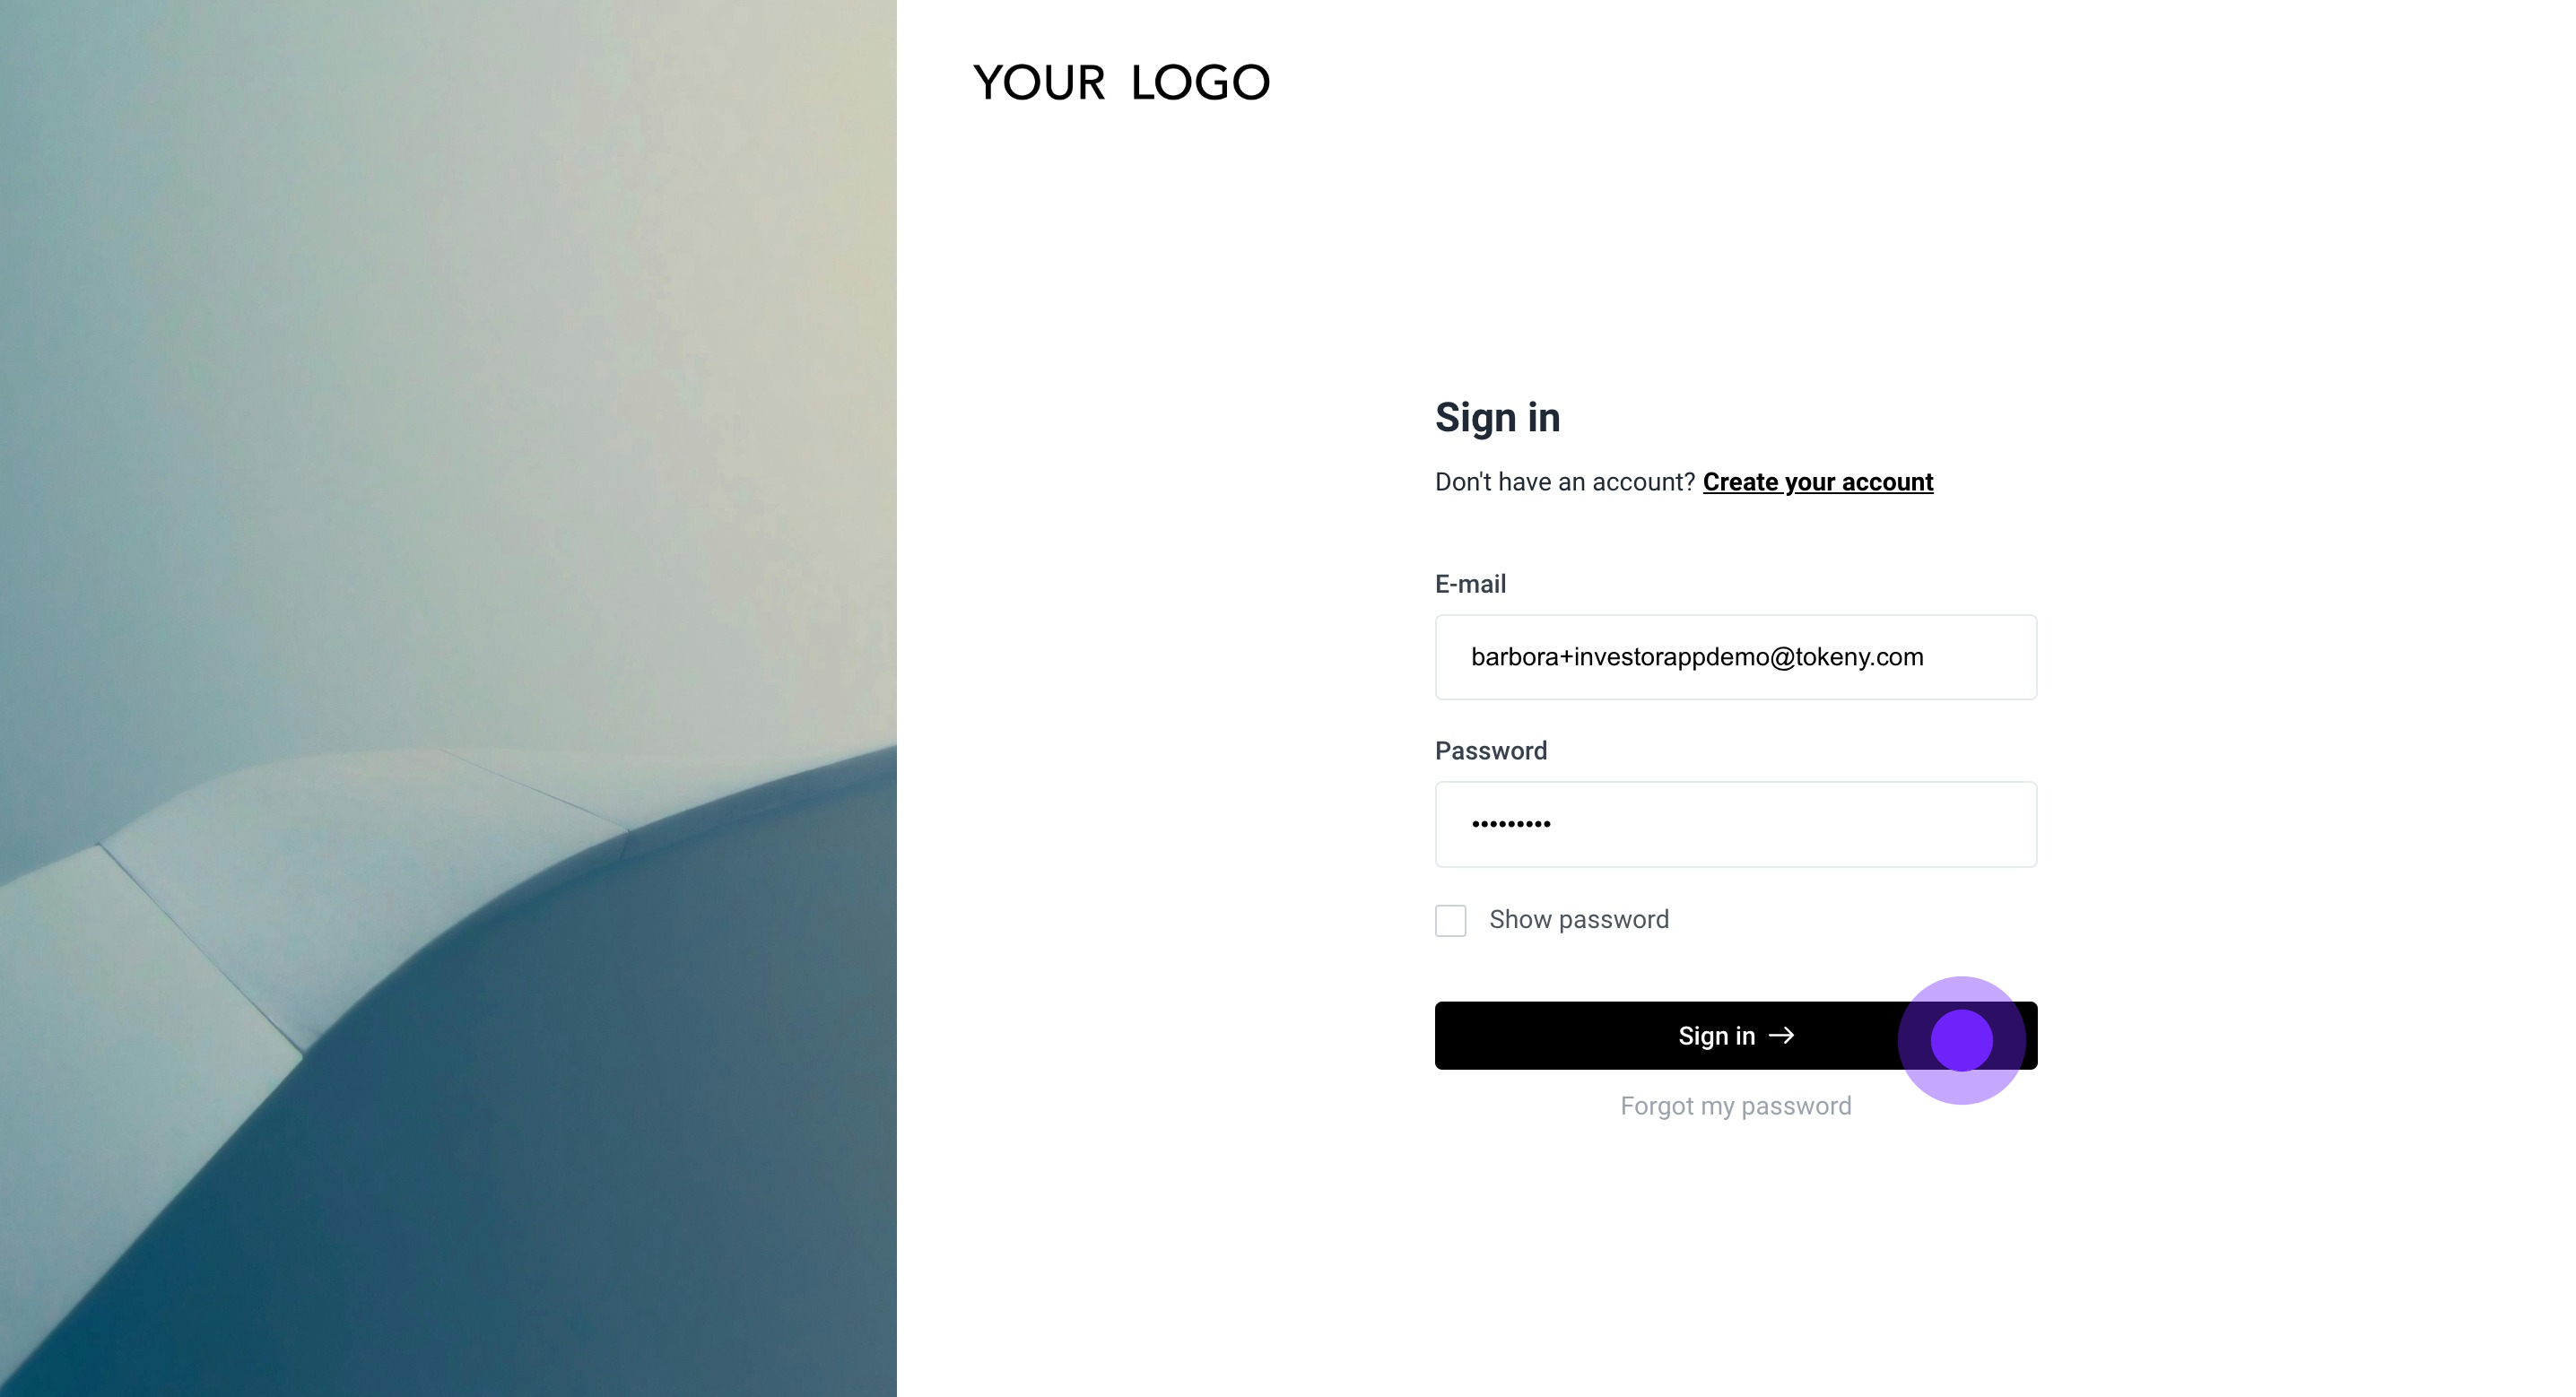
10. Click 'Sign in' to access your dashboard.
11. The 'Invest' tab offers an overview of all the Issuer's projects and your qualification status for each project at a glance.
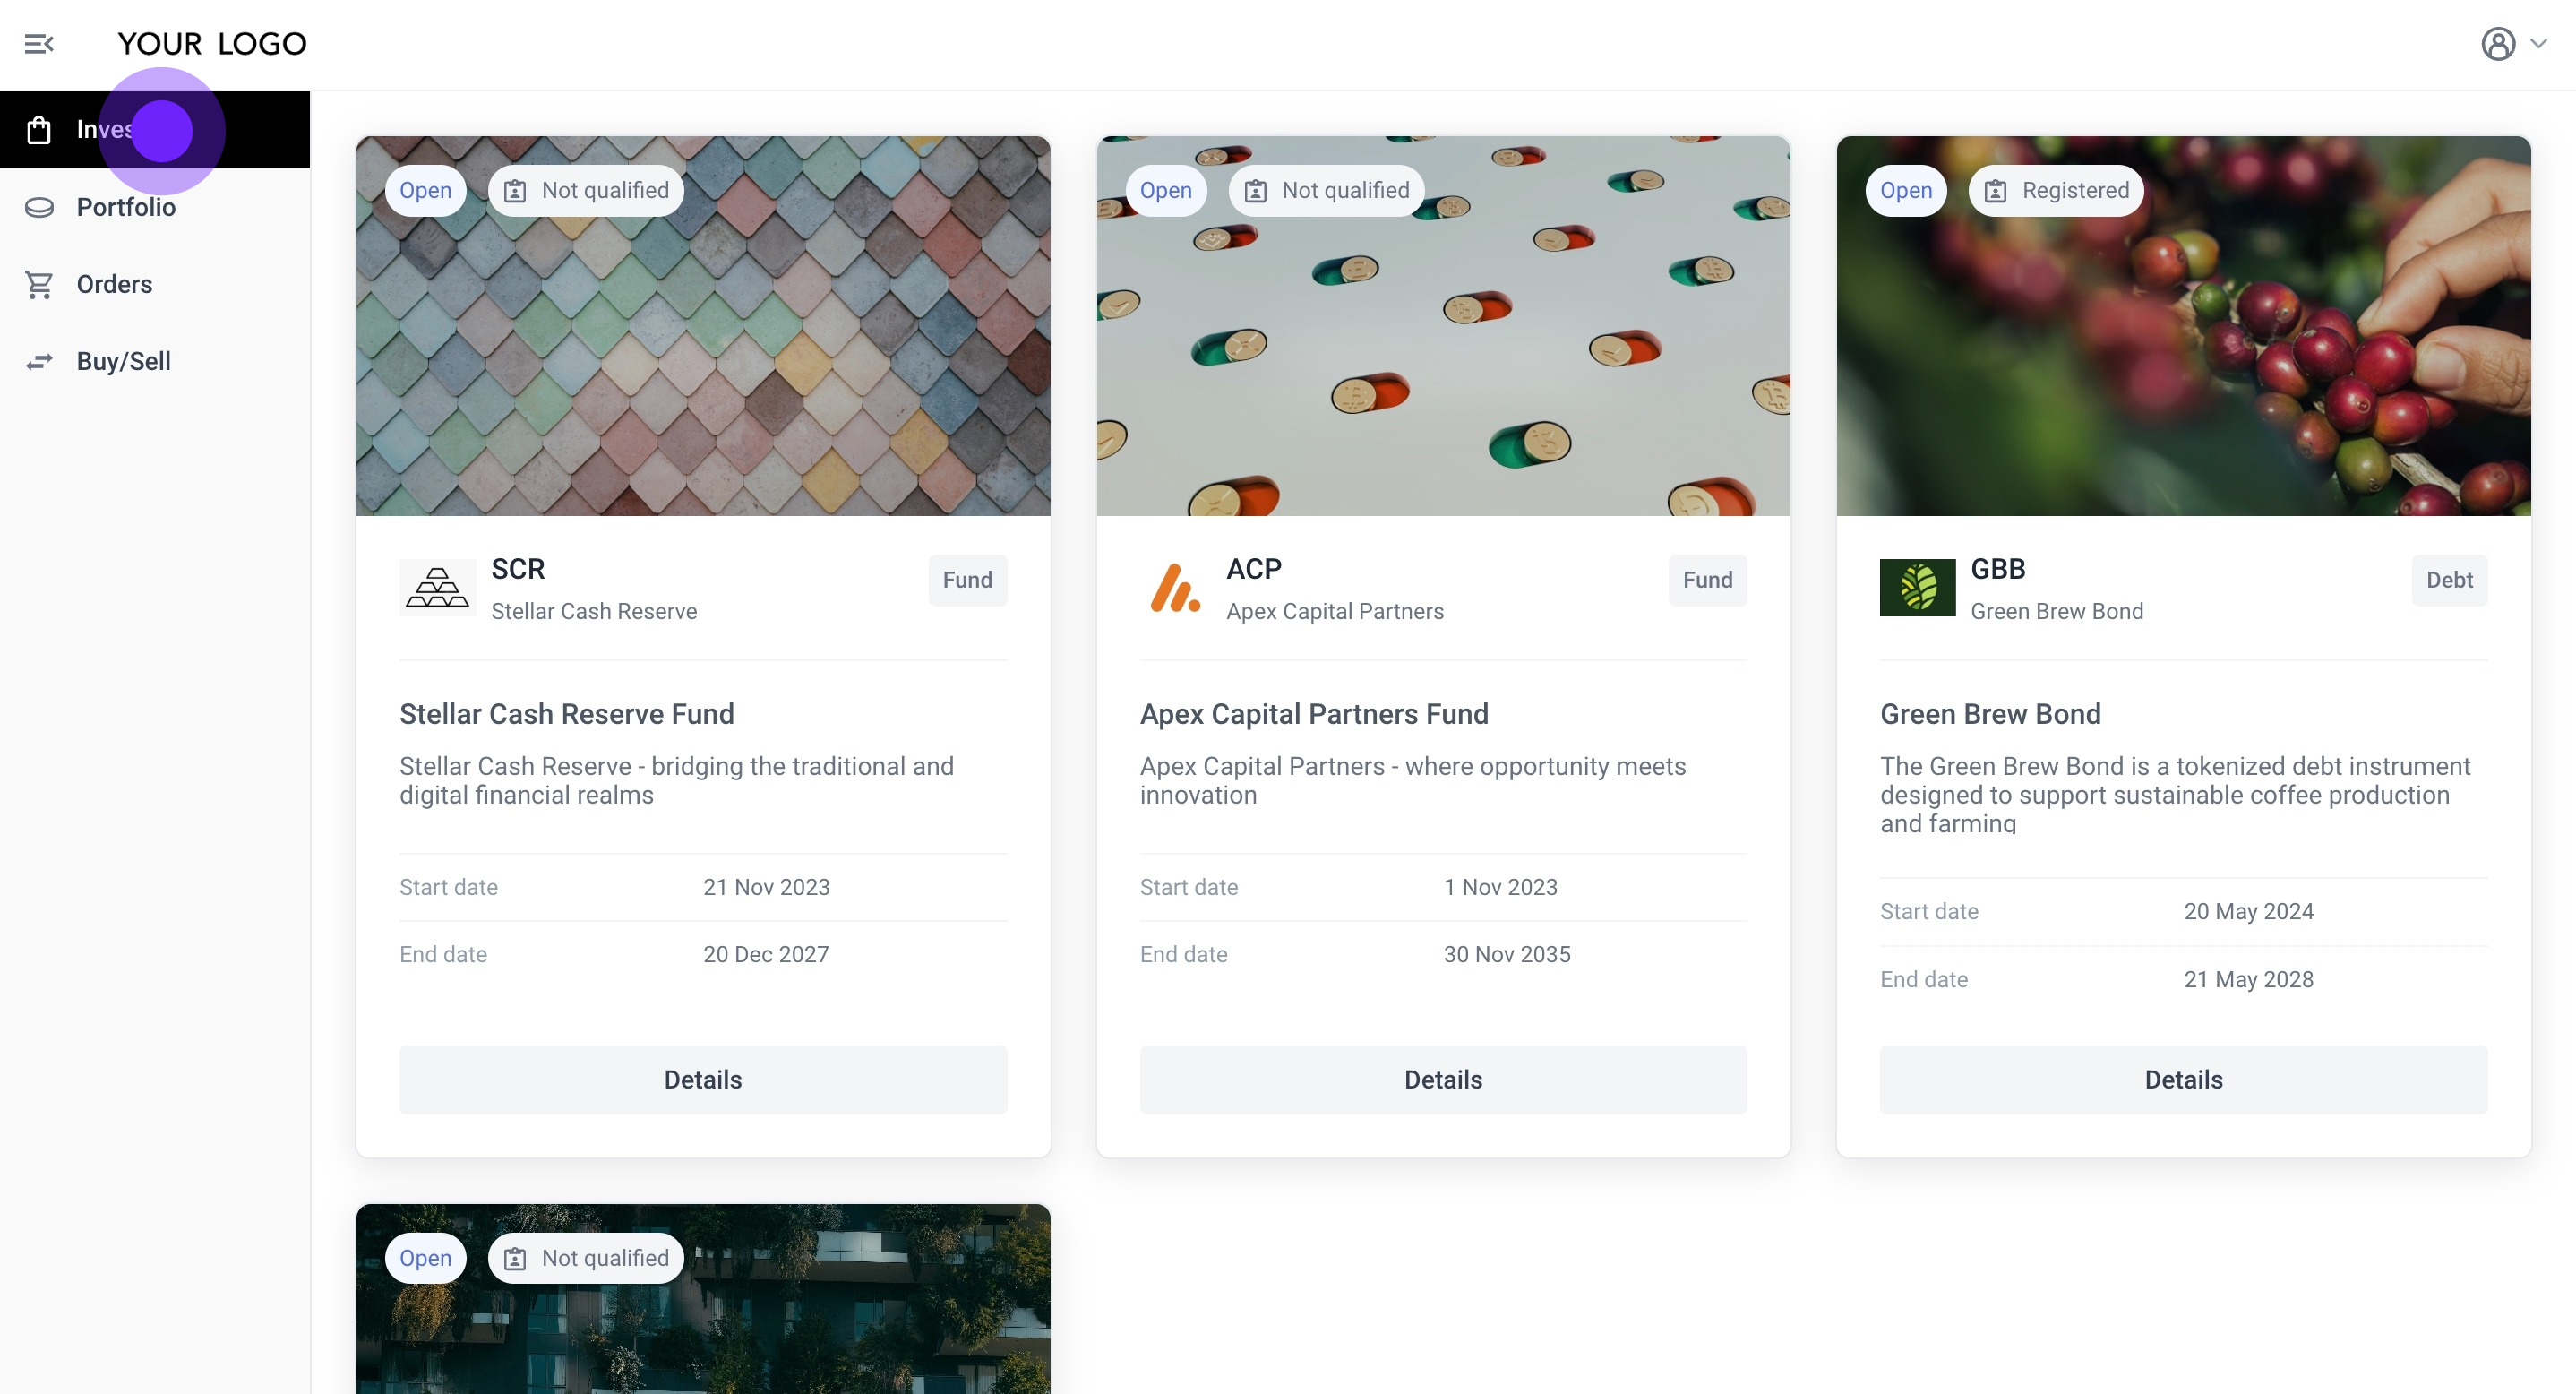
12. Click on a project to view more details.
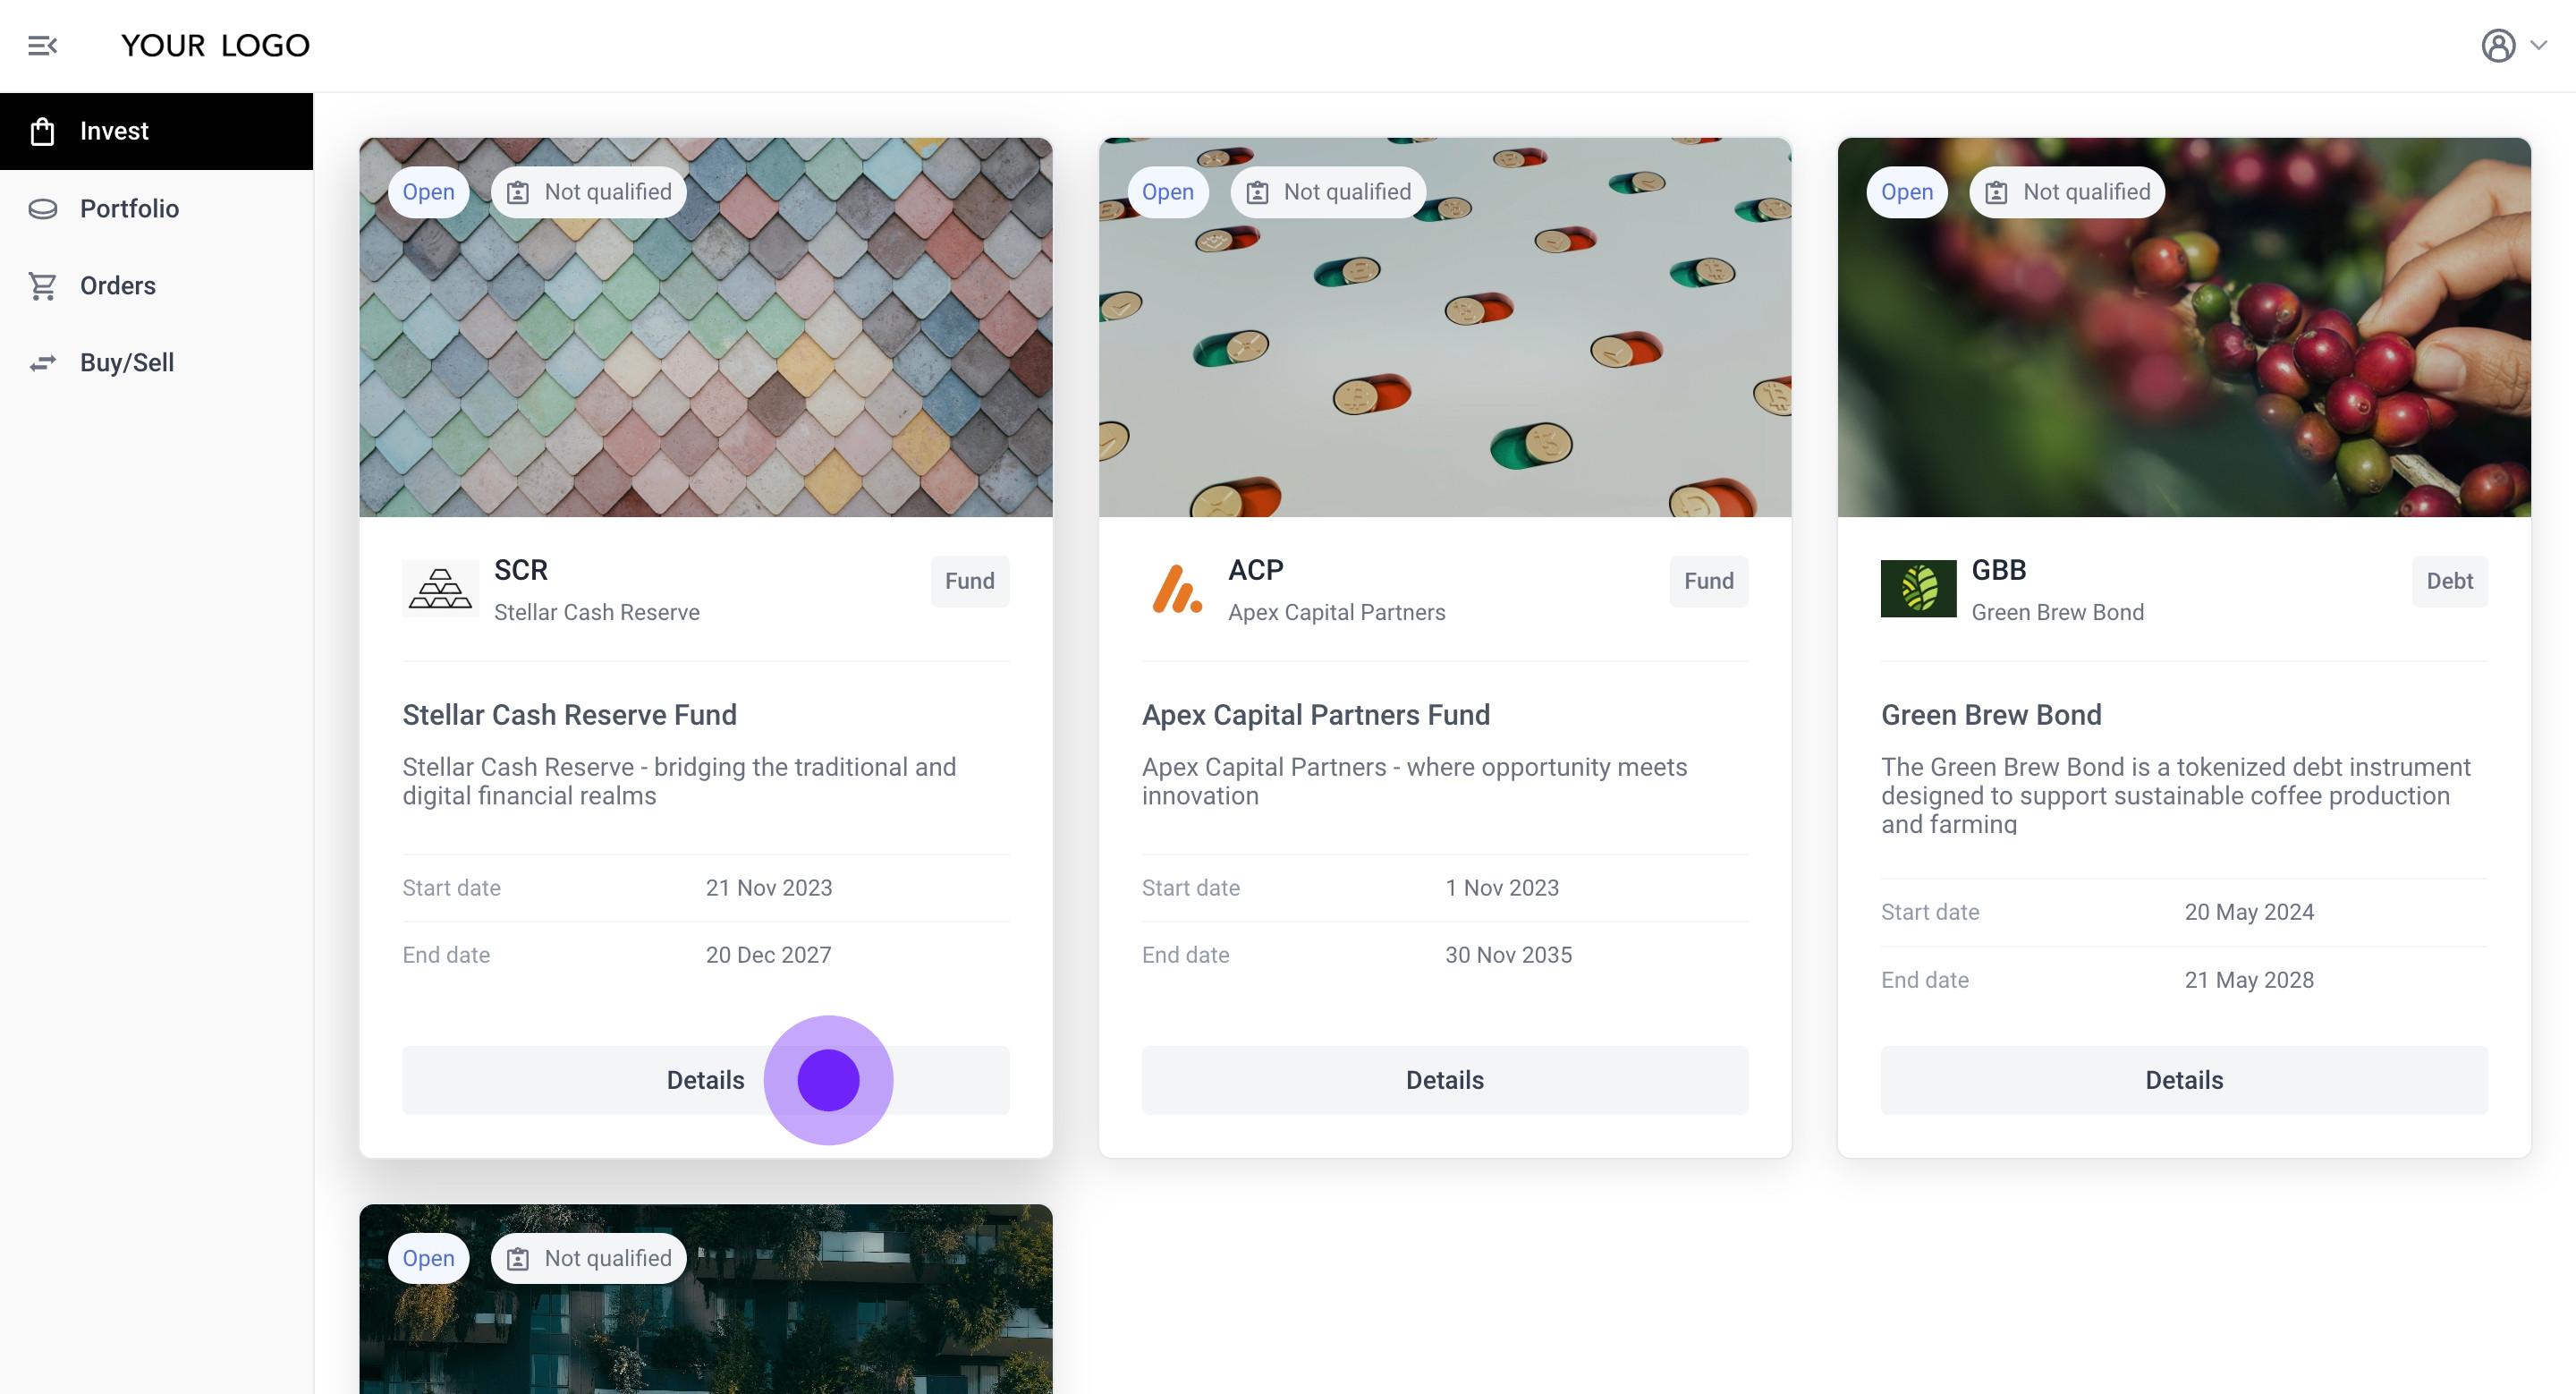
13. Next, let's opt to qualify and invest in the Green Brew Bond by clicking on 'Details'.

14. After you have read the project overview, click 'Get qualified and invest' to proceed.

15. Next, select your investor type: 'Individual' or 'Institution.' For this demo, we will proceed as 'Individual.'
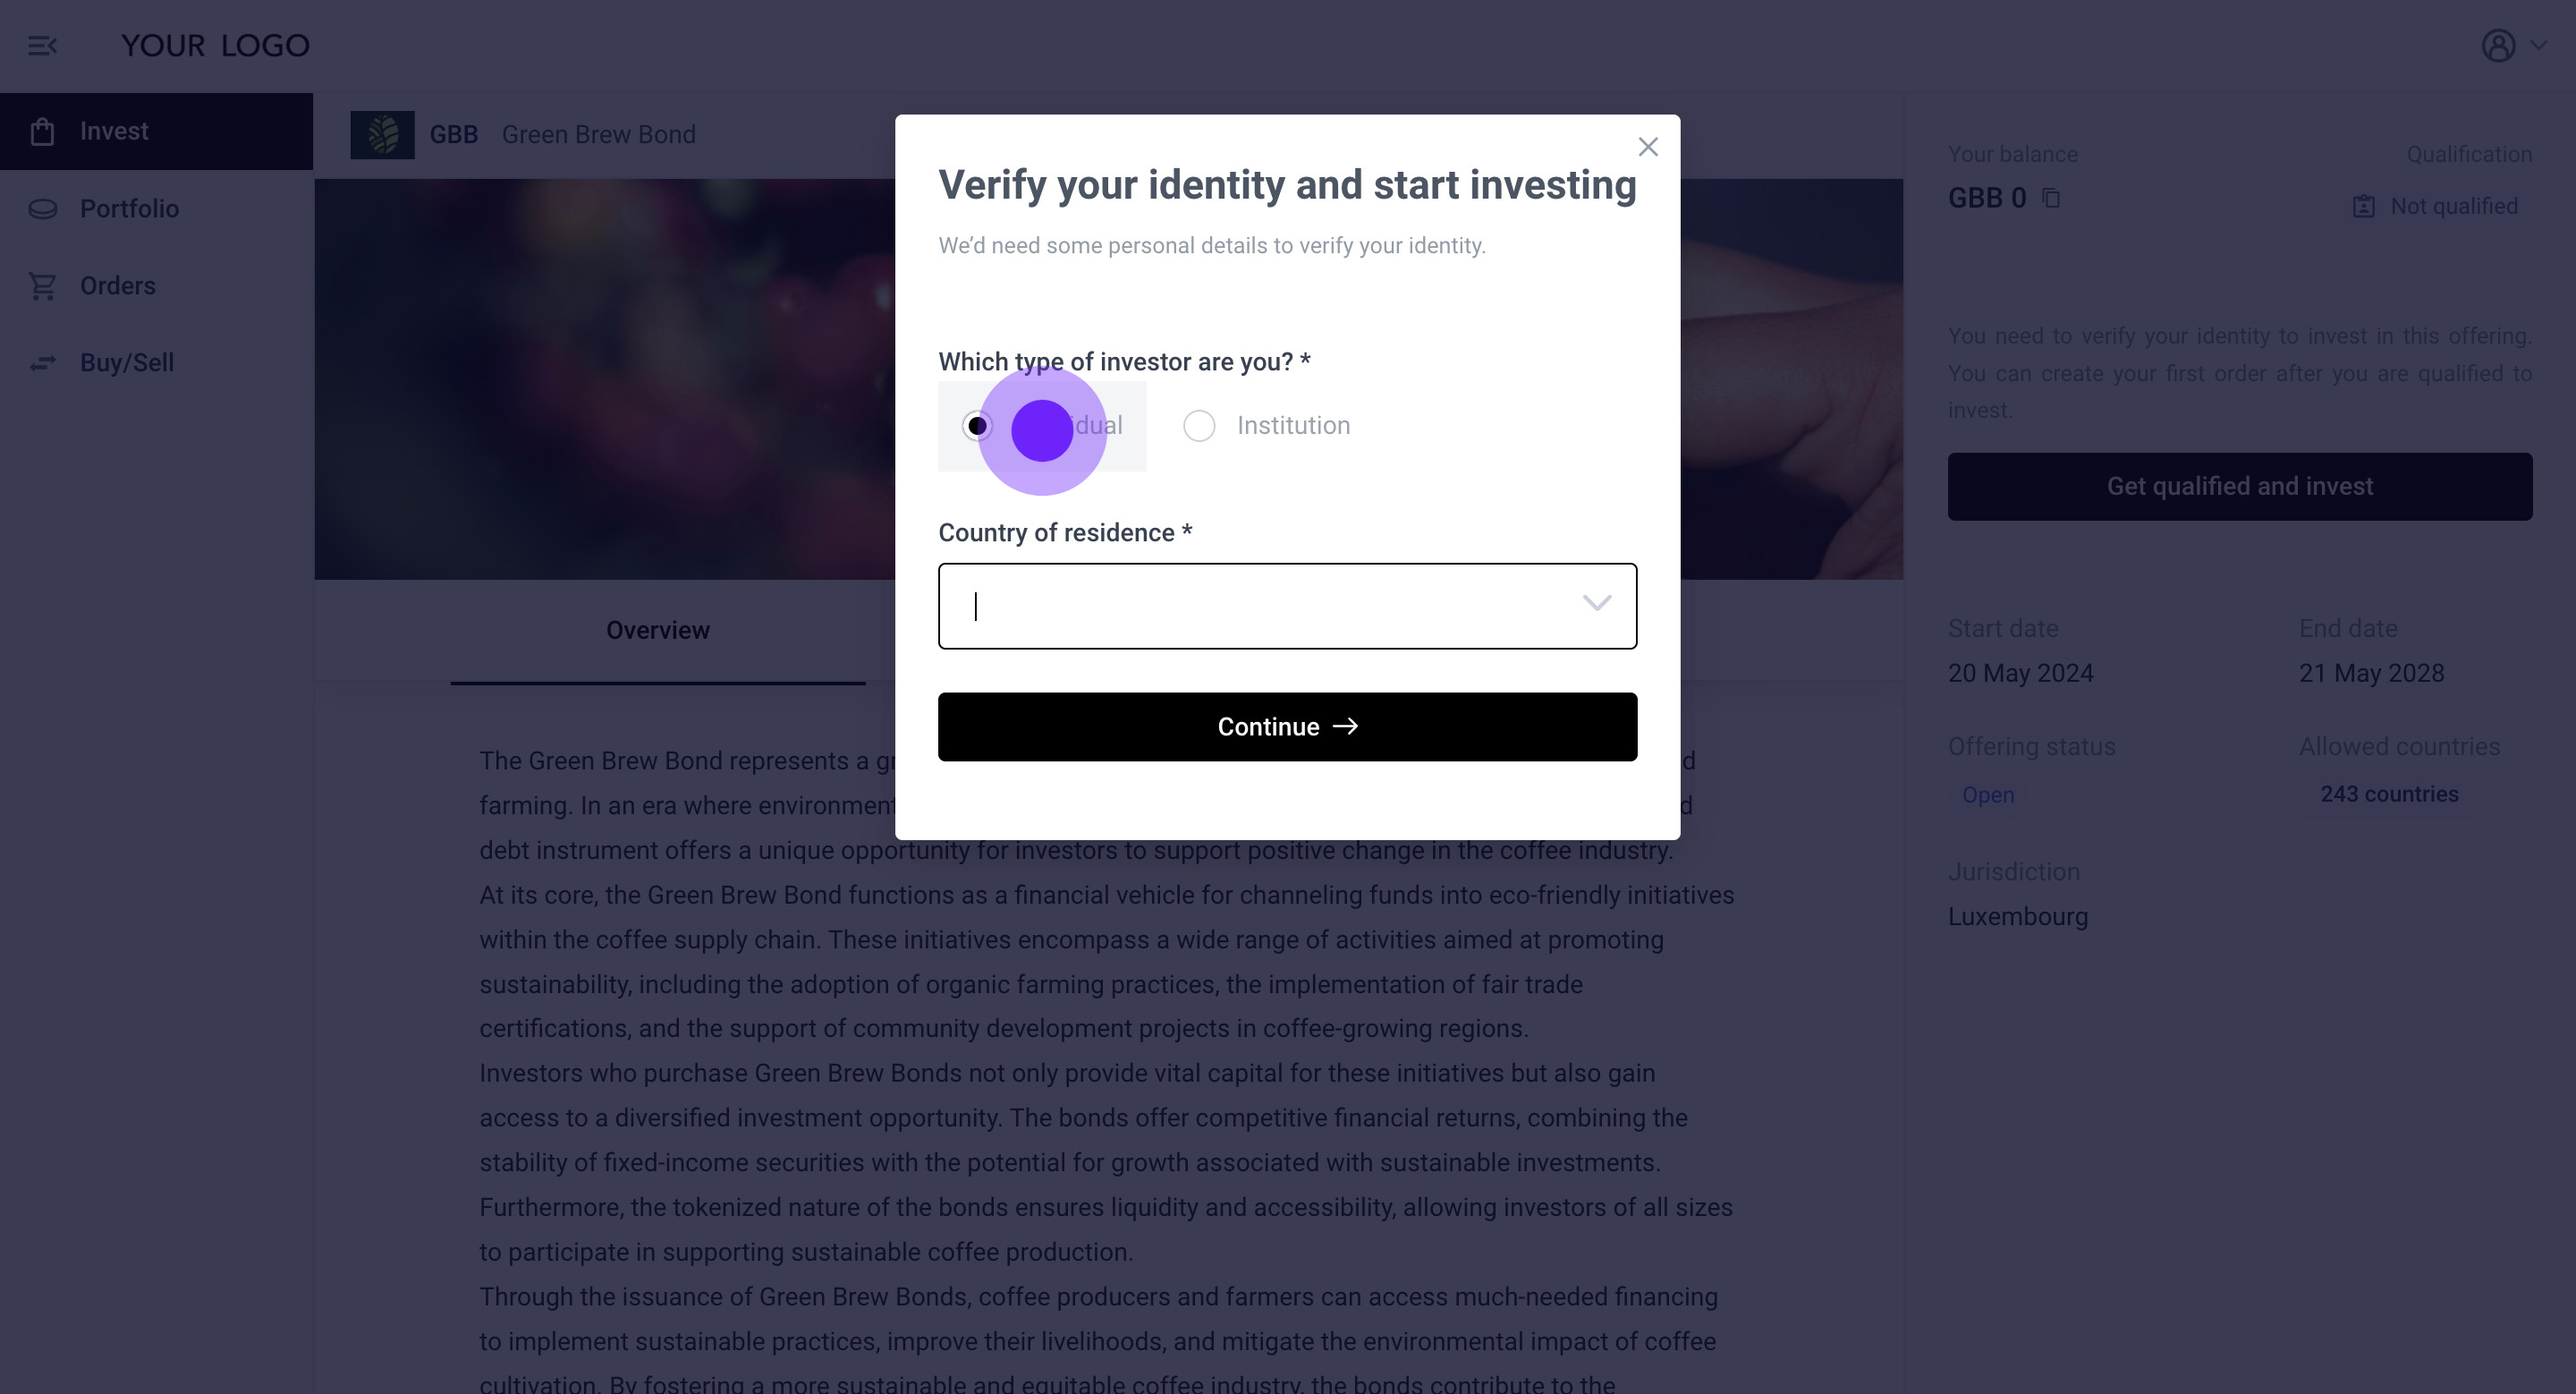
16. Next, select your country of residency from the dropdown list.

17. Next, click on 'Continue'.

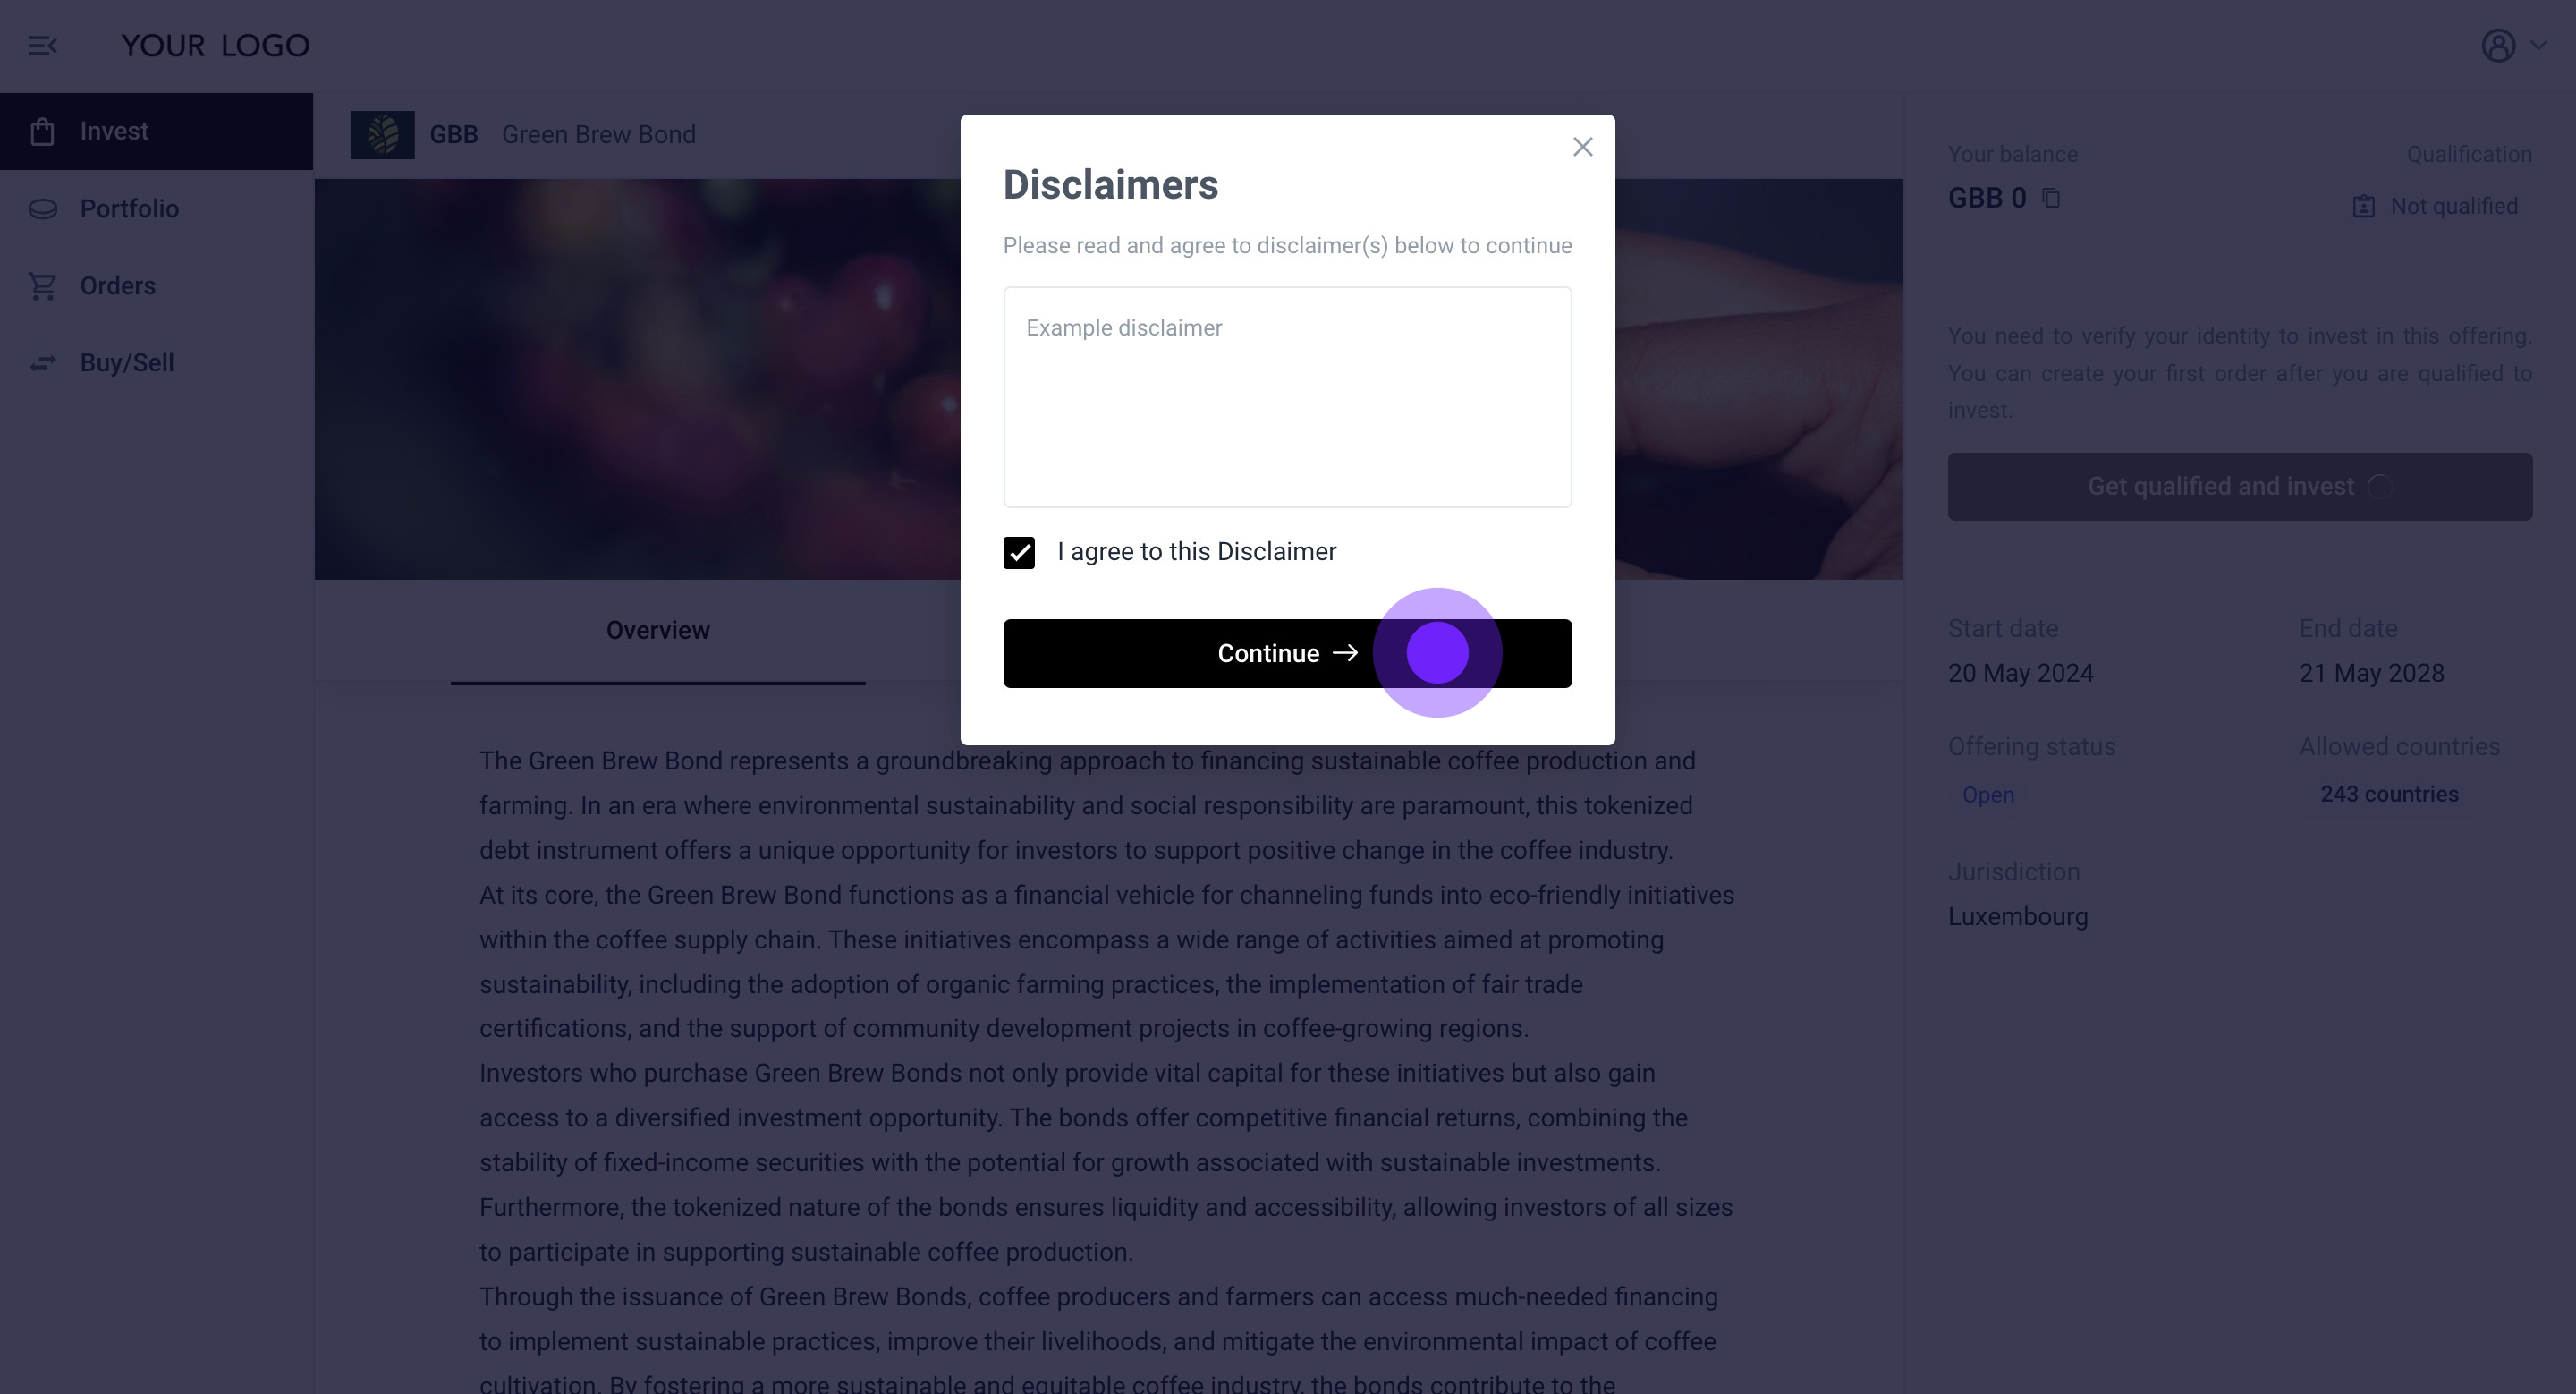
18. If the Issuer has configured a Disclaimer(s), it will appear here. Please read and agree to the disclaimer, then click 'Continue'.
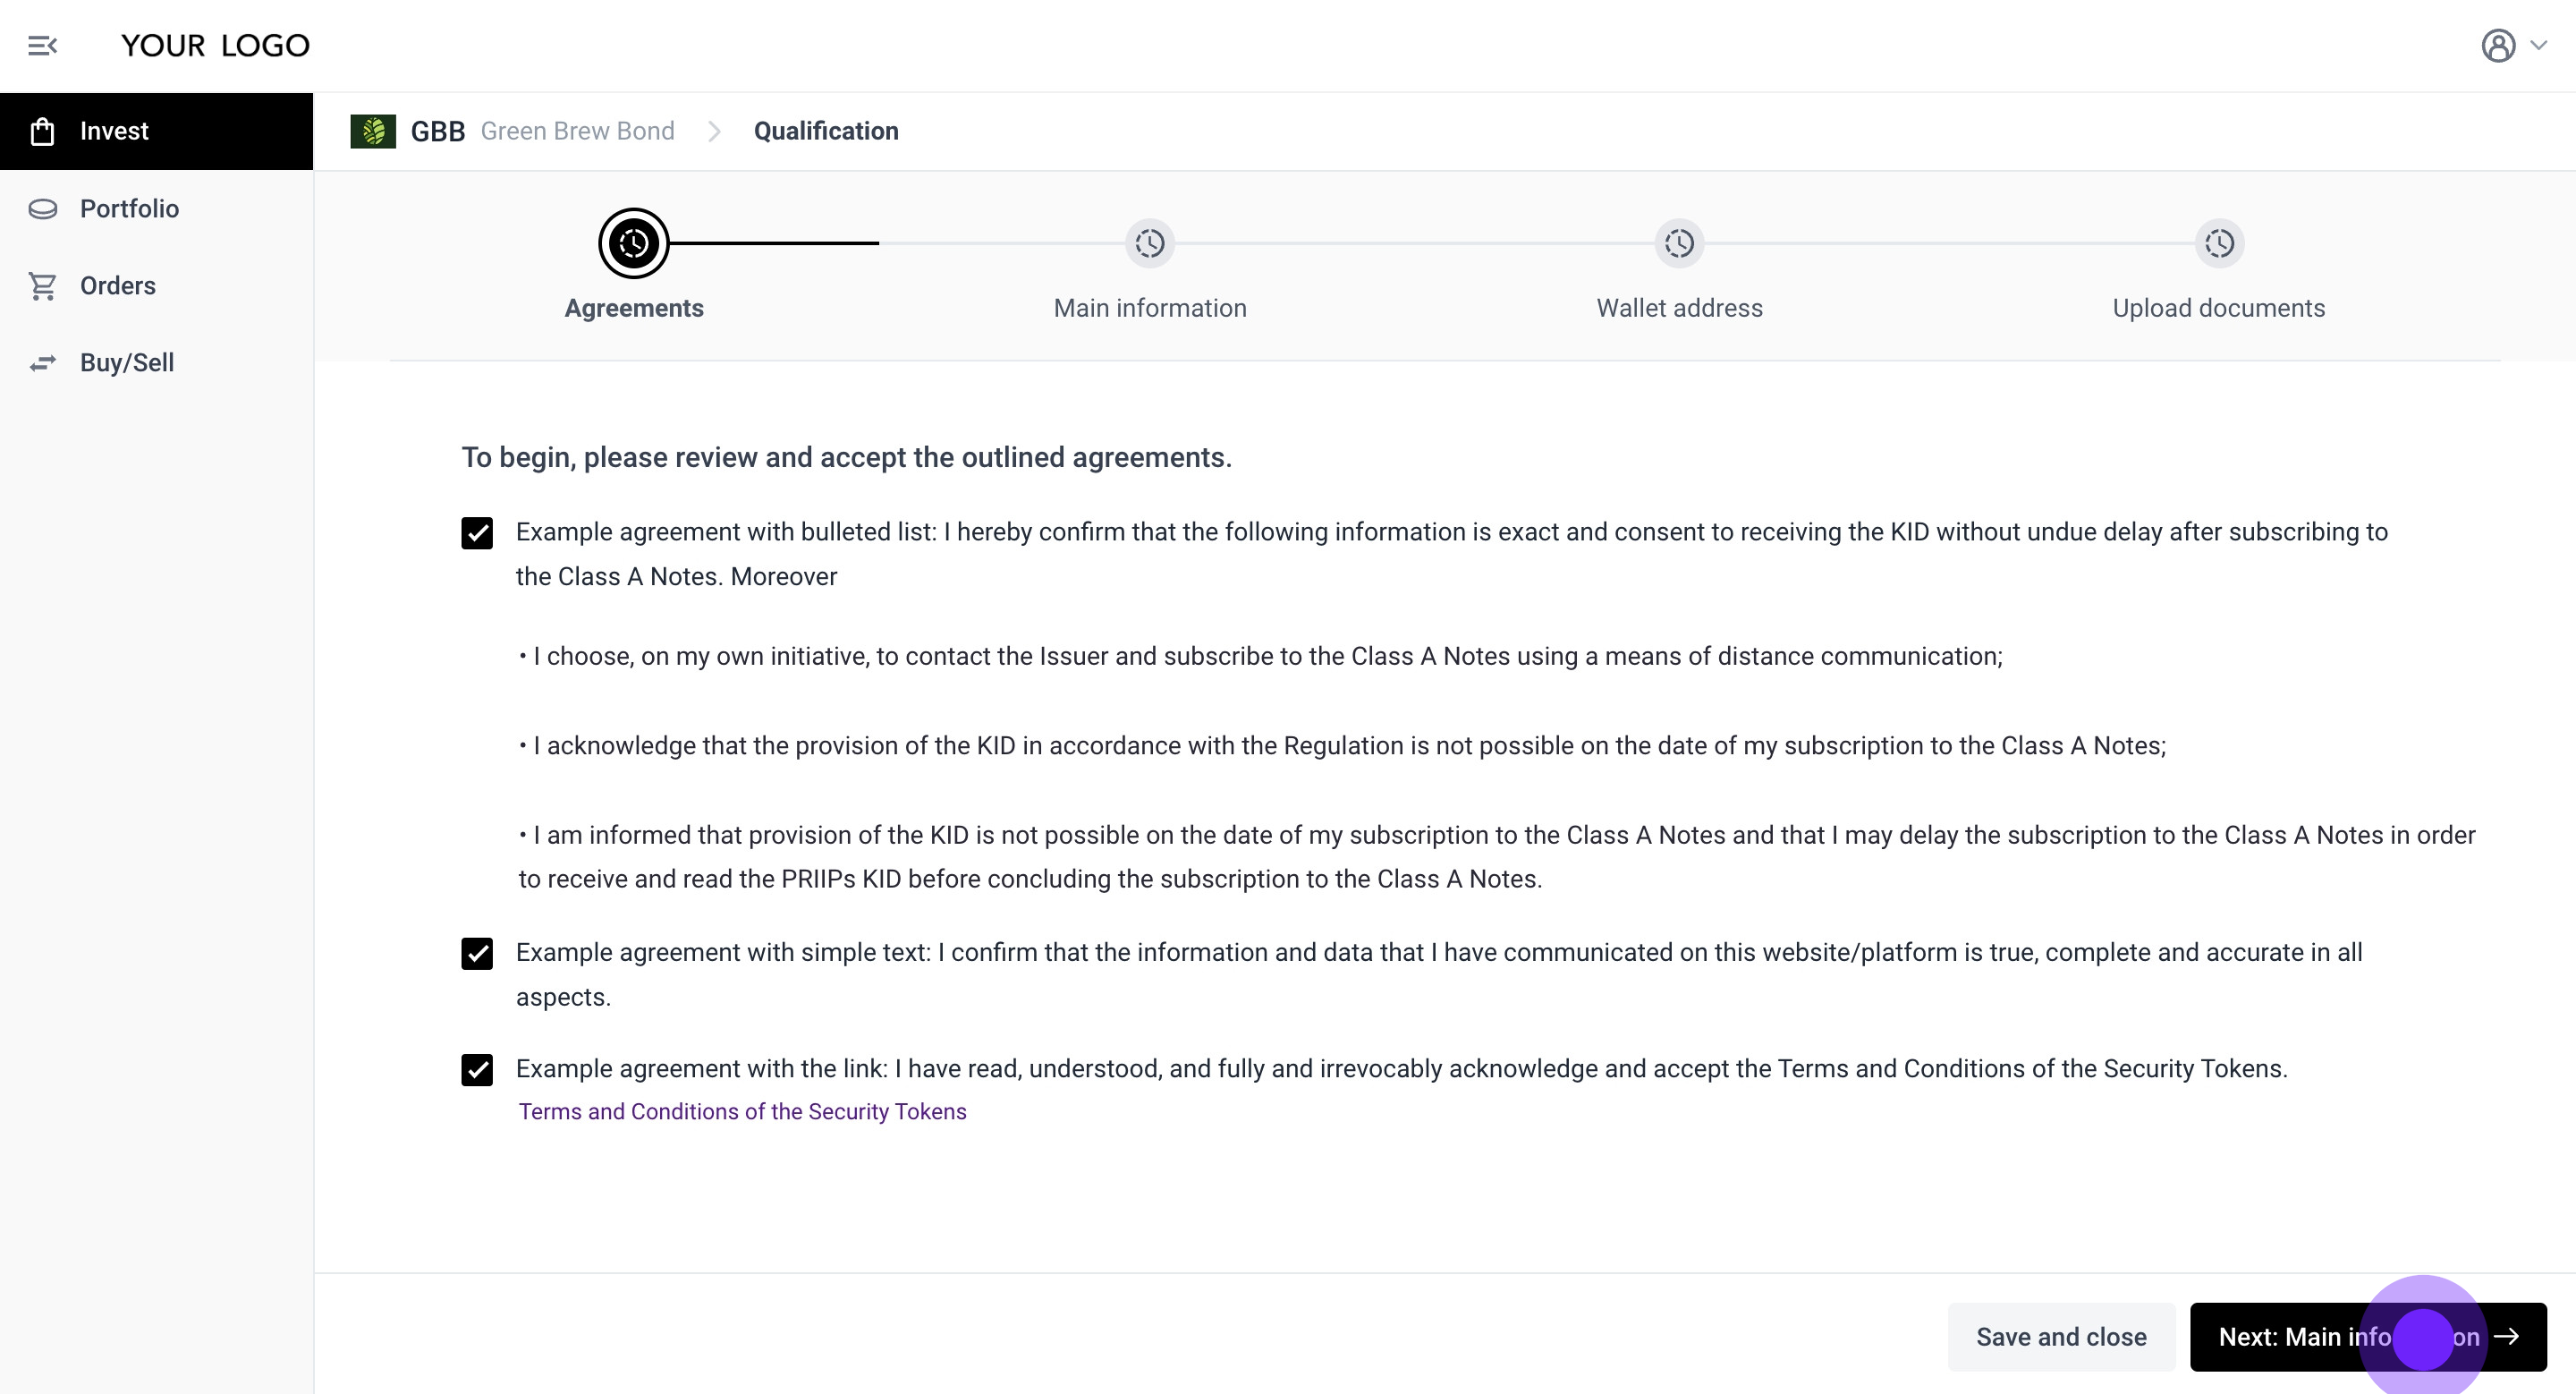
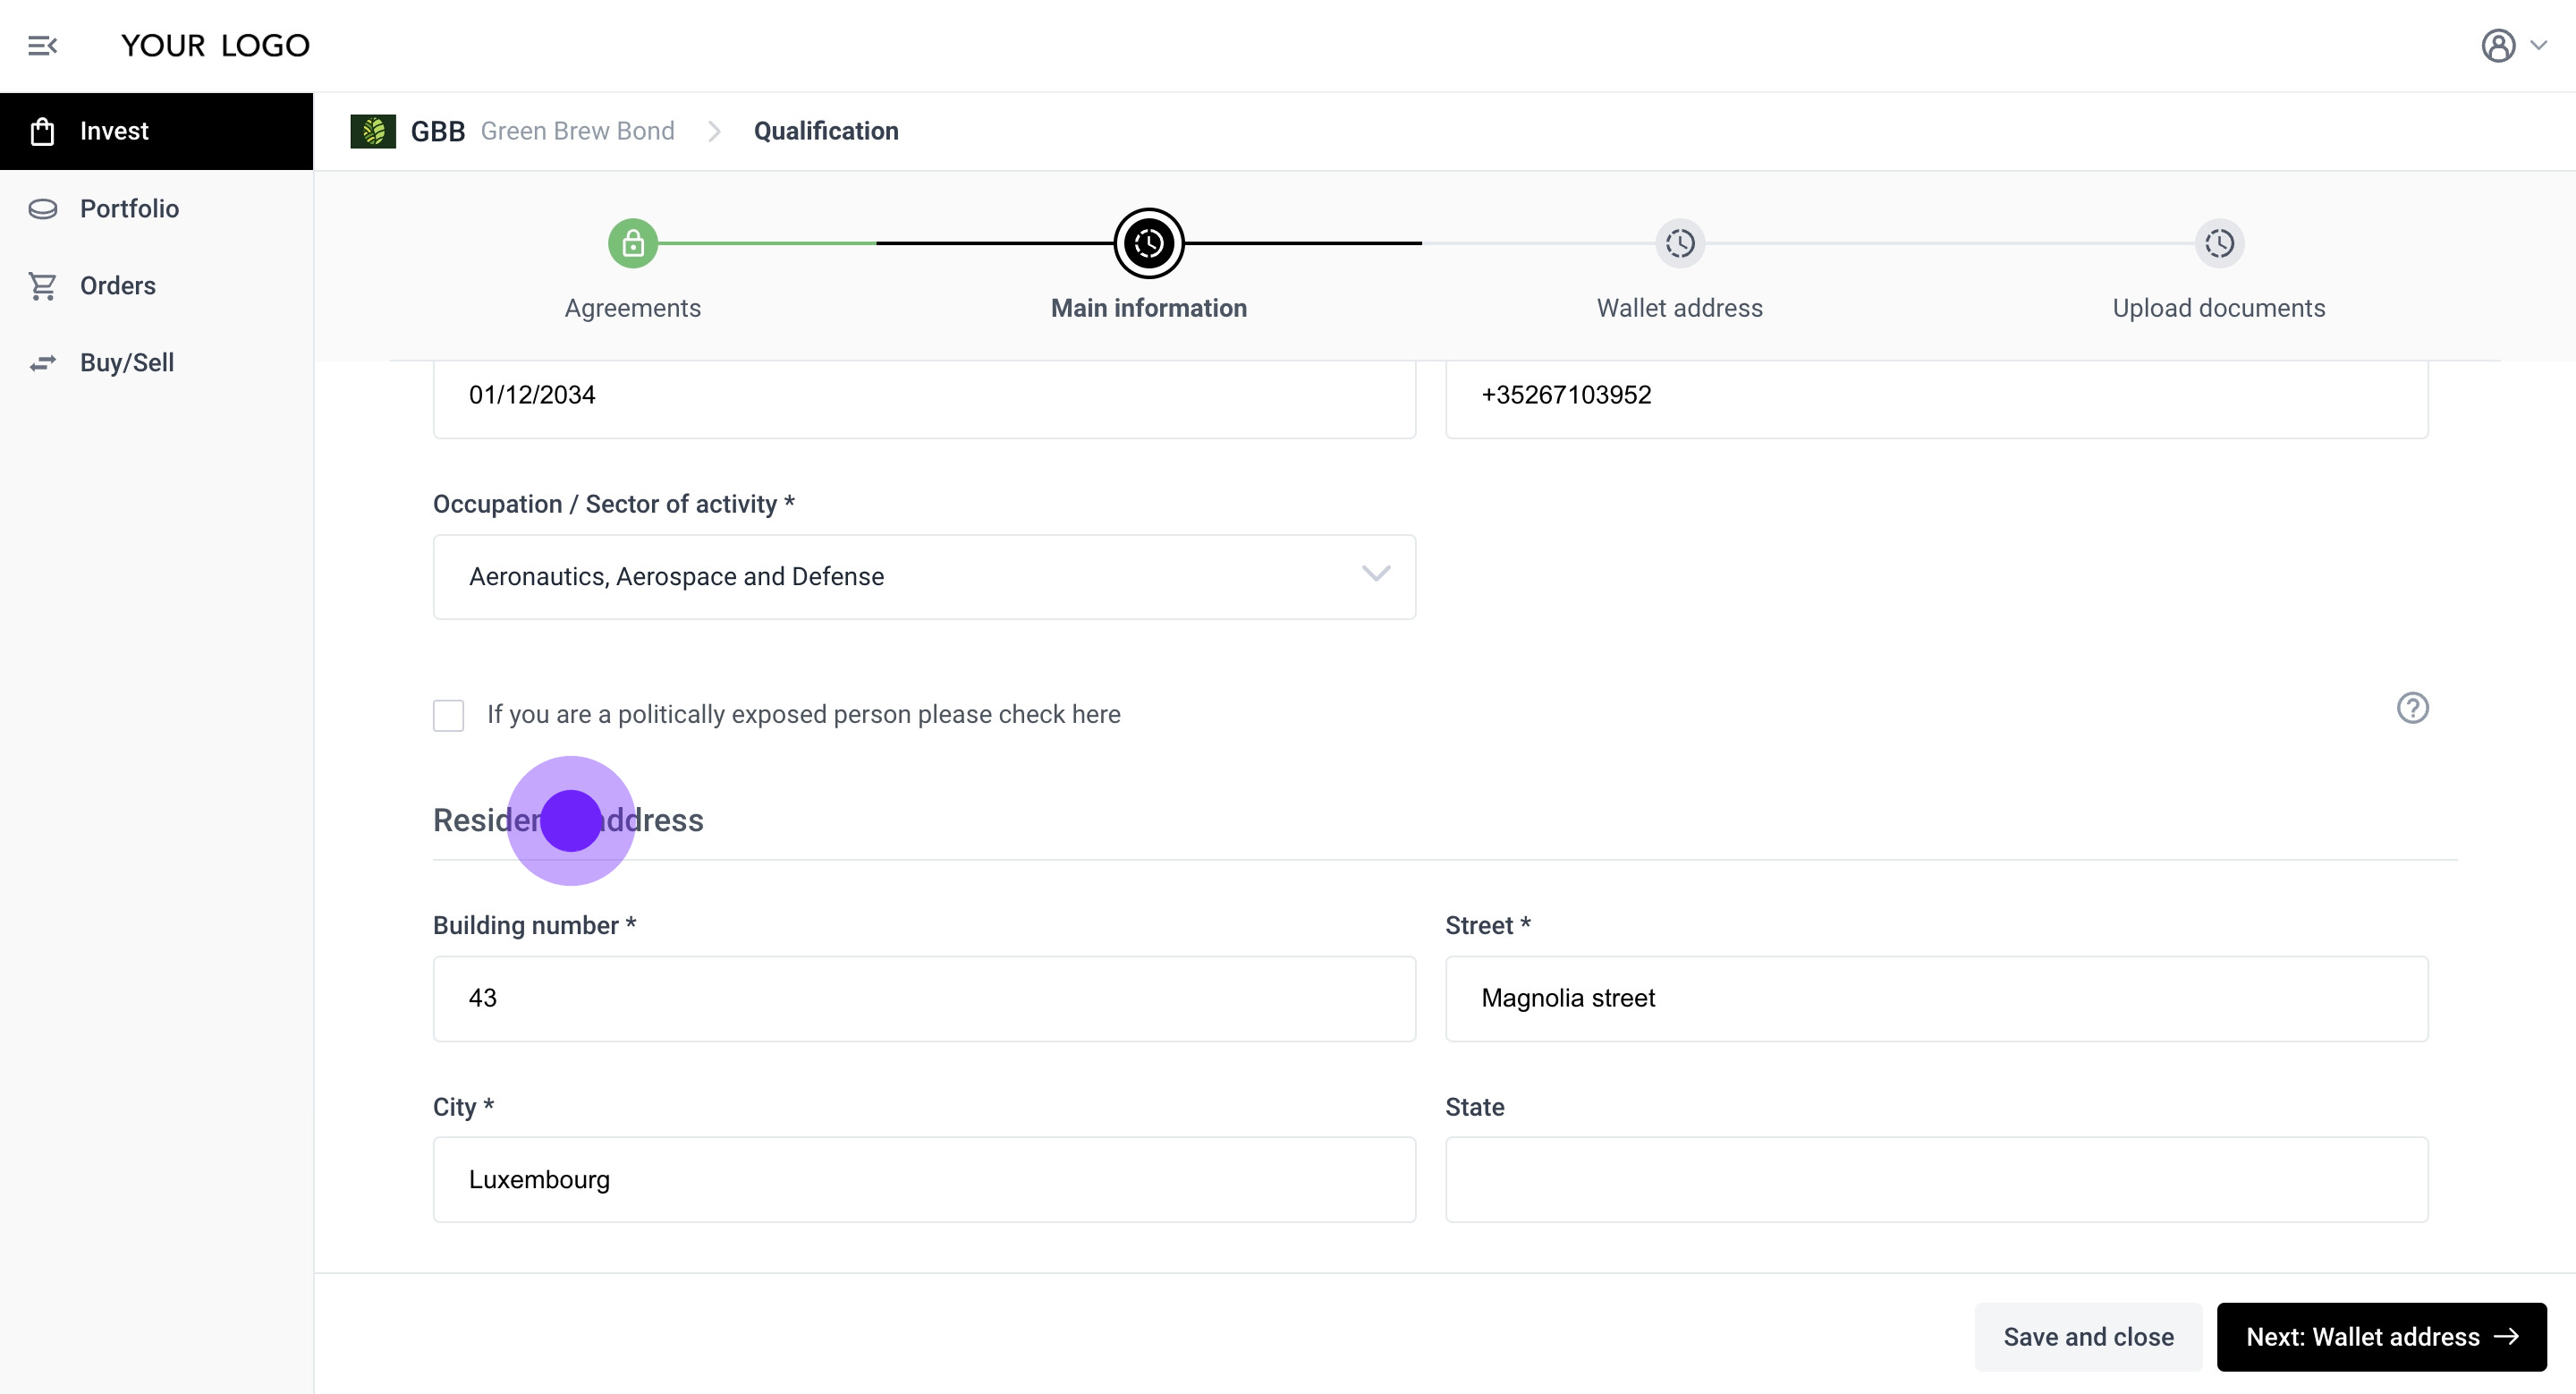
19. If the Issuer has configured any mandatory Agreement points, they will be displayed here. Please review them.

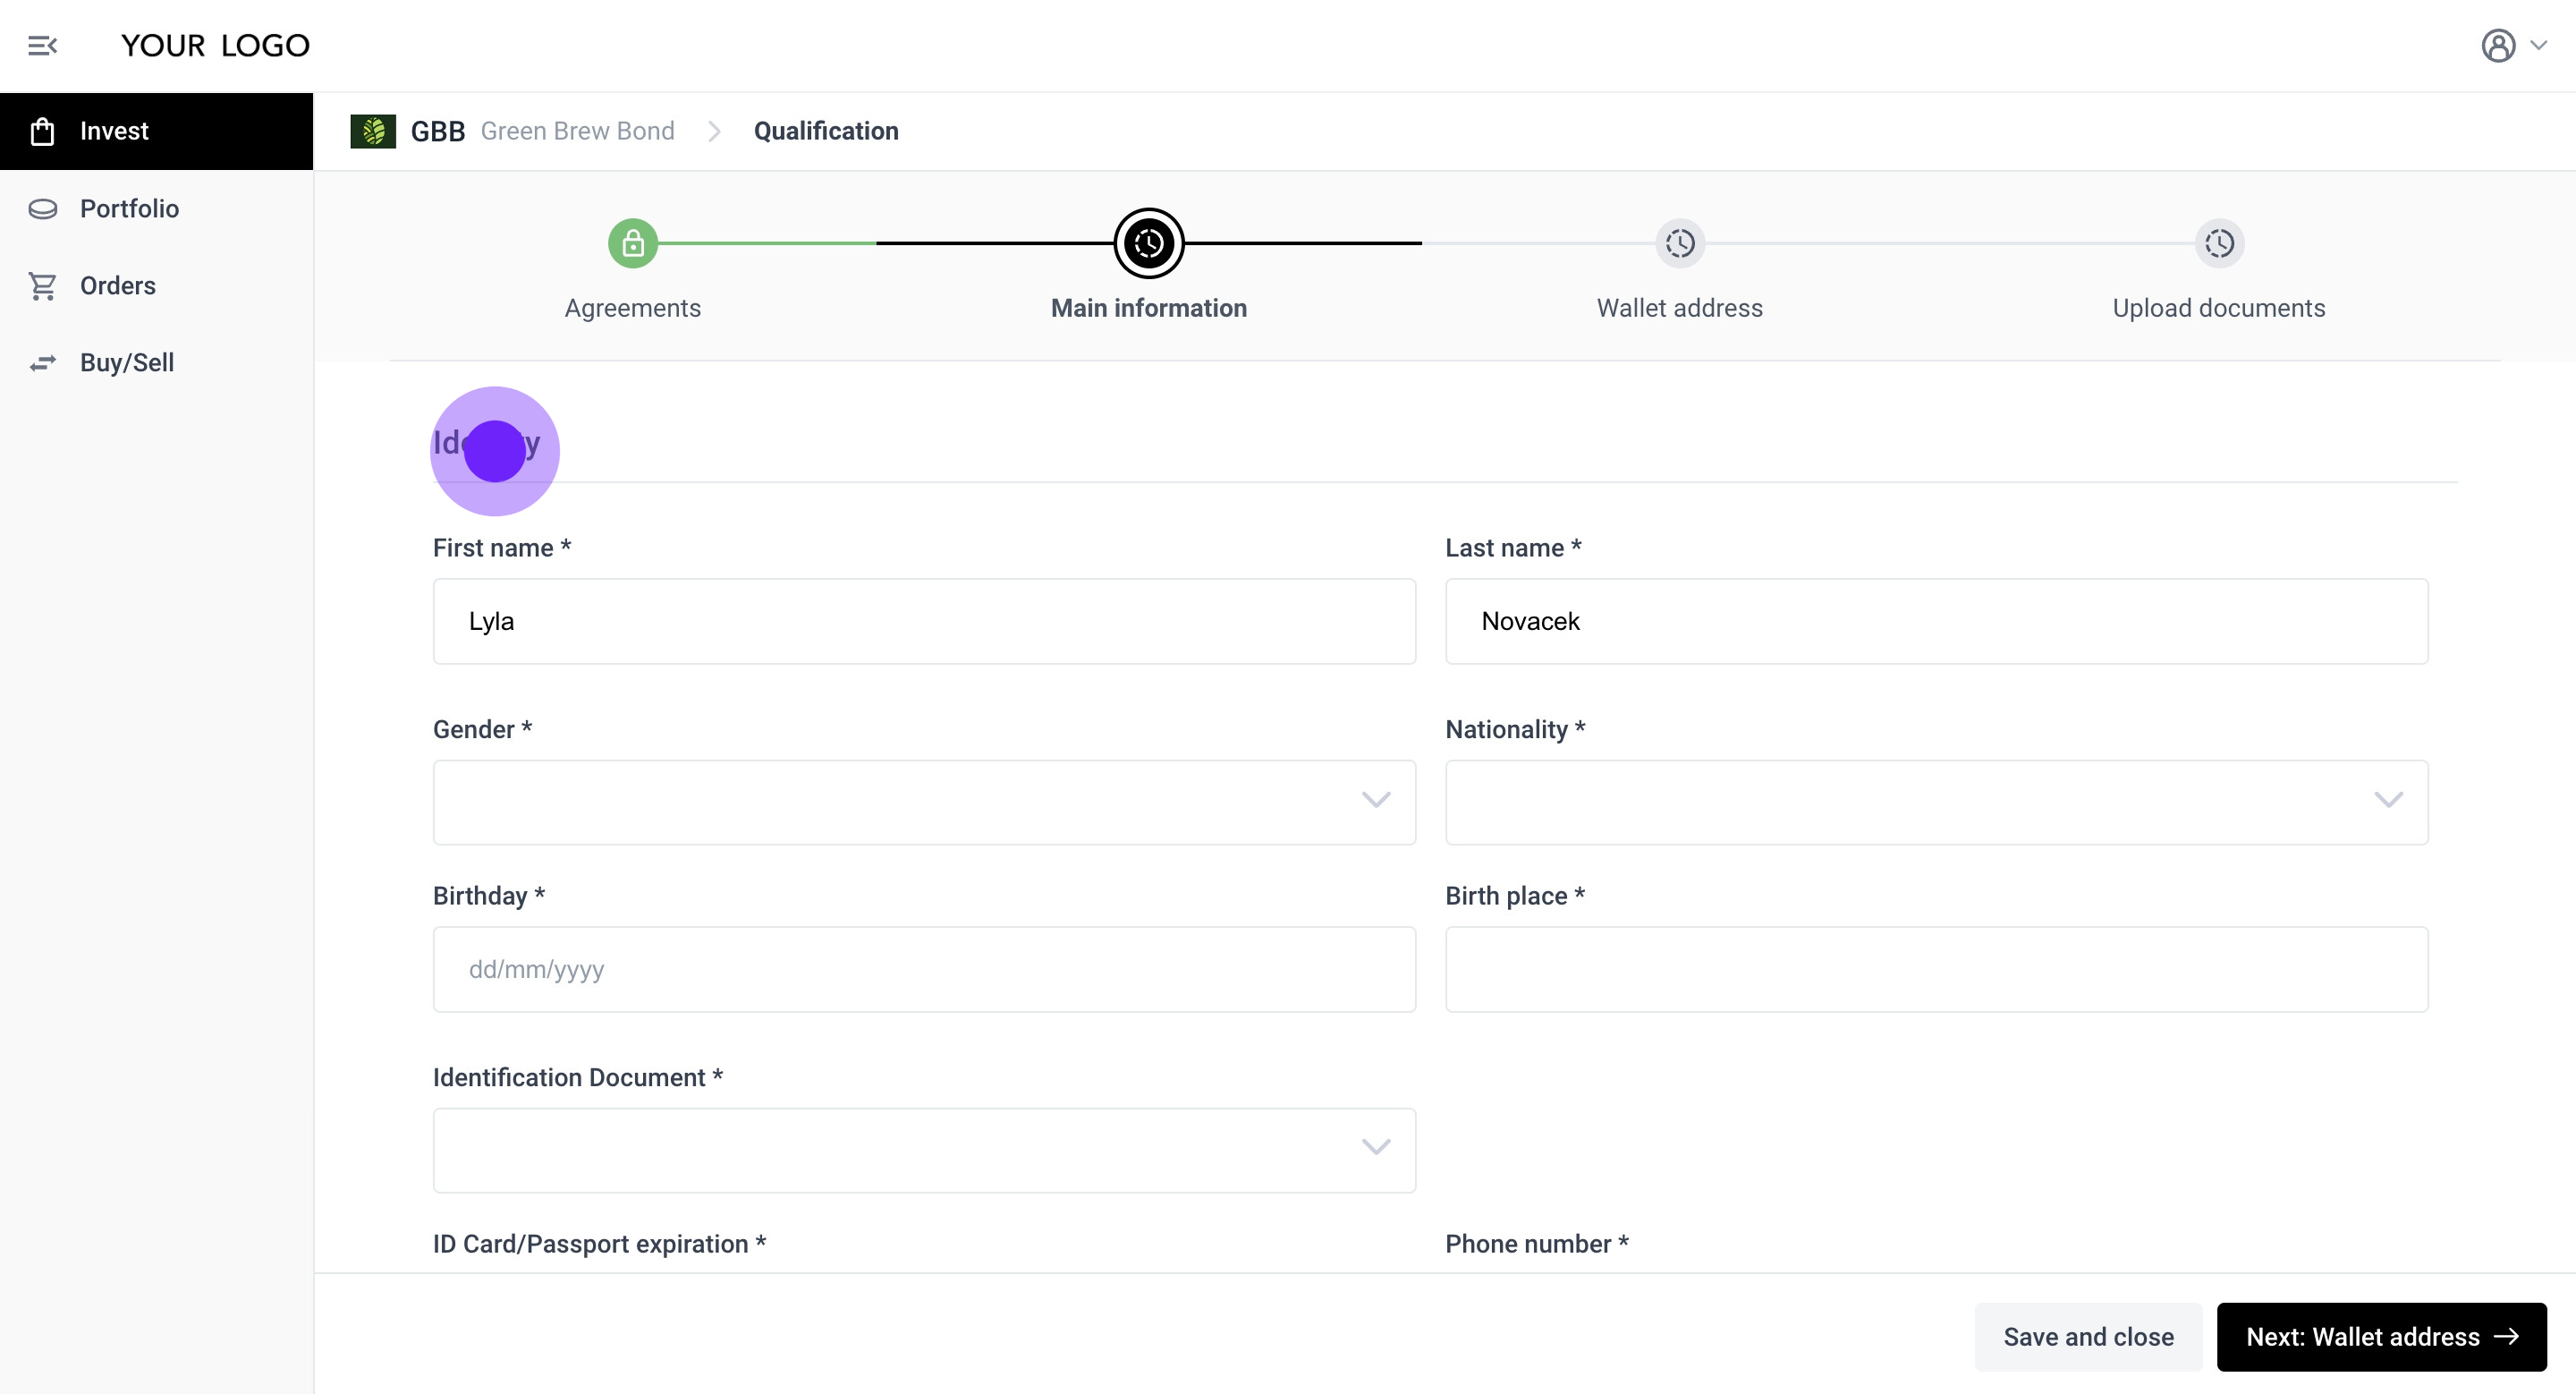
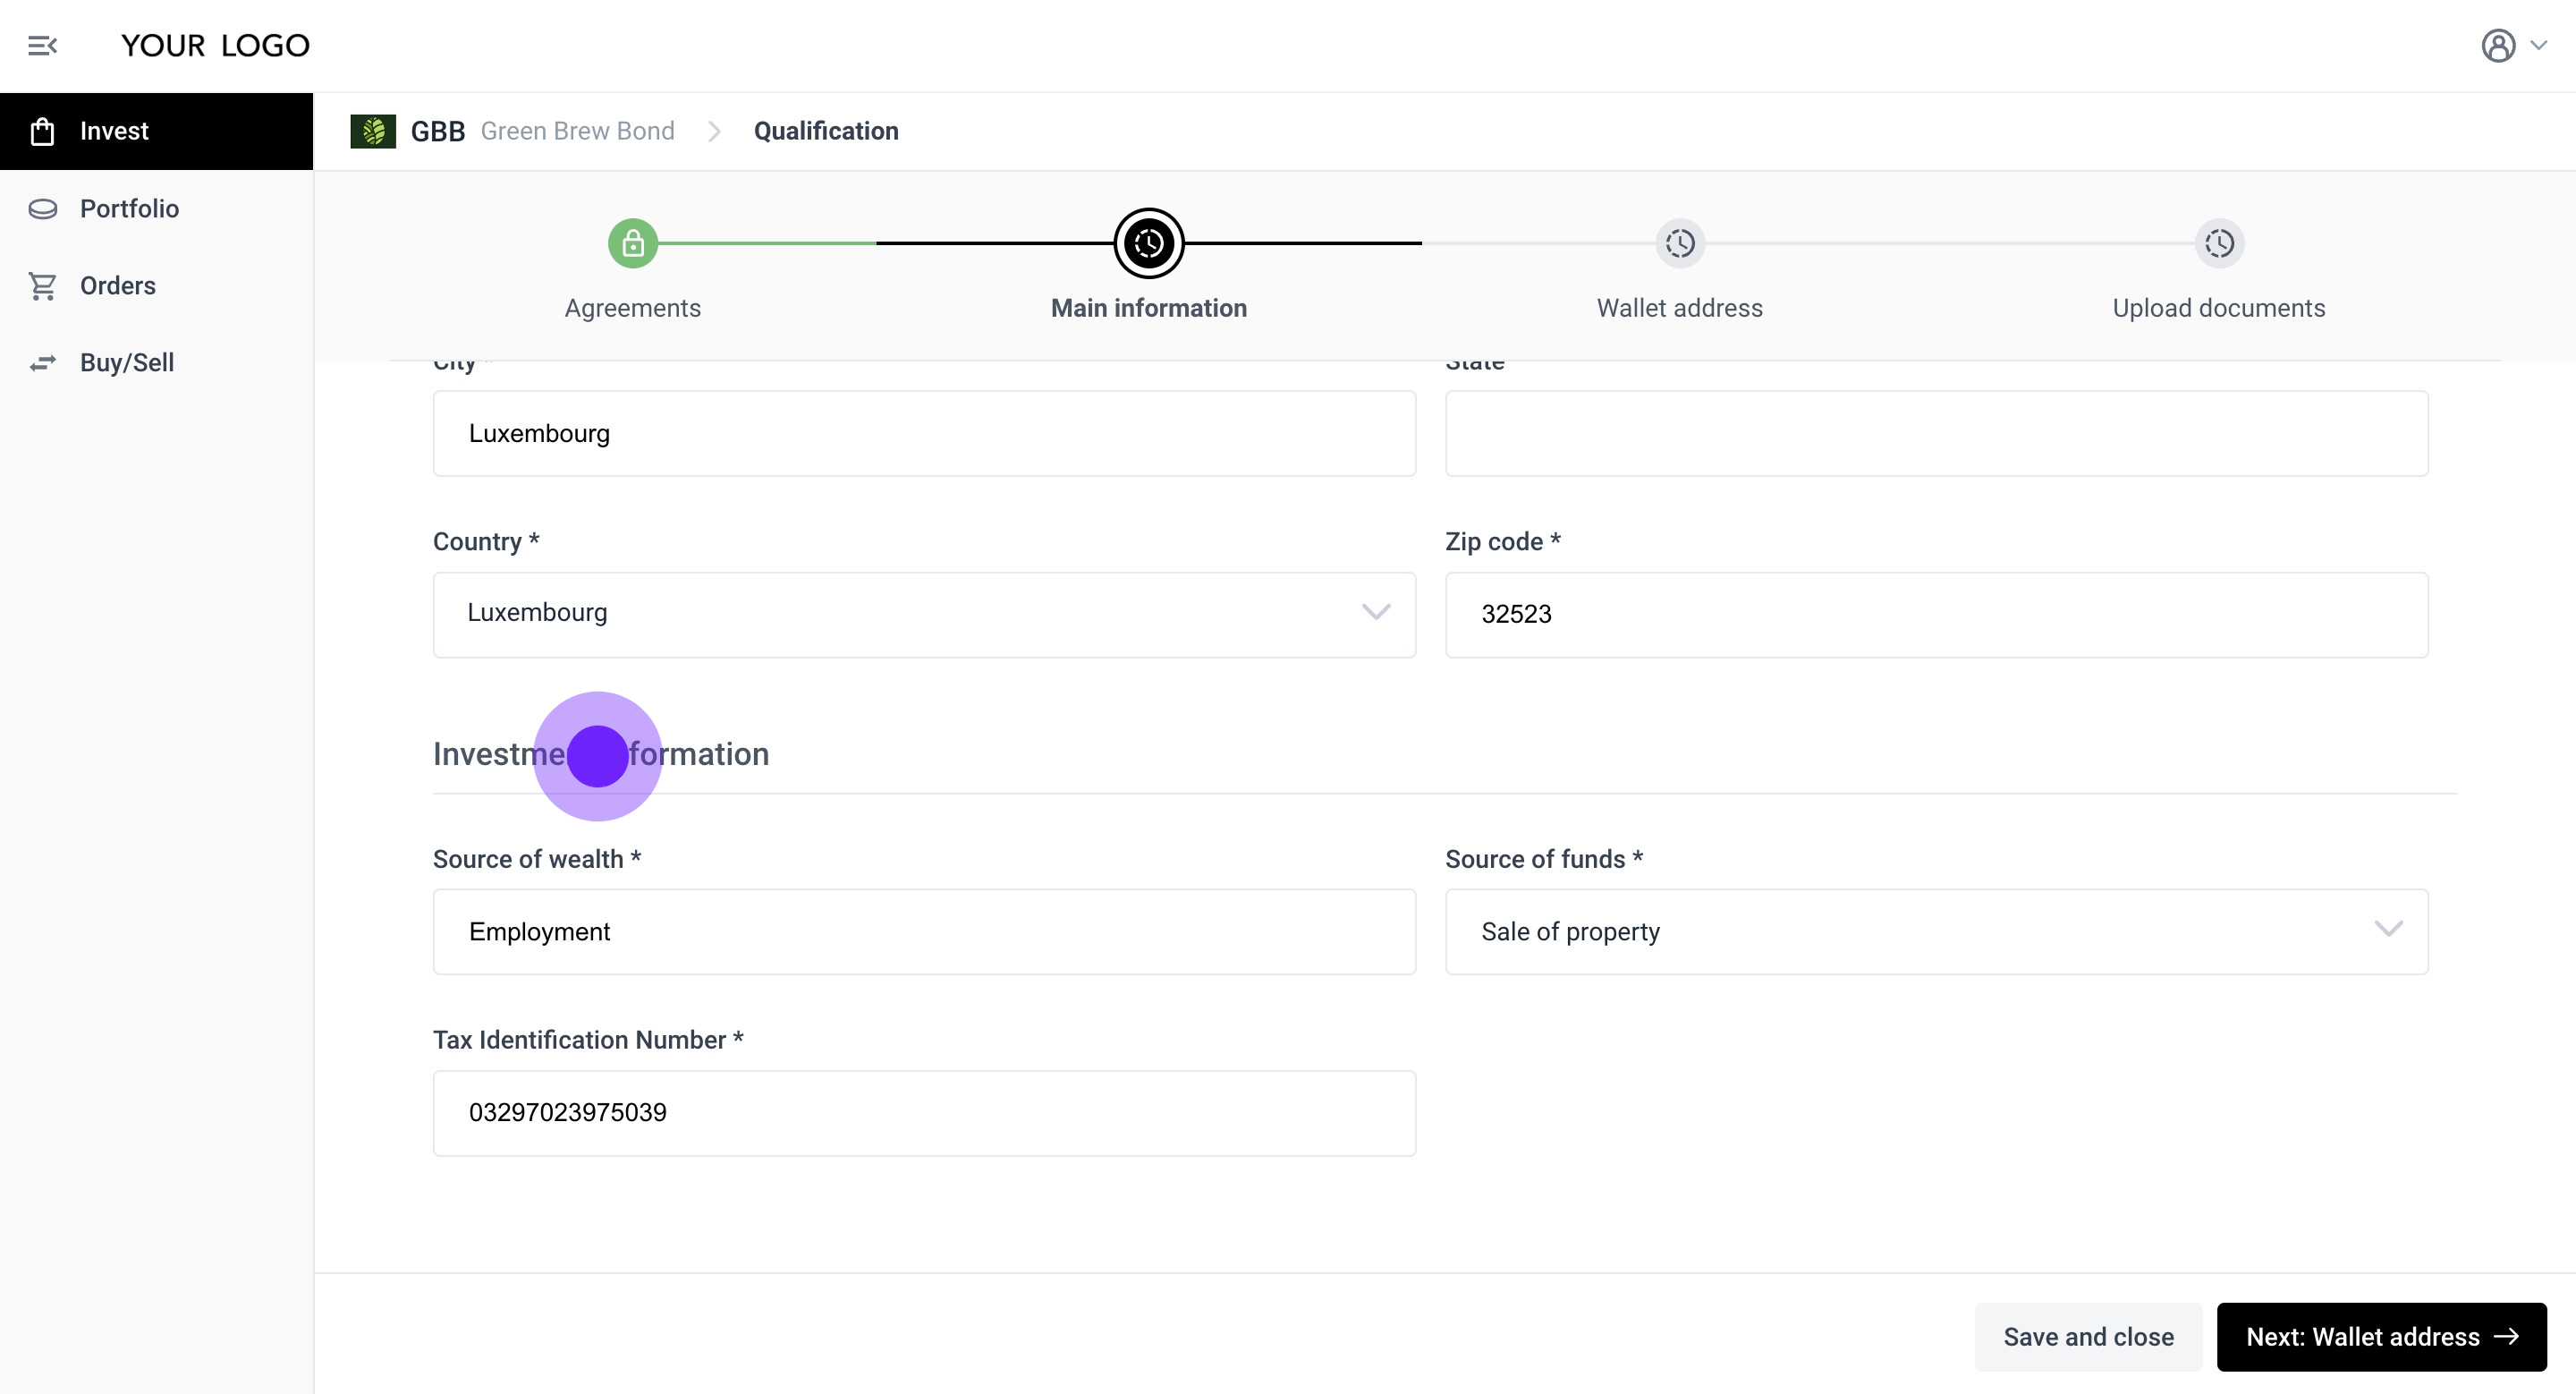
20. Once you have accepted the outlined agreements, proceed to the next step by clicking this button.
21. Please fill in your identity, residency, and investor information as required by the Issuer to comply with KYC/AML regulations.
22. Please continue by entering your residency address.
23. Complete the 'Main information' section by providing your investor profile and investment-related information. Please note that the Issuer may require additional information beyond what is currently displayed here.
24. Once you have finished, click 'Next' to proceed to the 'Wallet address' step.

25. You will need a wallet to proceed with your qualification. If the Issuer has enabled the 'Integrated wallet' option, you can choose to use an Integrated wallet or connect your own user-managed one.
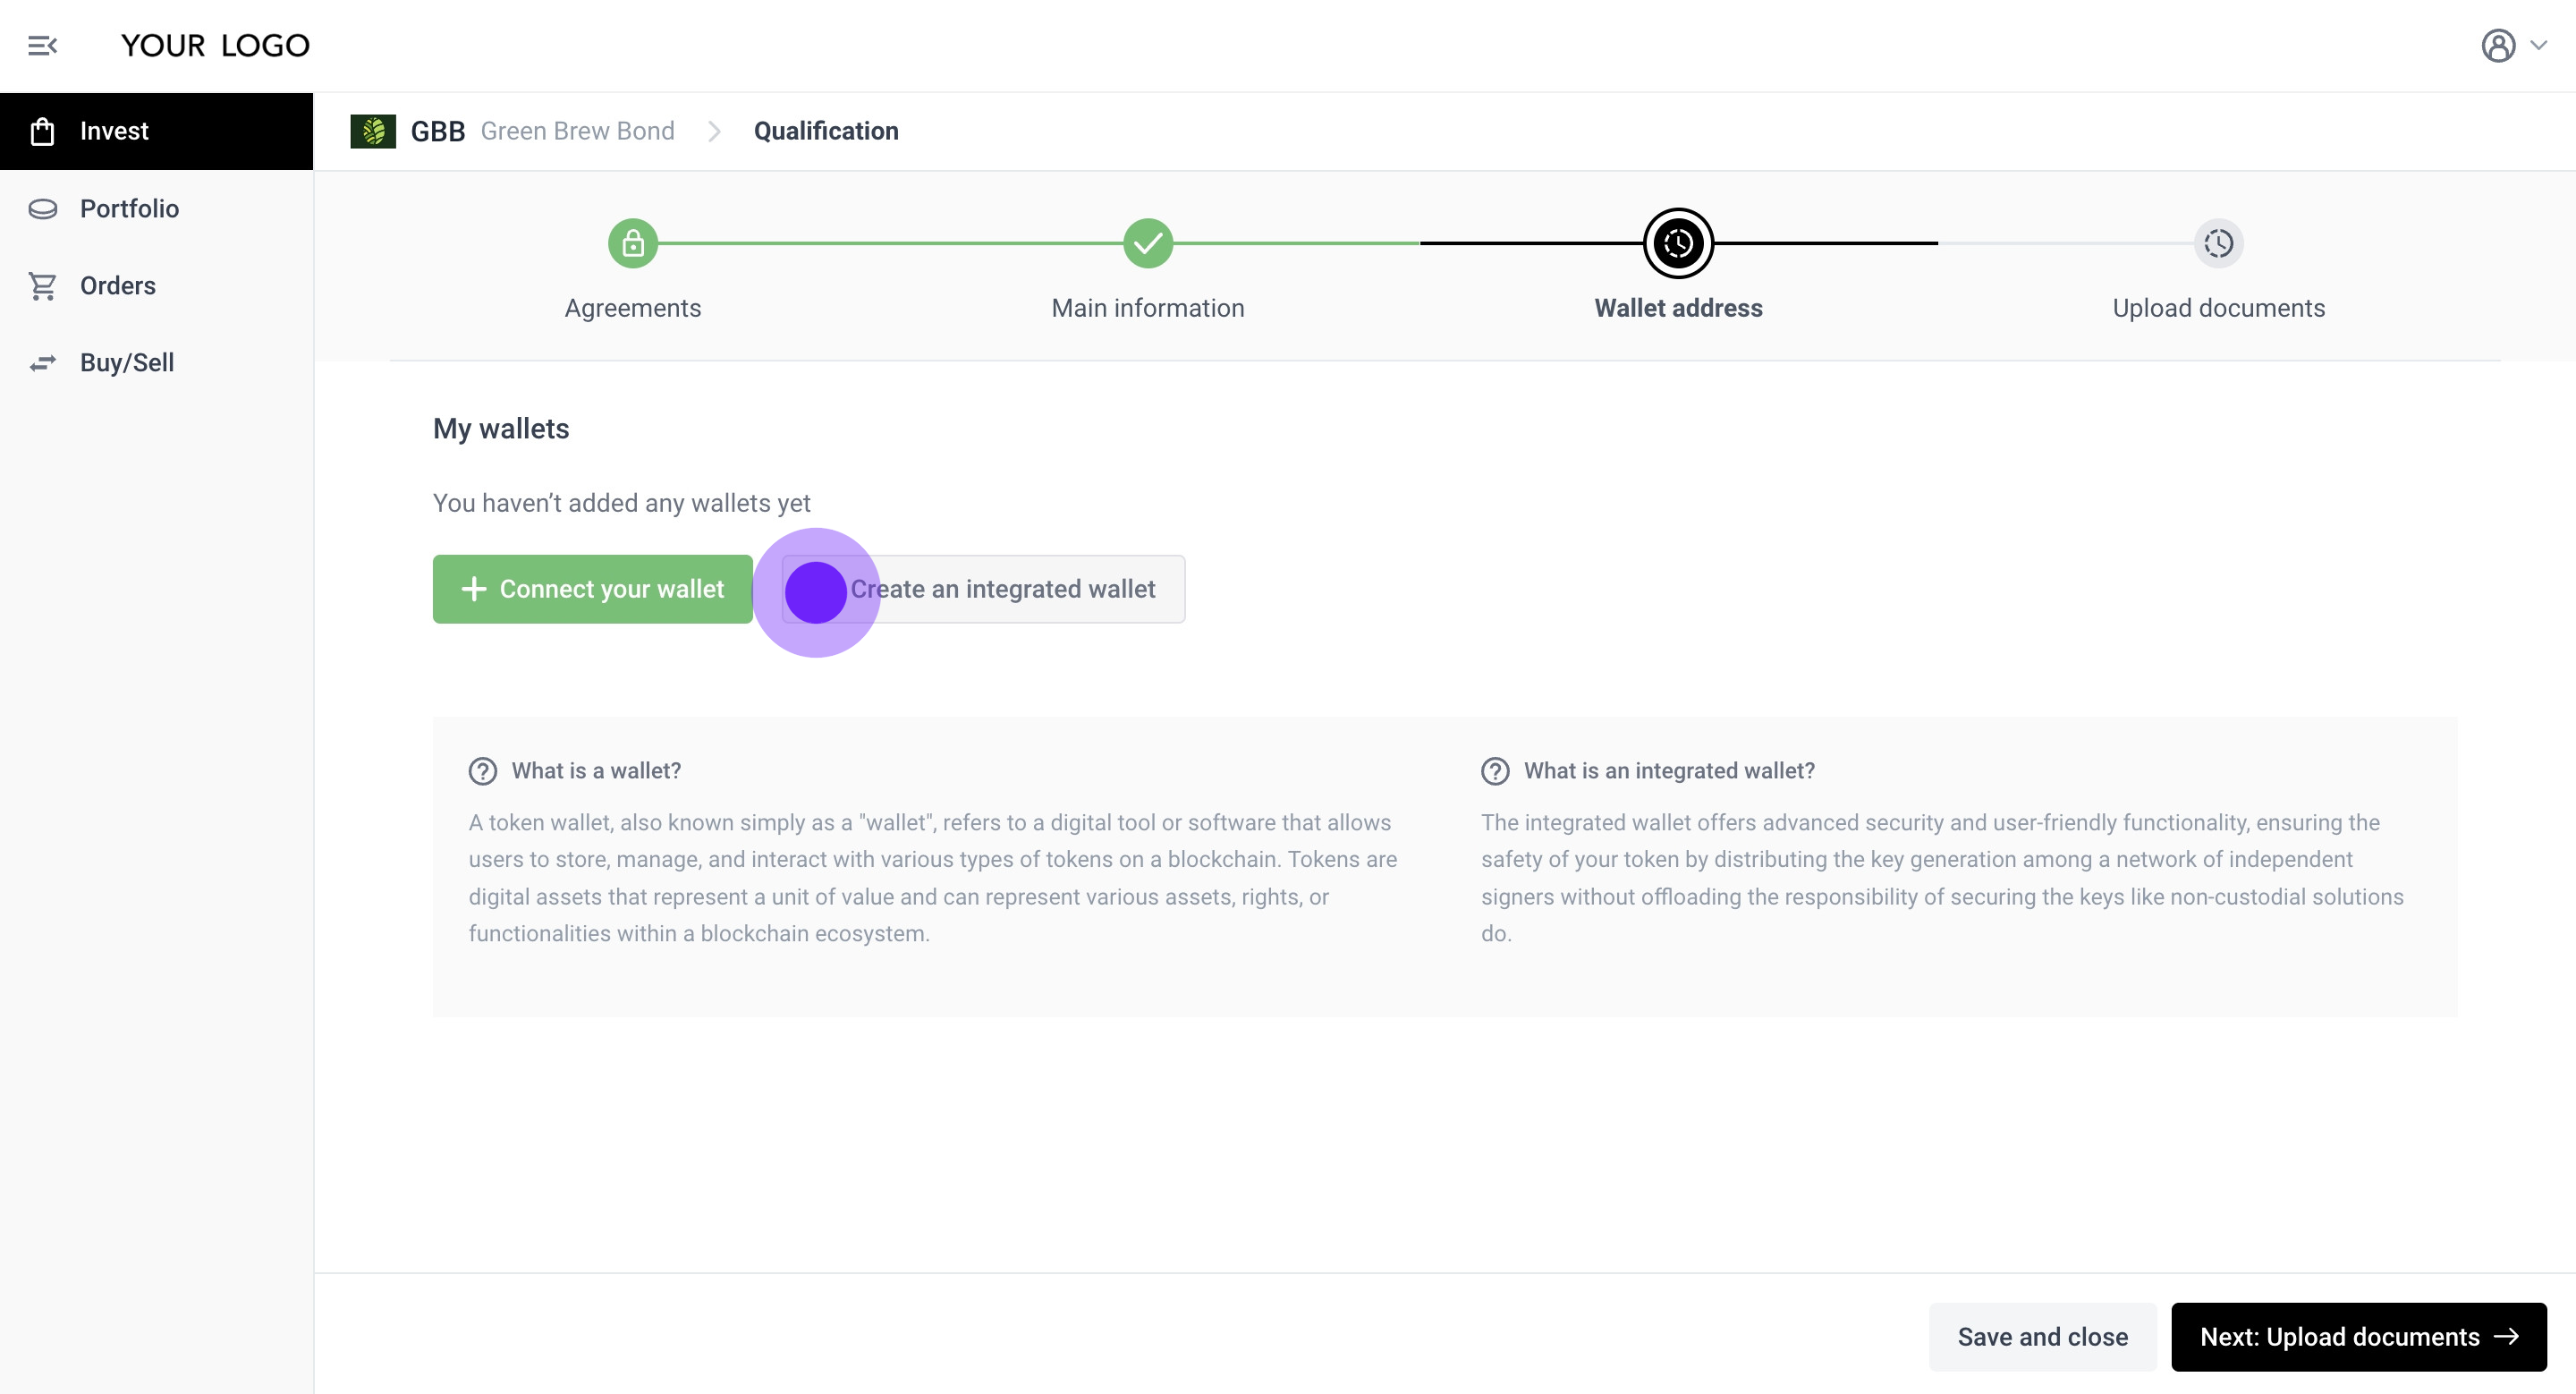
Connecting a user-managed wallet
26. If the Issuer has not activated the Integrated wallet option, you will only see the 'Connect your wallet' button.
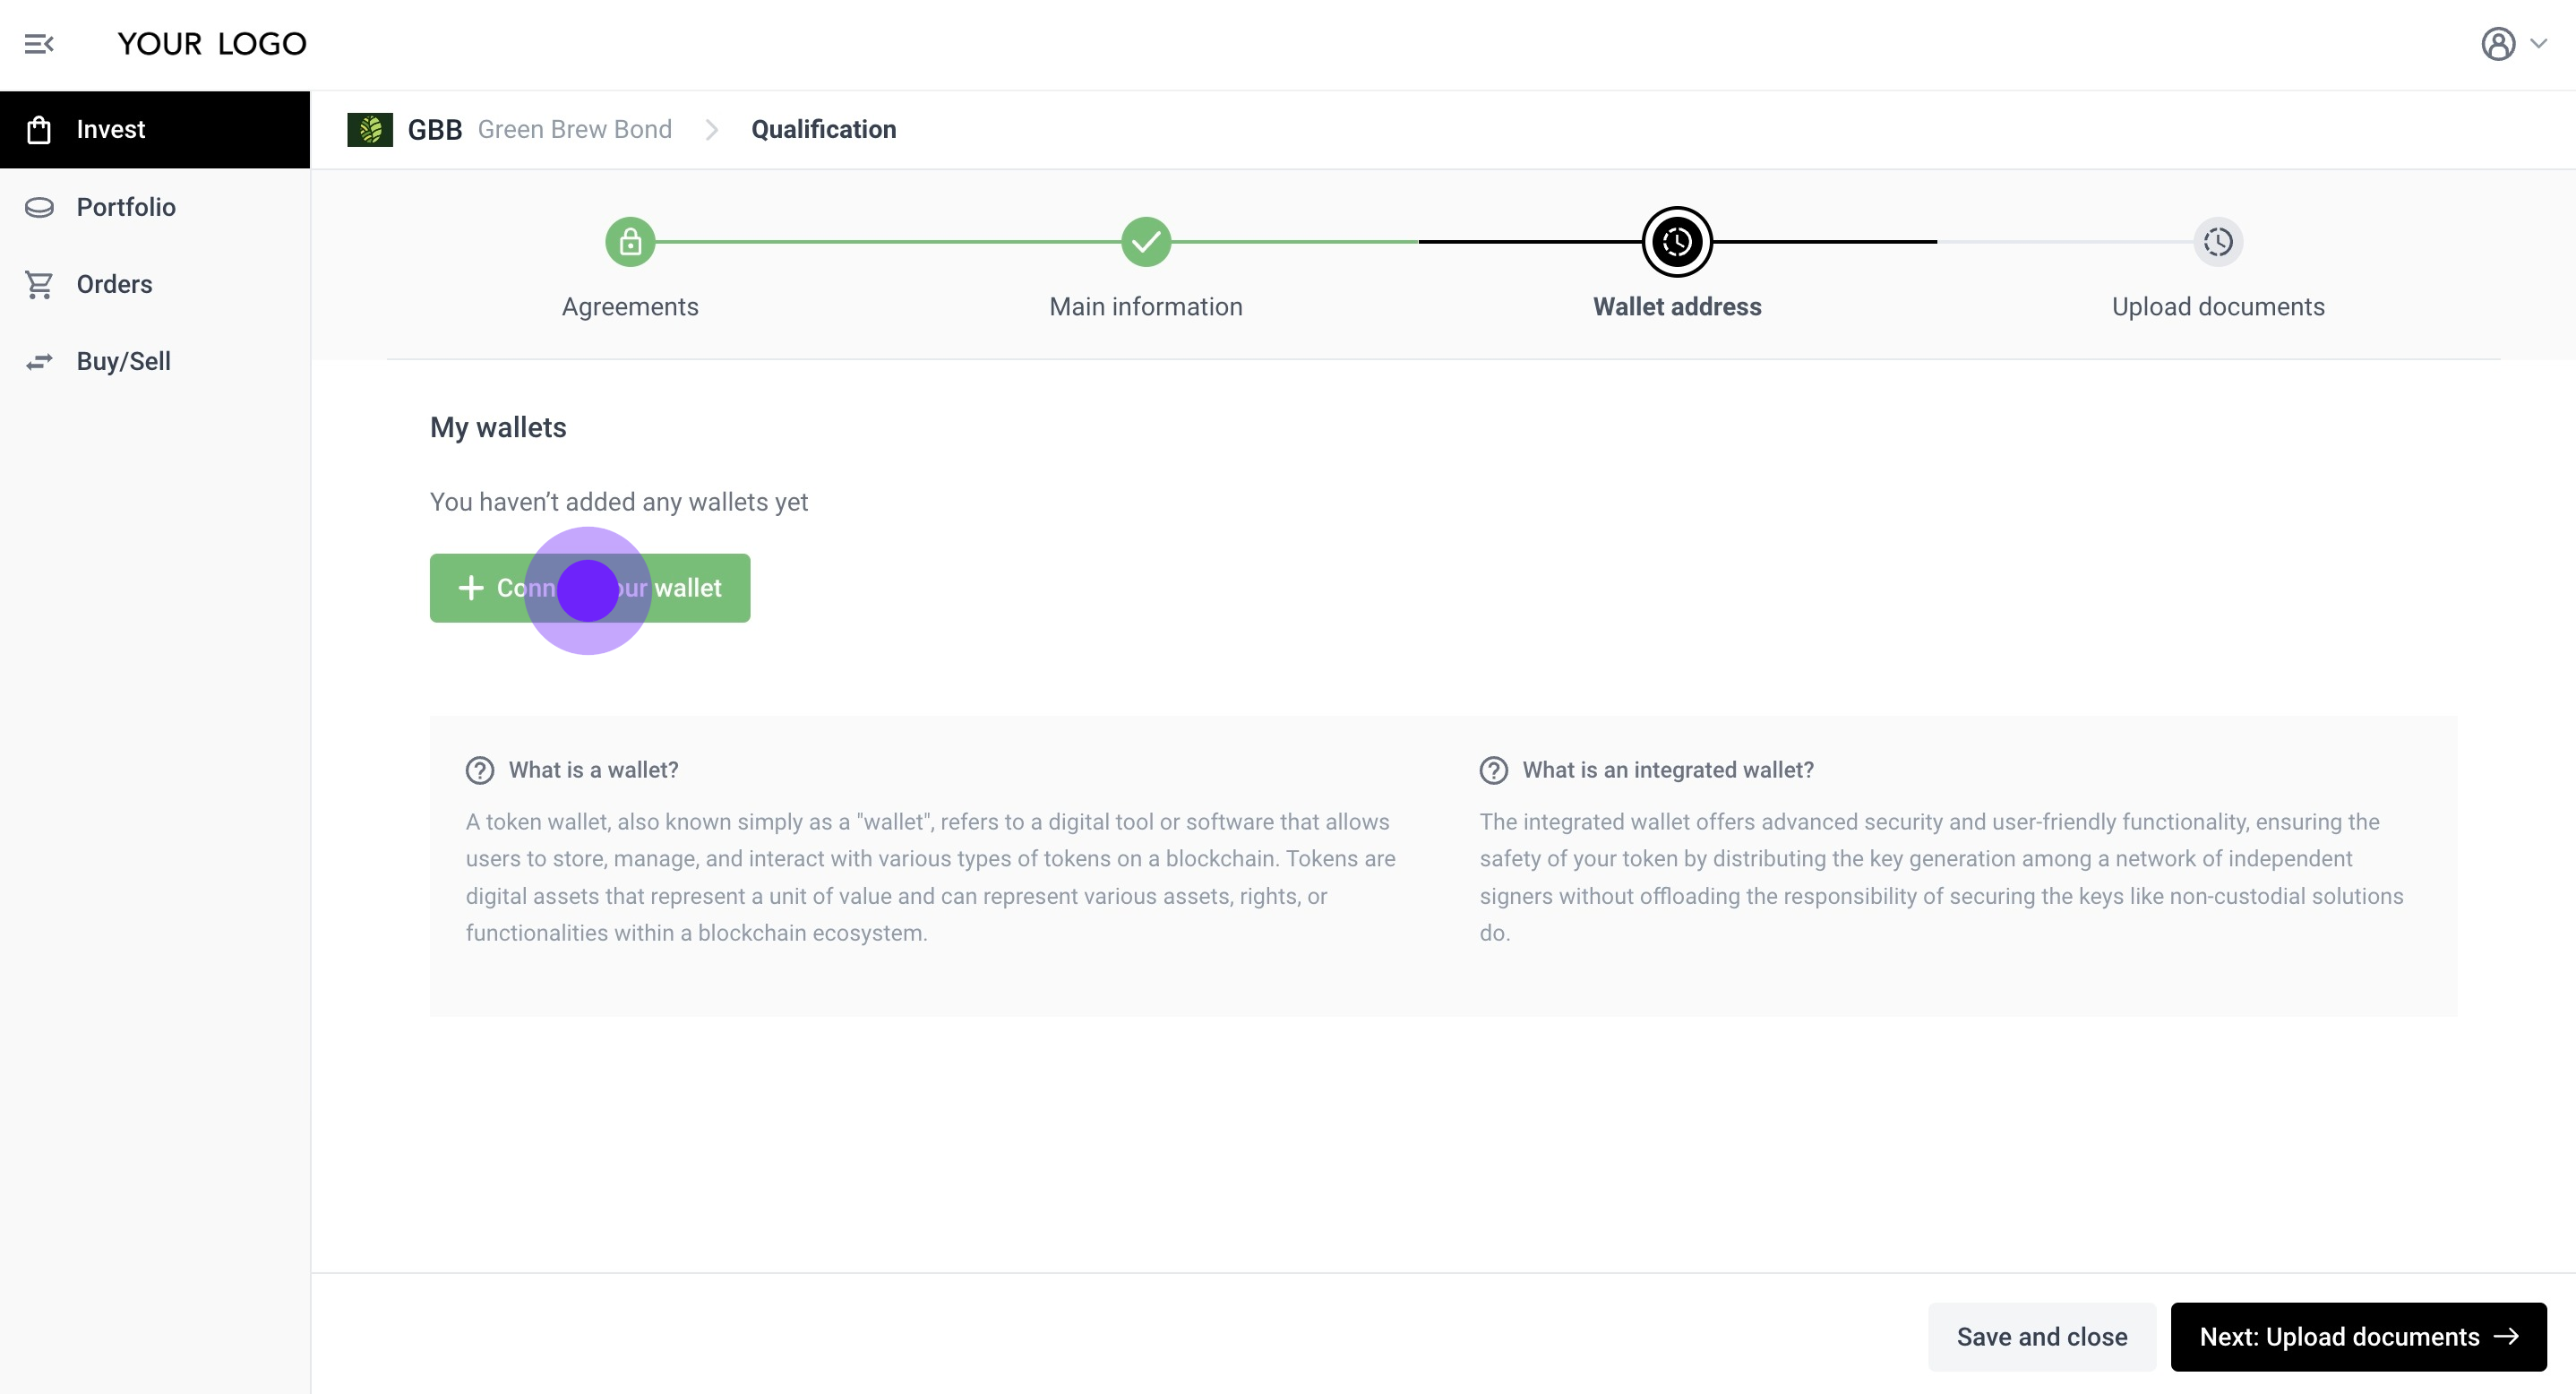
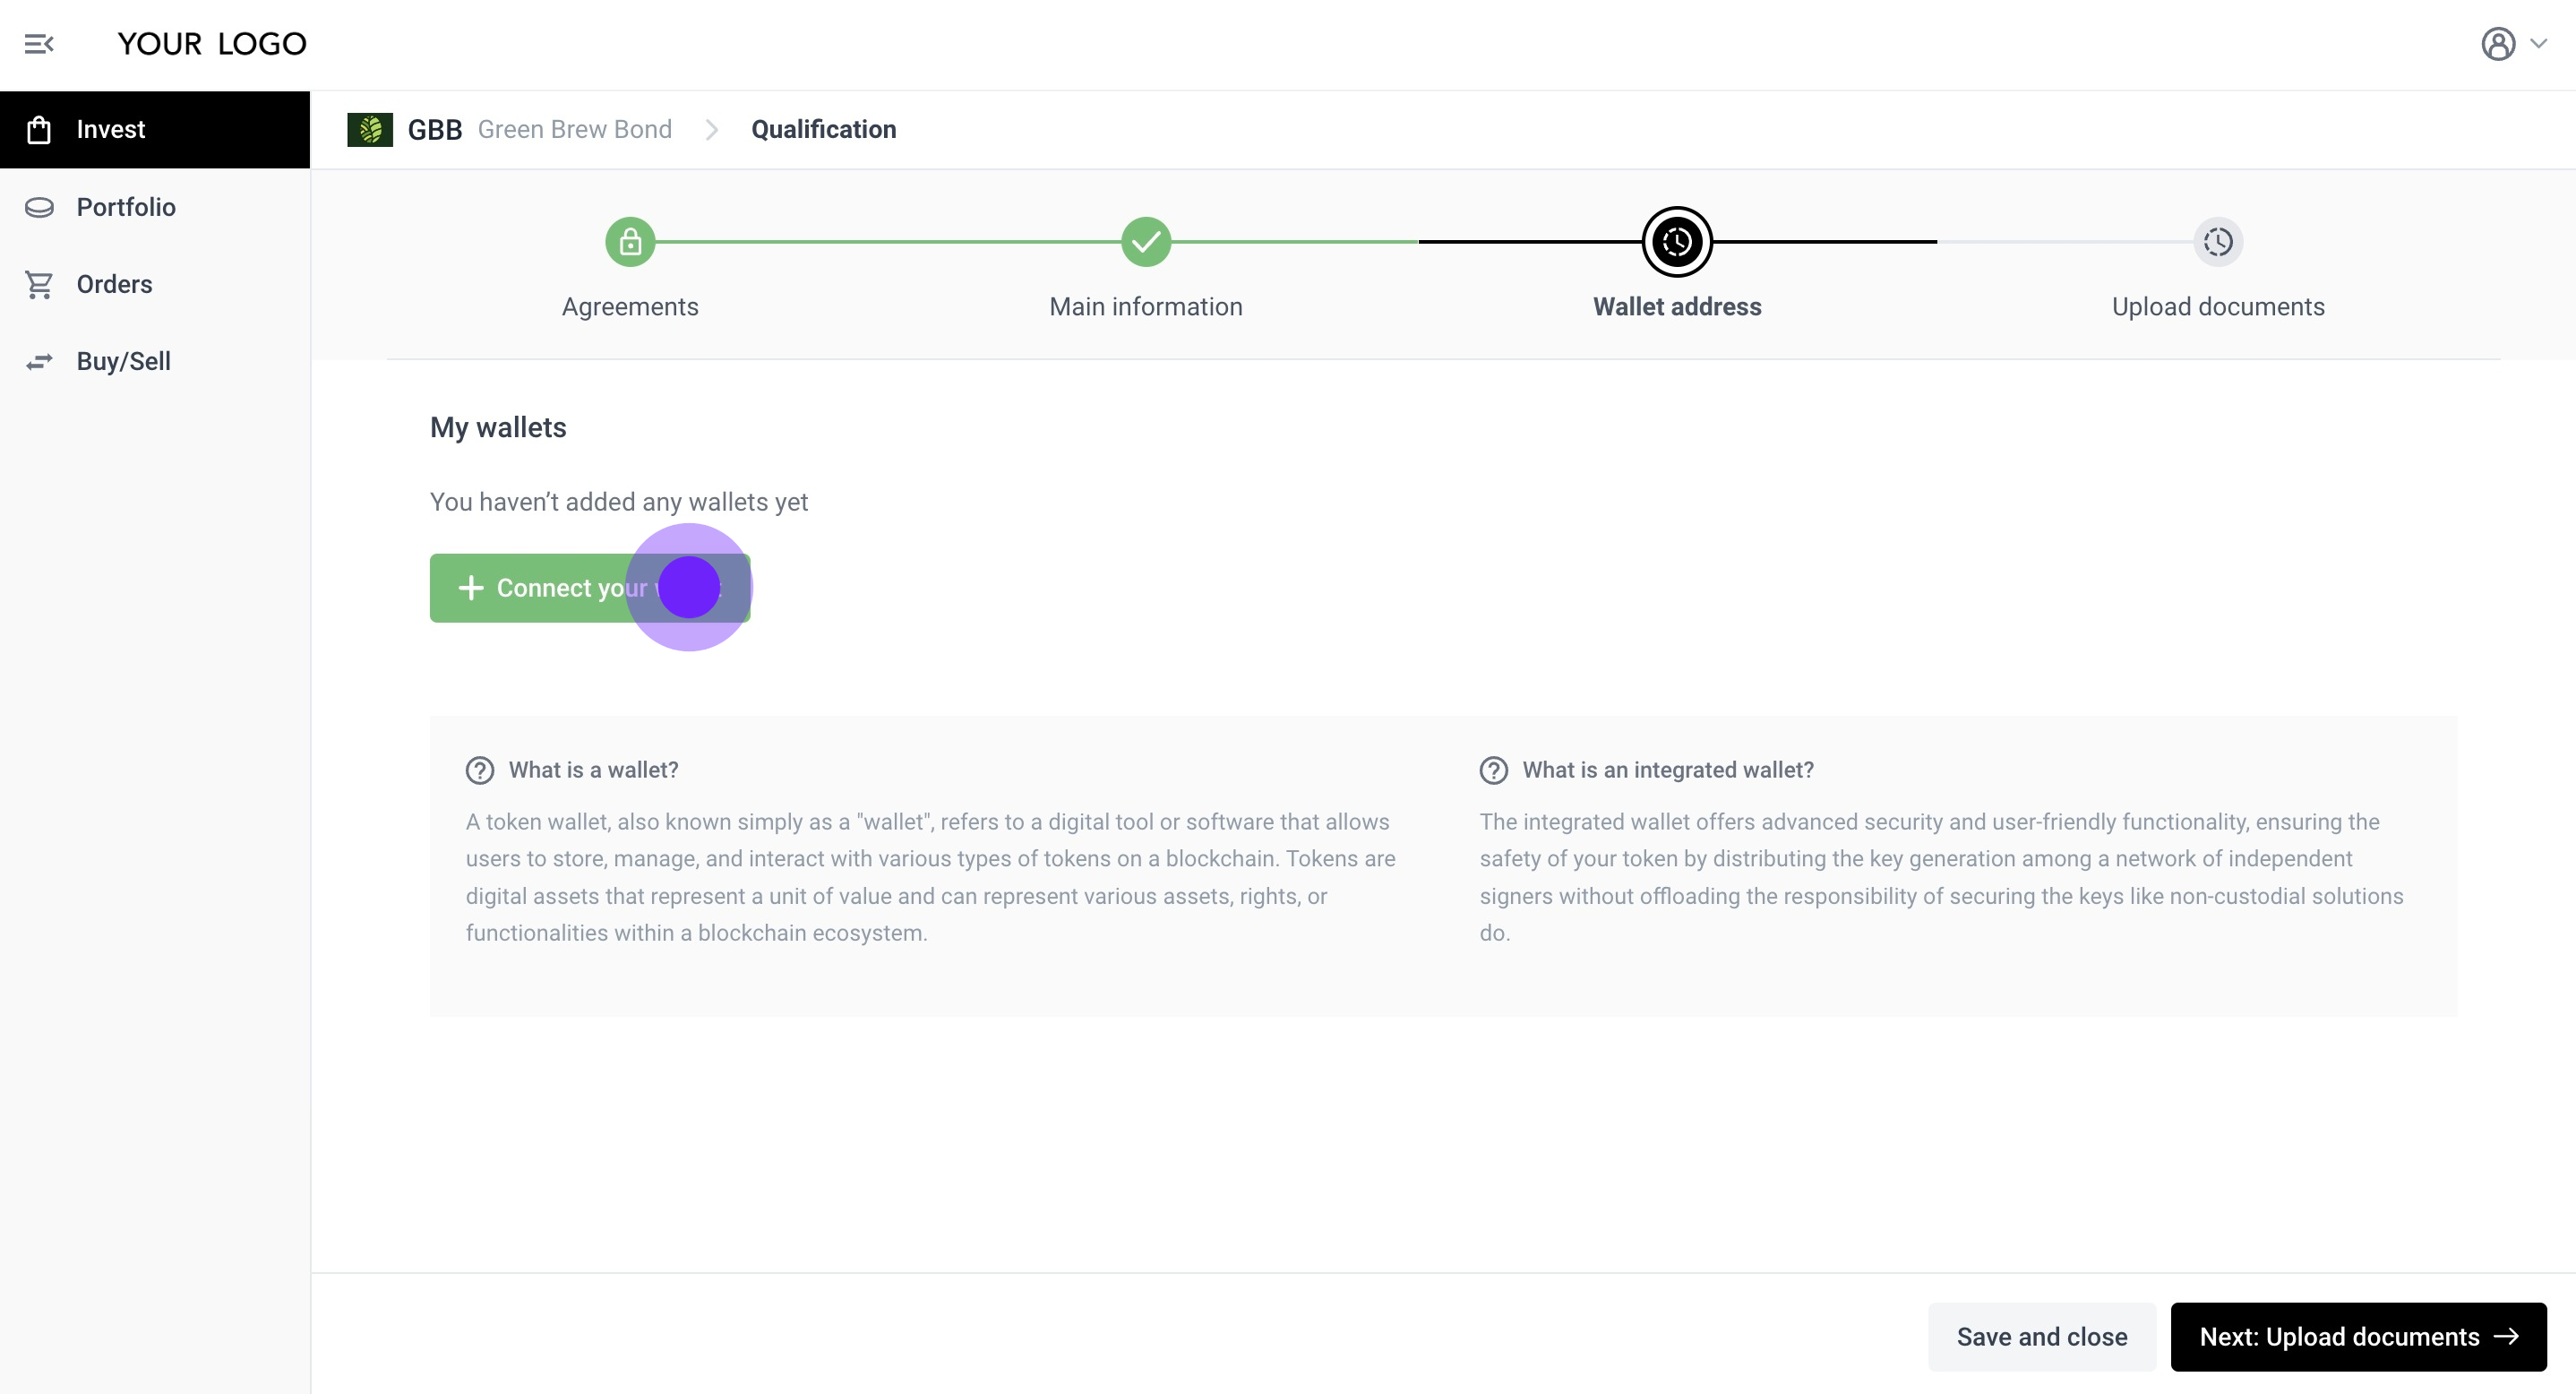
27. Click on 'Connect your wallet'.
28. A prompt will appear asking you to sign the Proof of Ownership transaction.

29. In this case, we are signing the transaction using a MetaMask wallet by clicking on Sign.

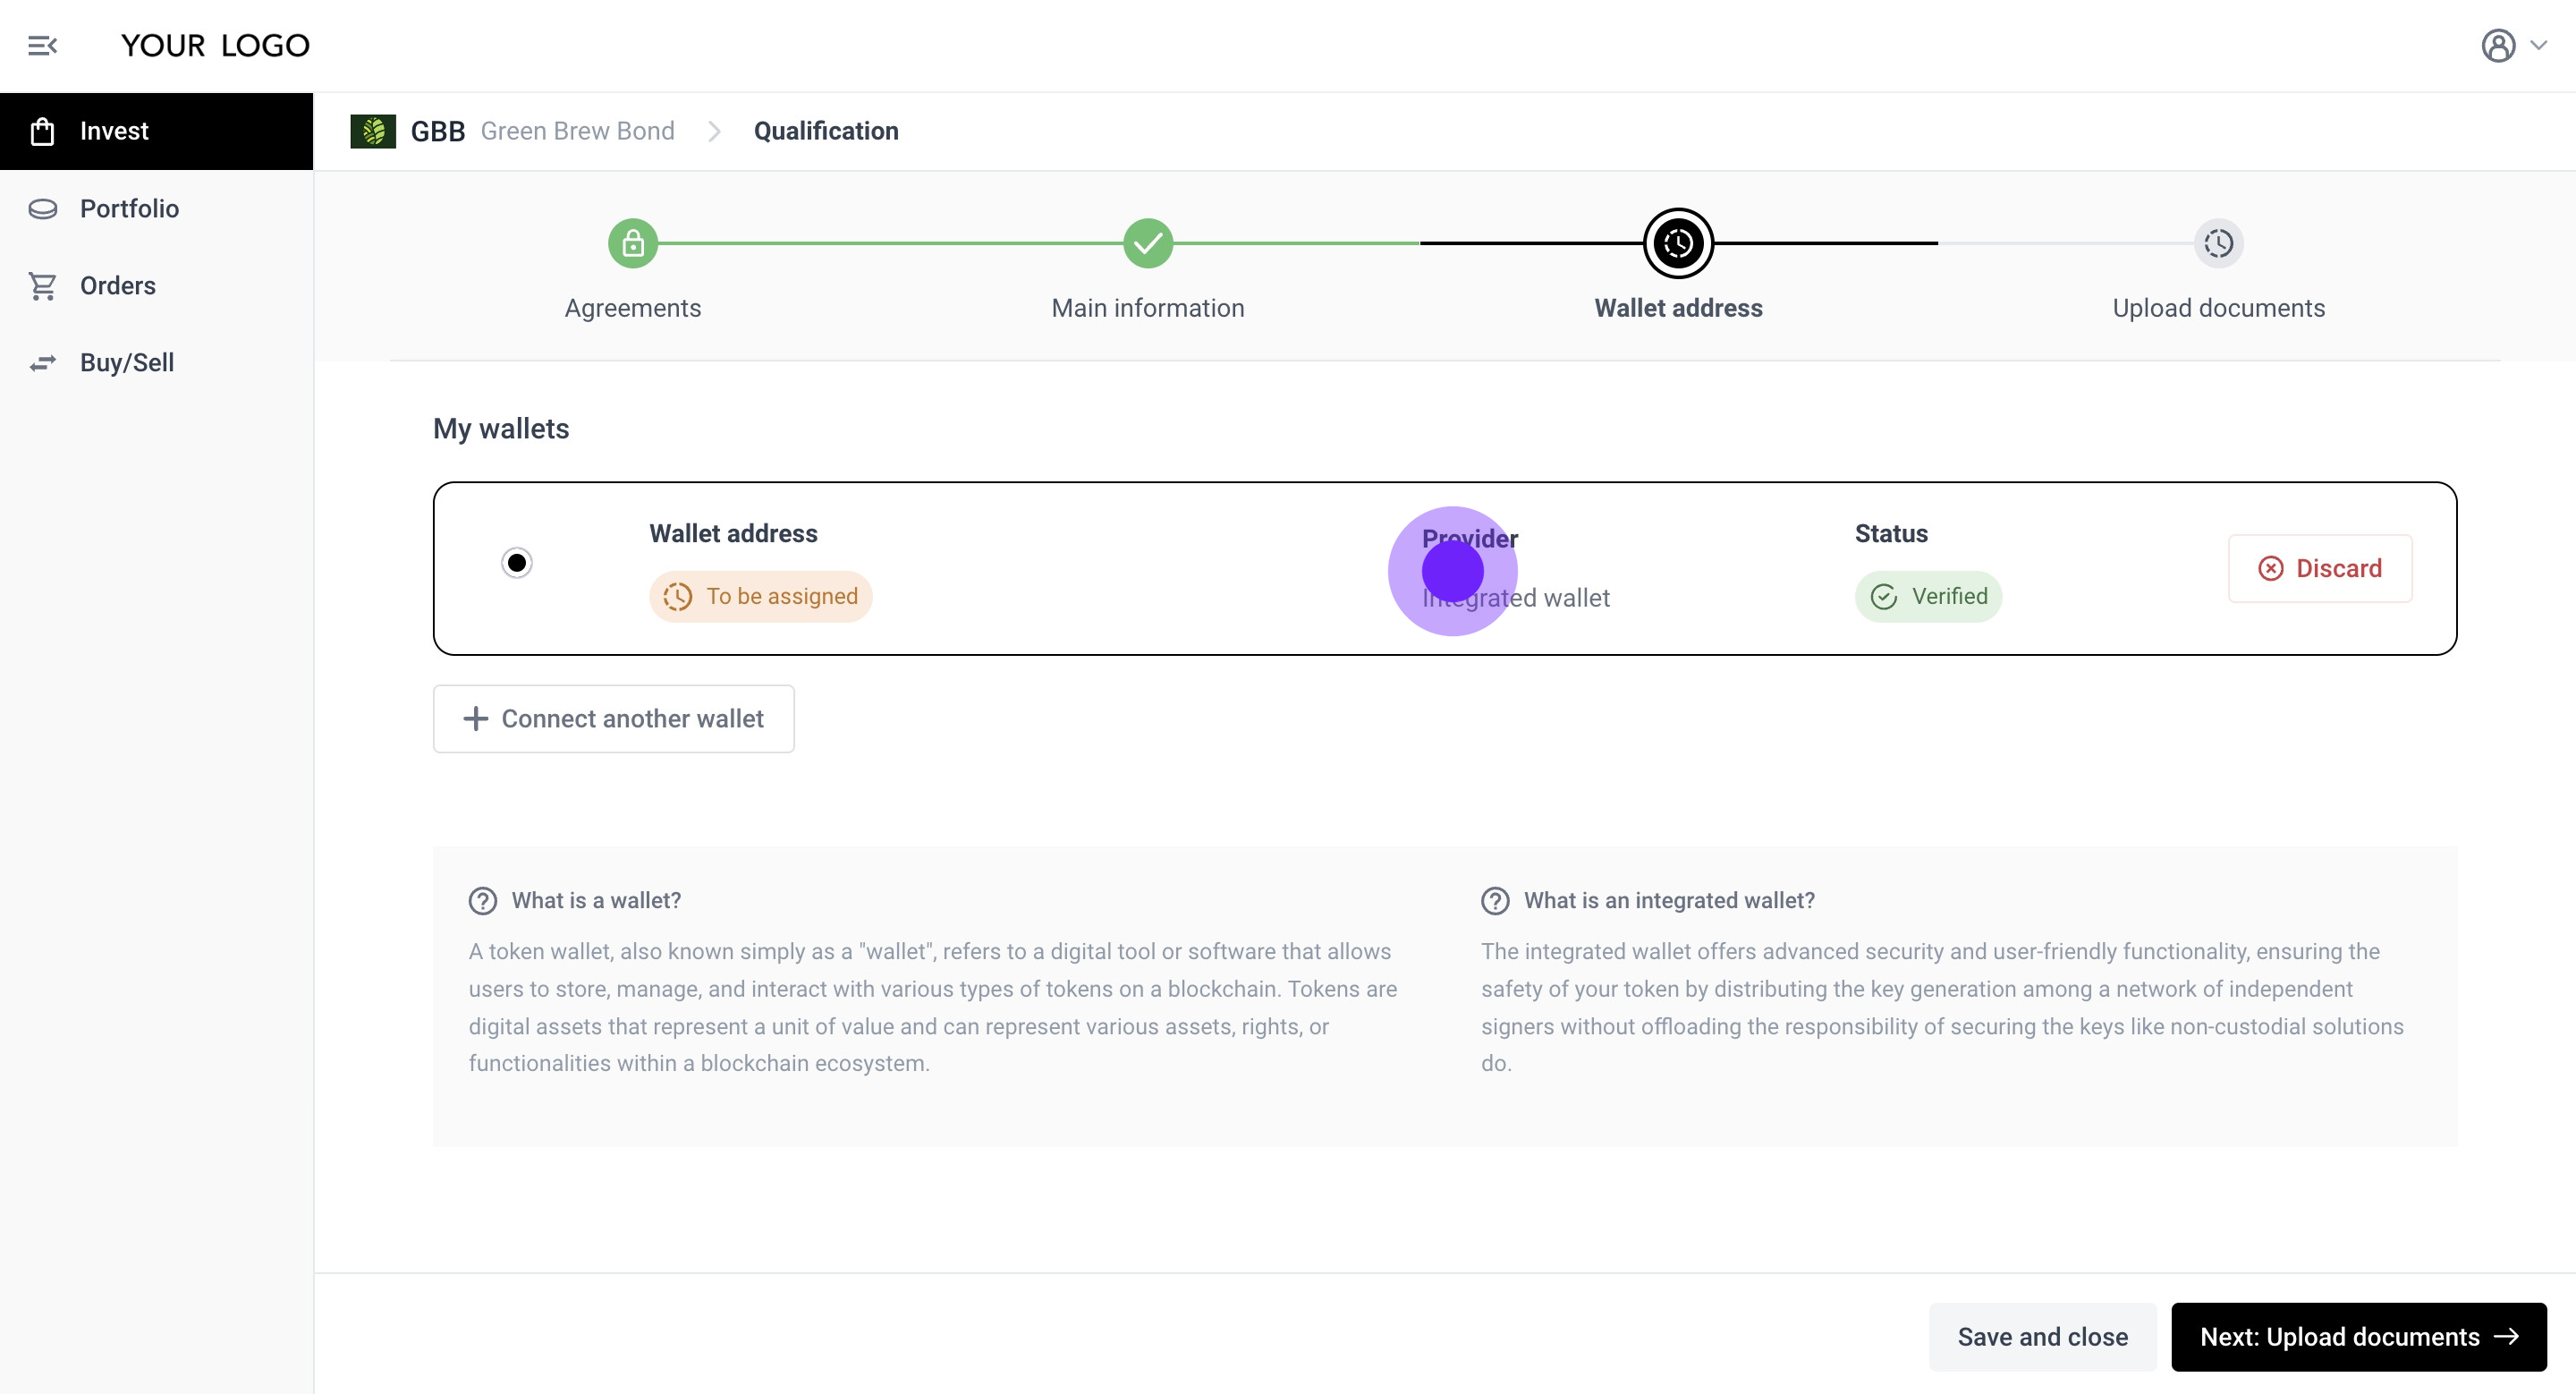
30. You have successfully connected your wallet user-managed wallet.

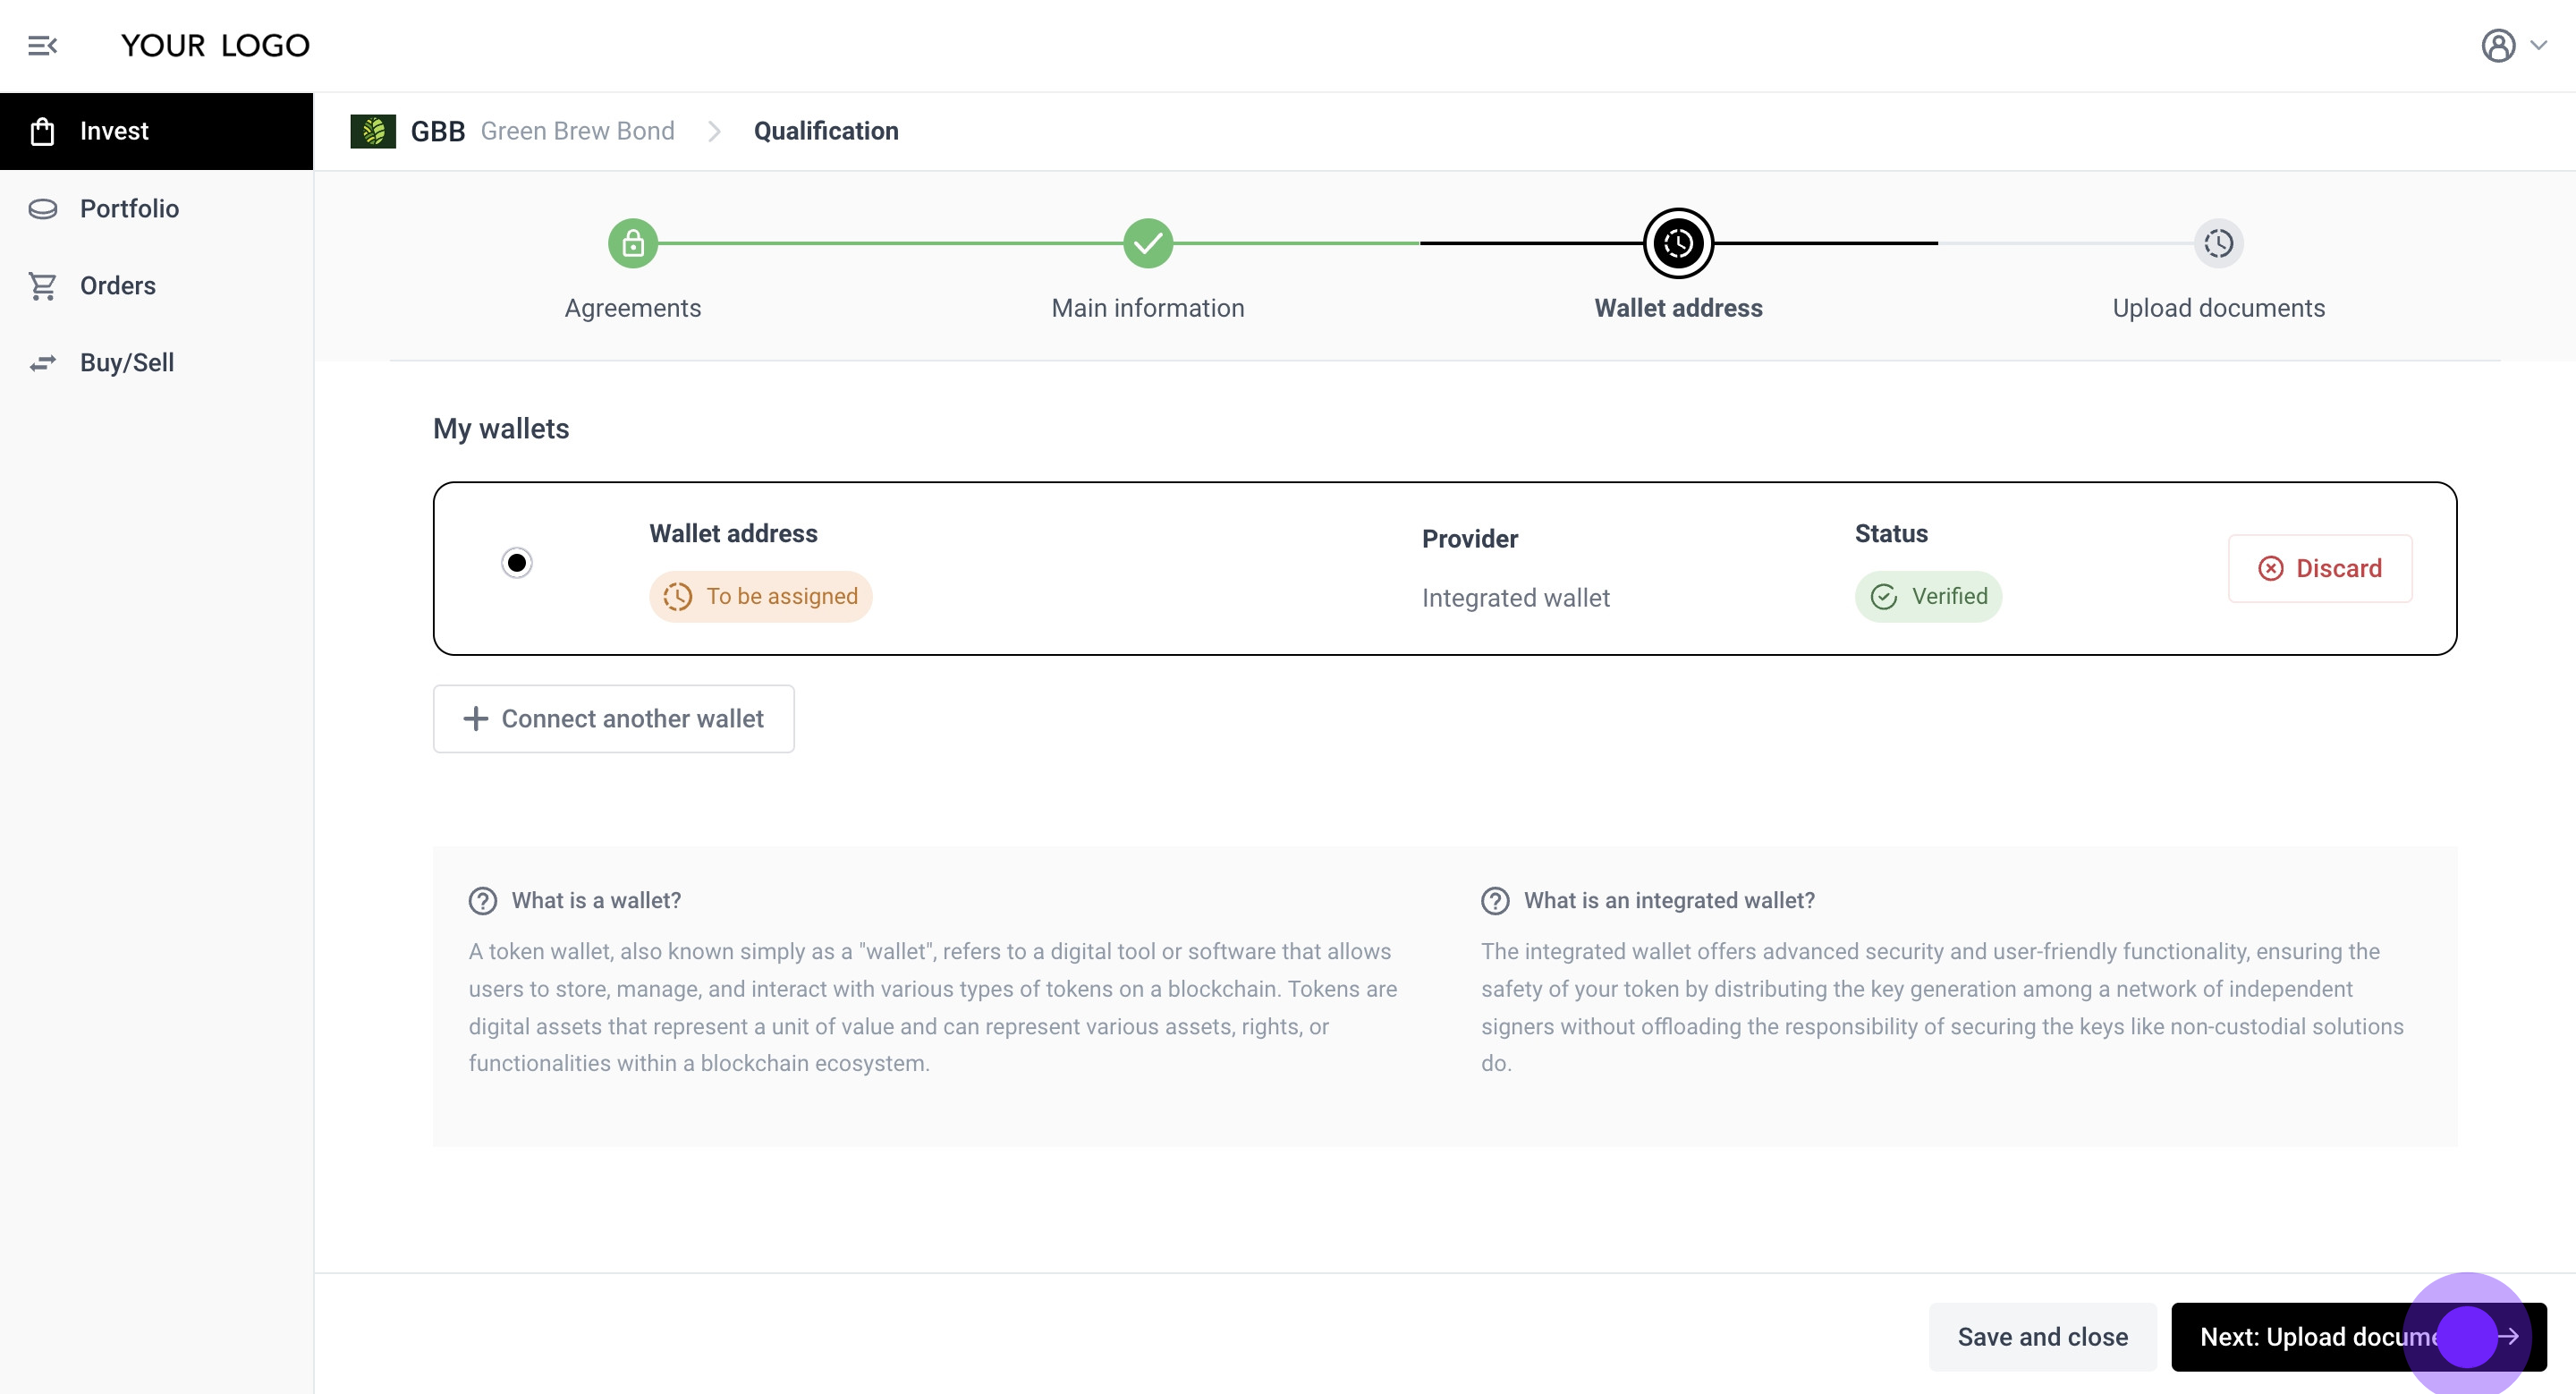
31. Once your wallet is connected, click 'Next' to proceed to the document upload step: 'Upload documents'.

Choosing the Integrated wallet option
32. Click on 'Create an integrated wallet'.

33. Please read and accept the referenced T&Cs.

34. Then click on 'Add wallet'.

35. The Integrated wallet generation process has been initiated. Your Integrated wallet will be assigned to you once you have successfully qualified and your ONCHAINID has been issued.
36. Click 'Next' to proceed to the document upload step: 'Upload documents'.
37. These are the documents specified by the Issuer as mandatory for your investor qualification process. Please proceed to upload the required documents.
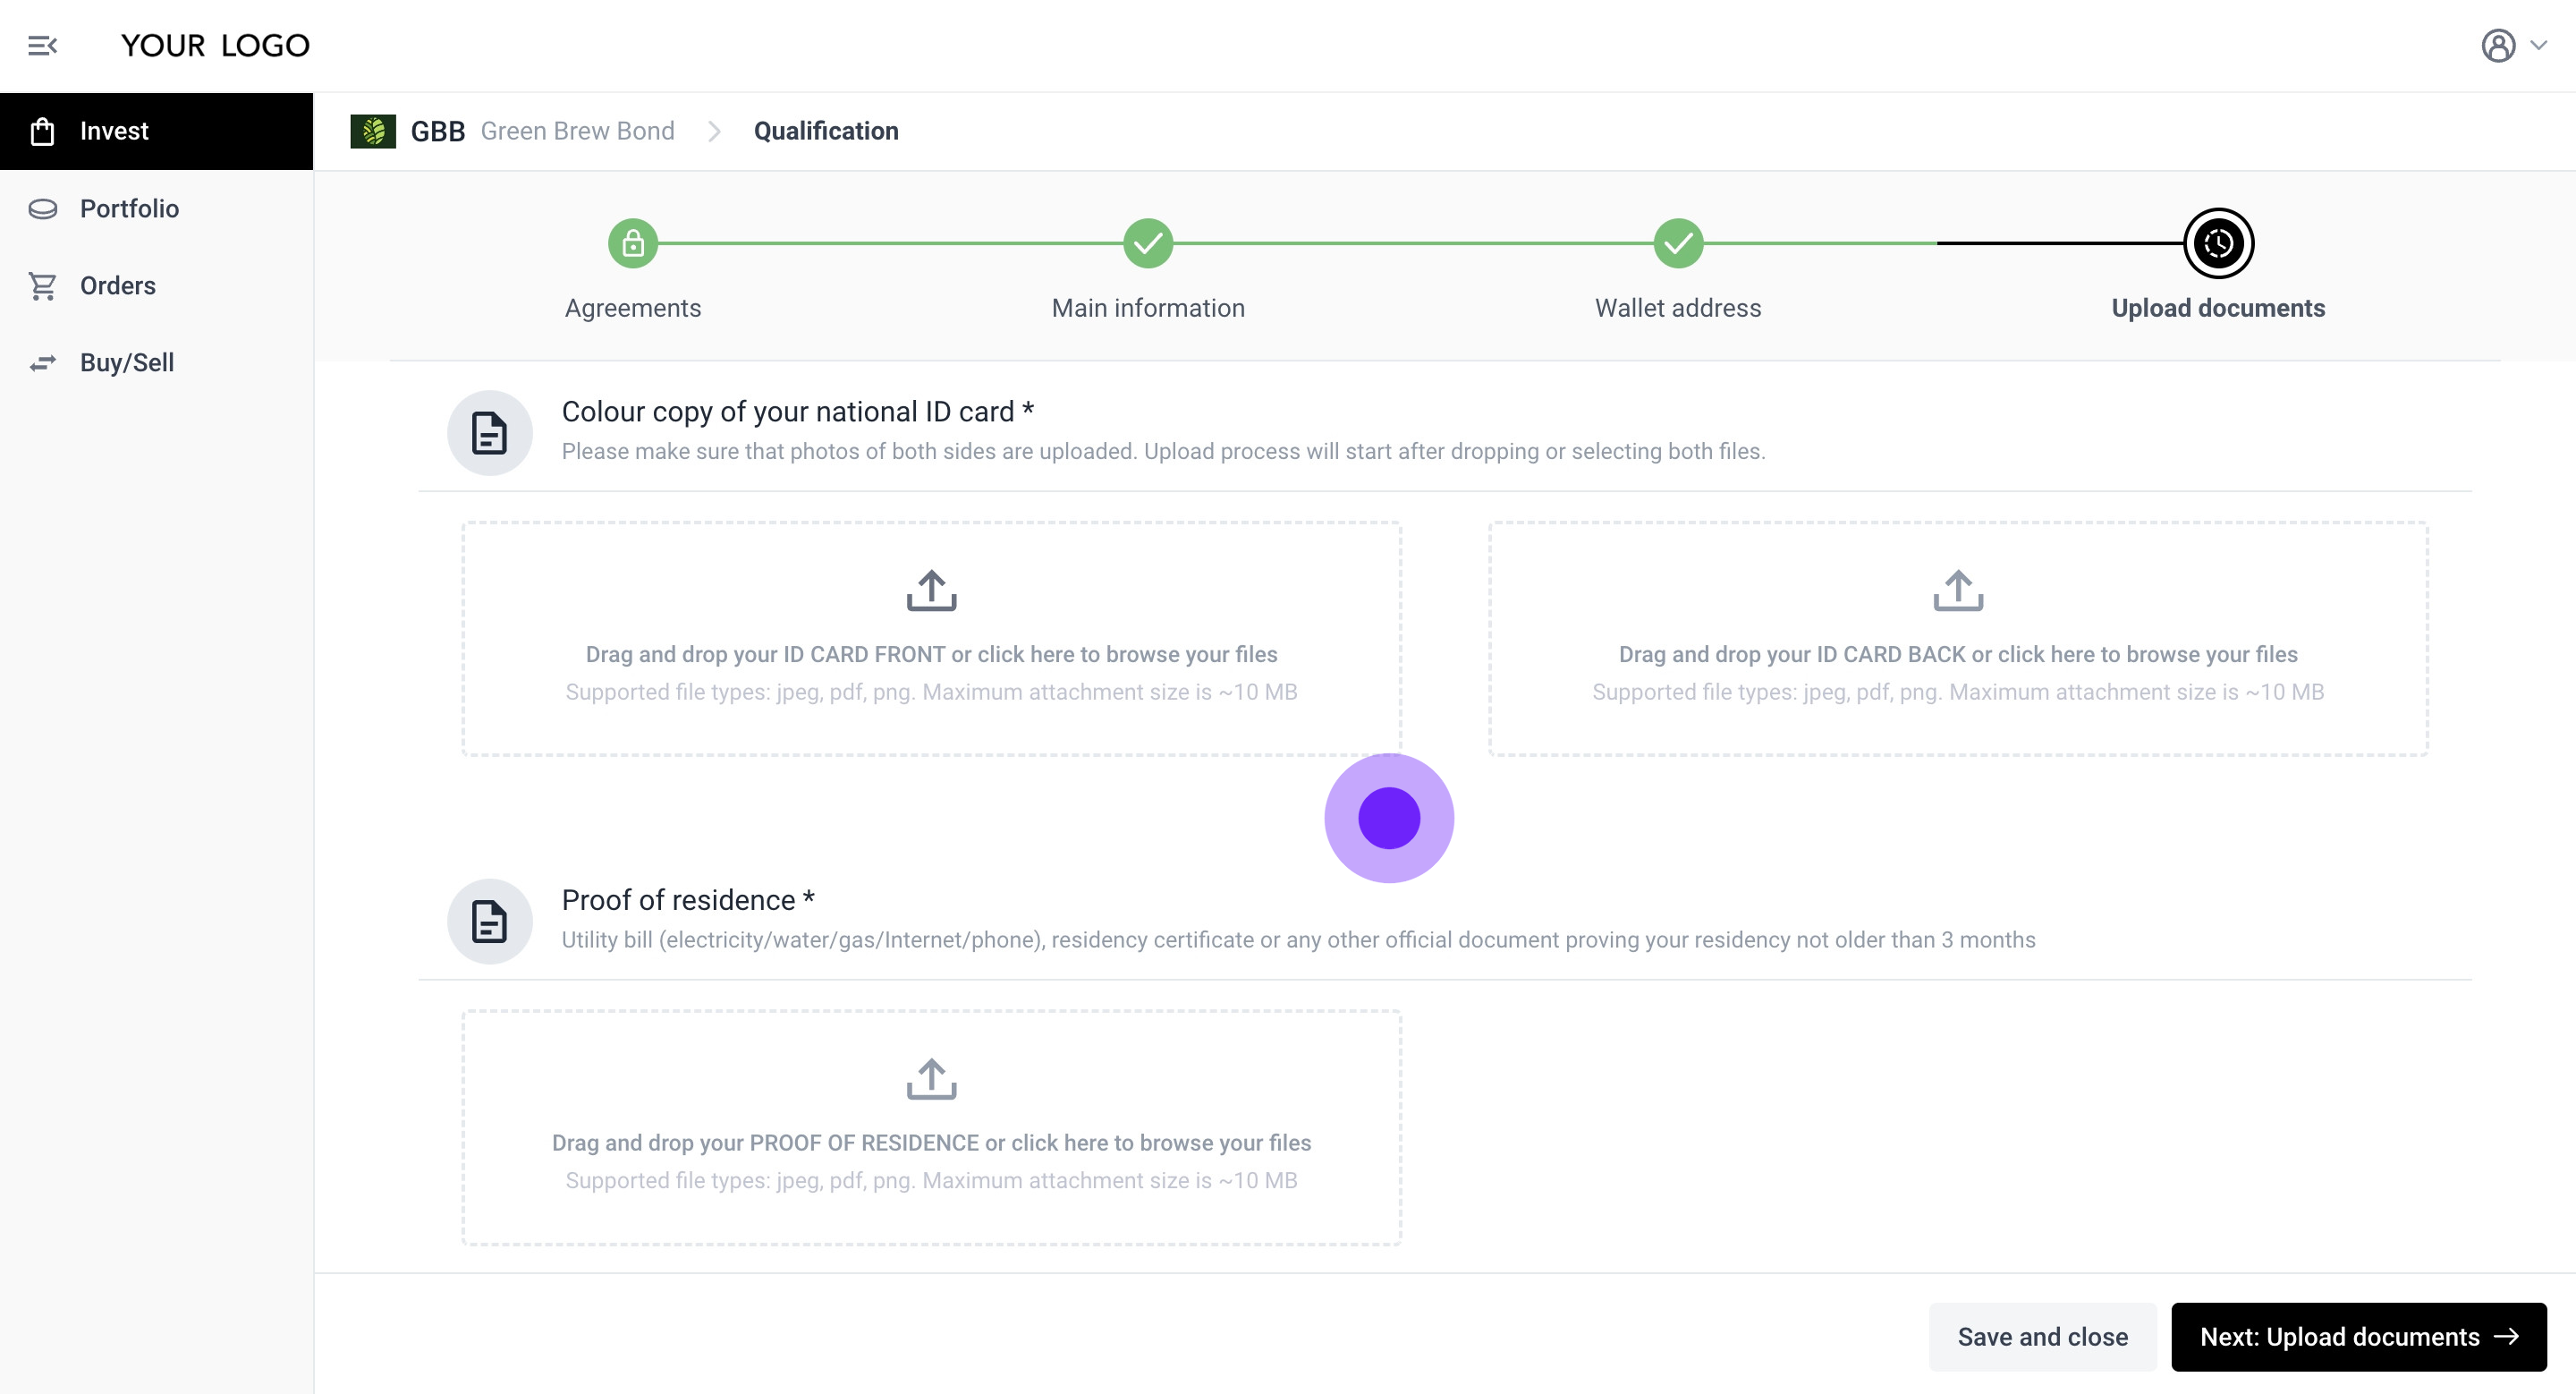
38. Finally, click on 'Next: Upload documents'.

Identity verification without a third-party KYC provider
After the 'Documentation upload' or 'Wallet' step, the Issuer can choose to enable an integrated KYC solution SumSub to automate identity verification. The Issuer specifies whether to implement a flow with an integrated KYC provider (at an additional cost) or proceed without one during the implementation phase (the Issuer handles the identity verification in-house or uses another KYC solution).
In this section, the Issuer has chosen not to use any of the integrated KYC providers.
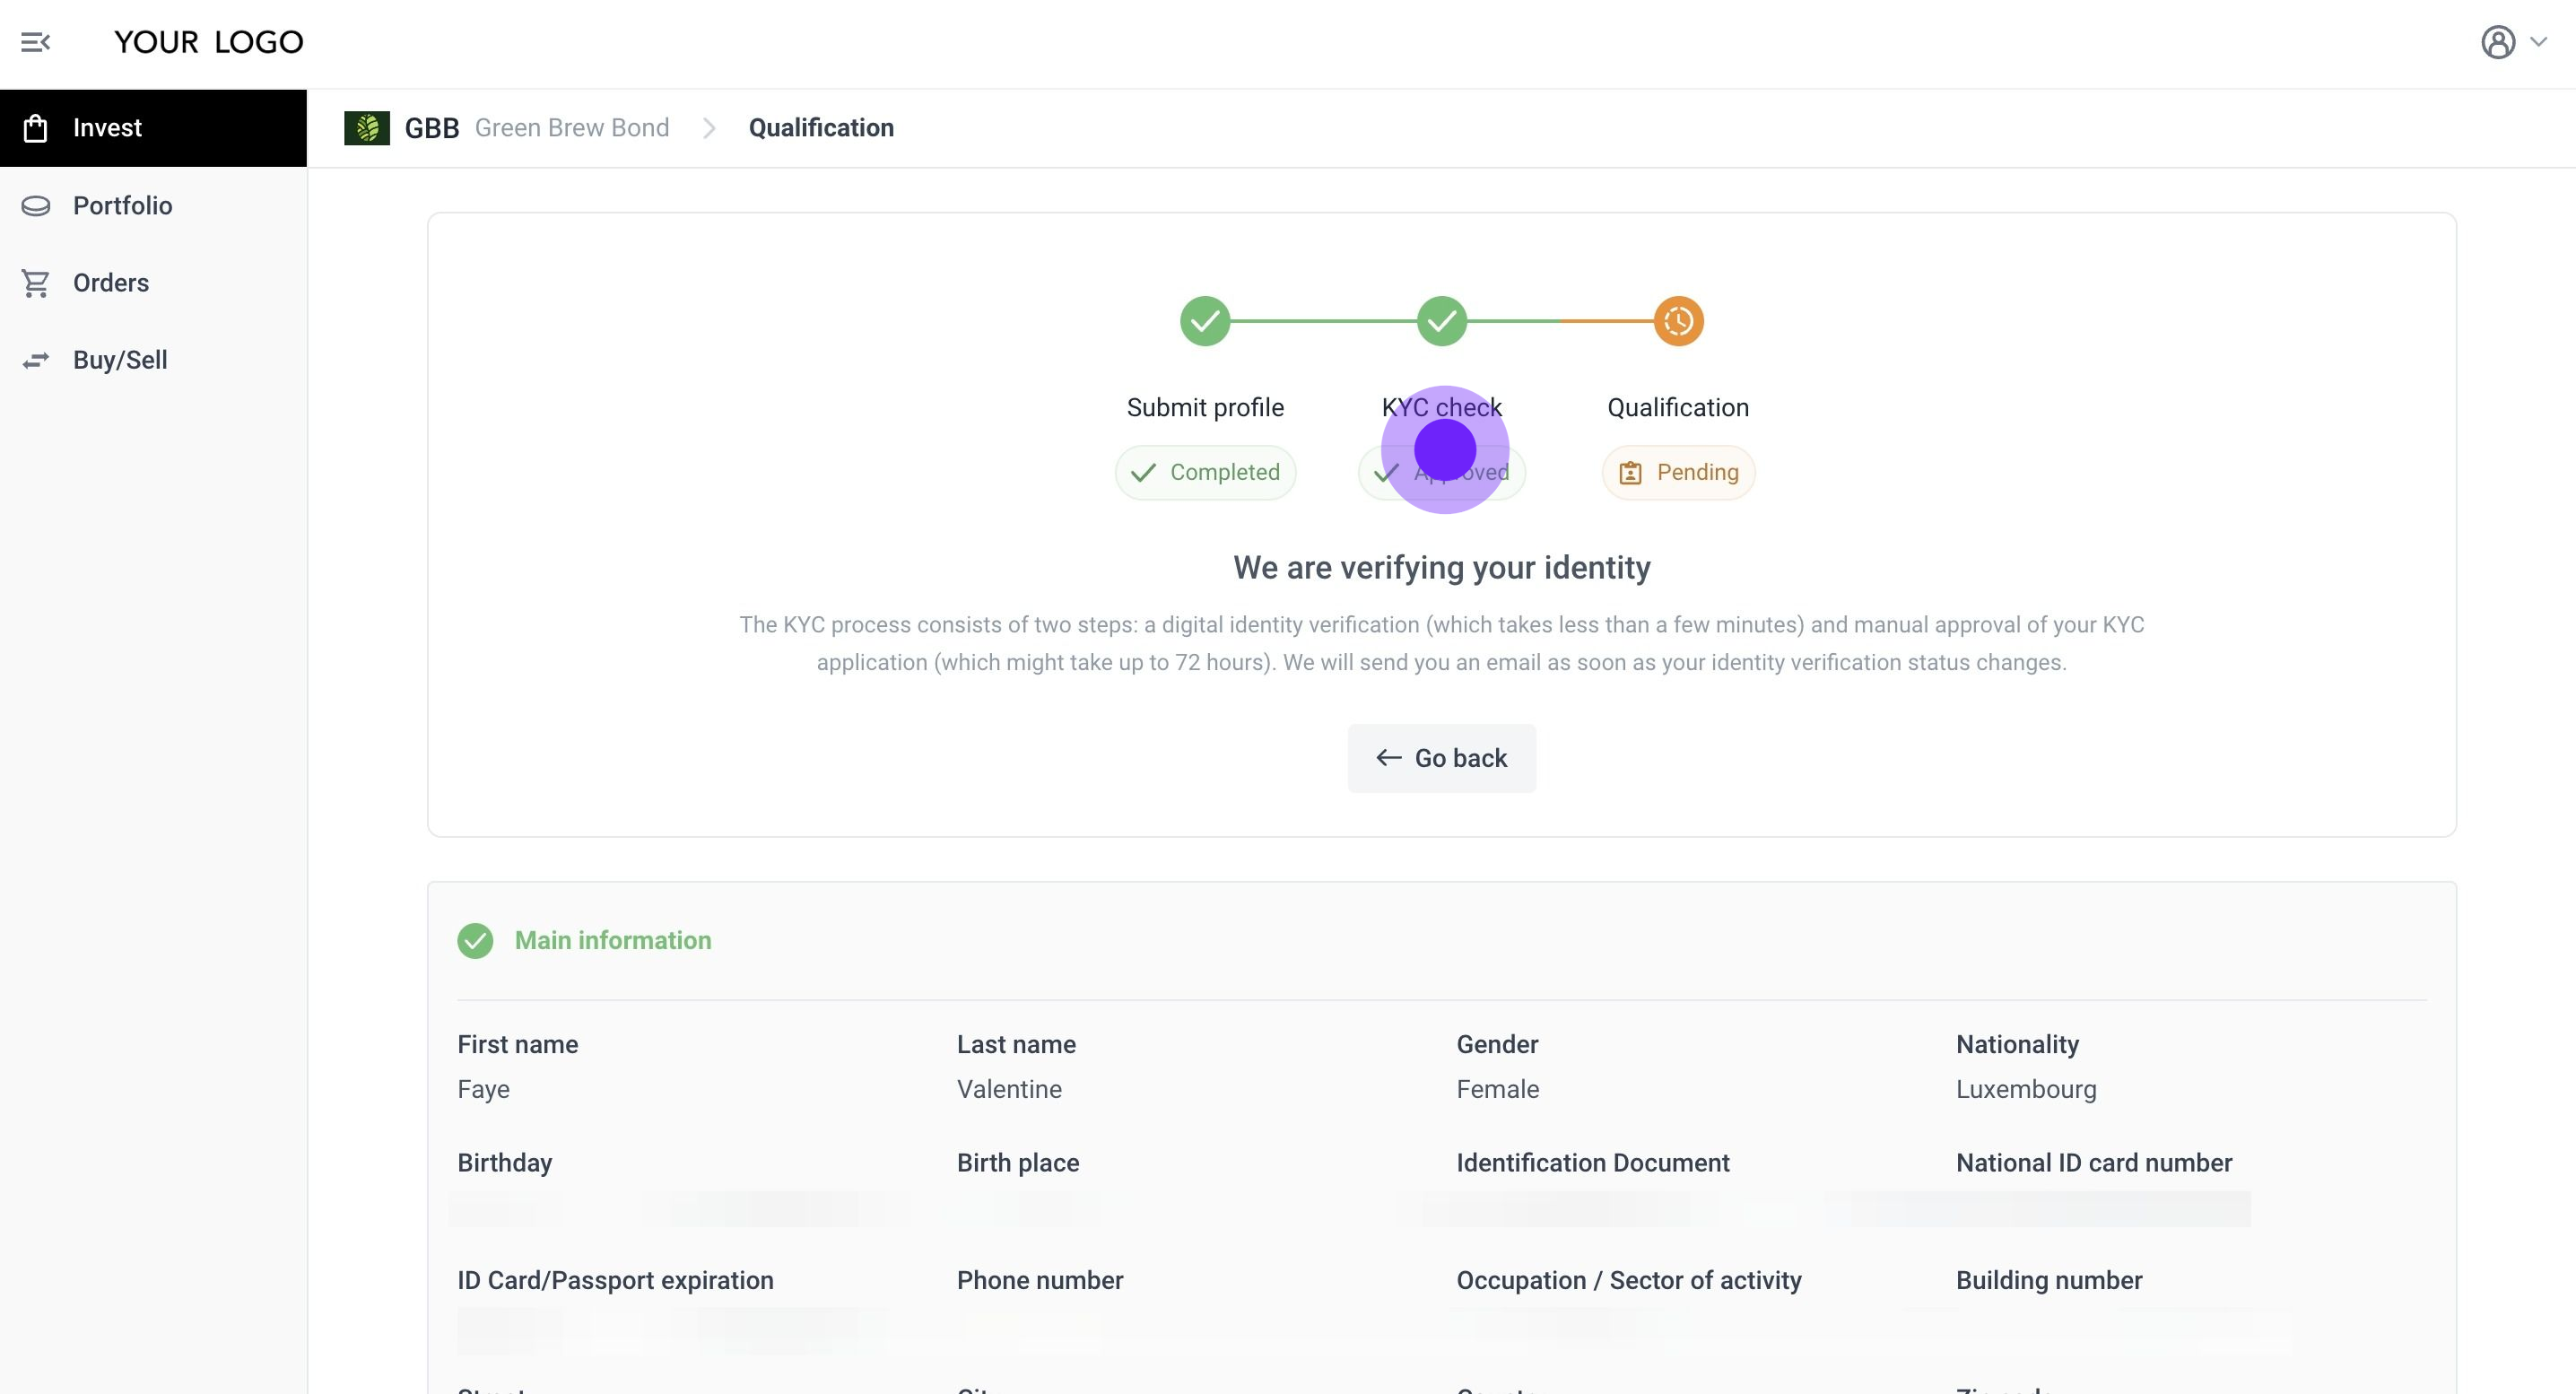
39. You submitted your Investor profile for review. Great job! The Issuer will now initiate their KYC/AML verification process.

40. After the Issuer approves your KYC application, its status will be updated, and you will receive a notification via email.

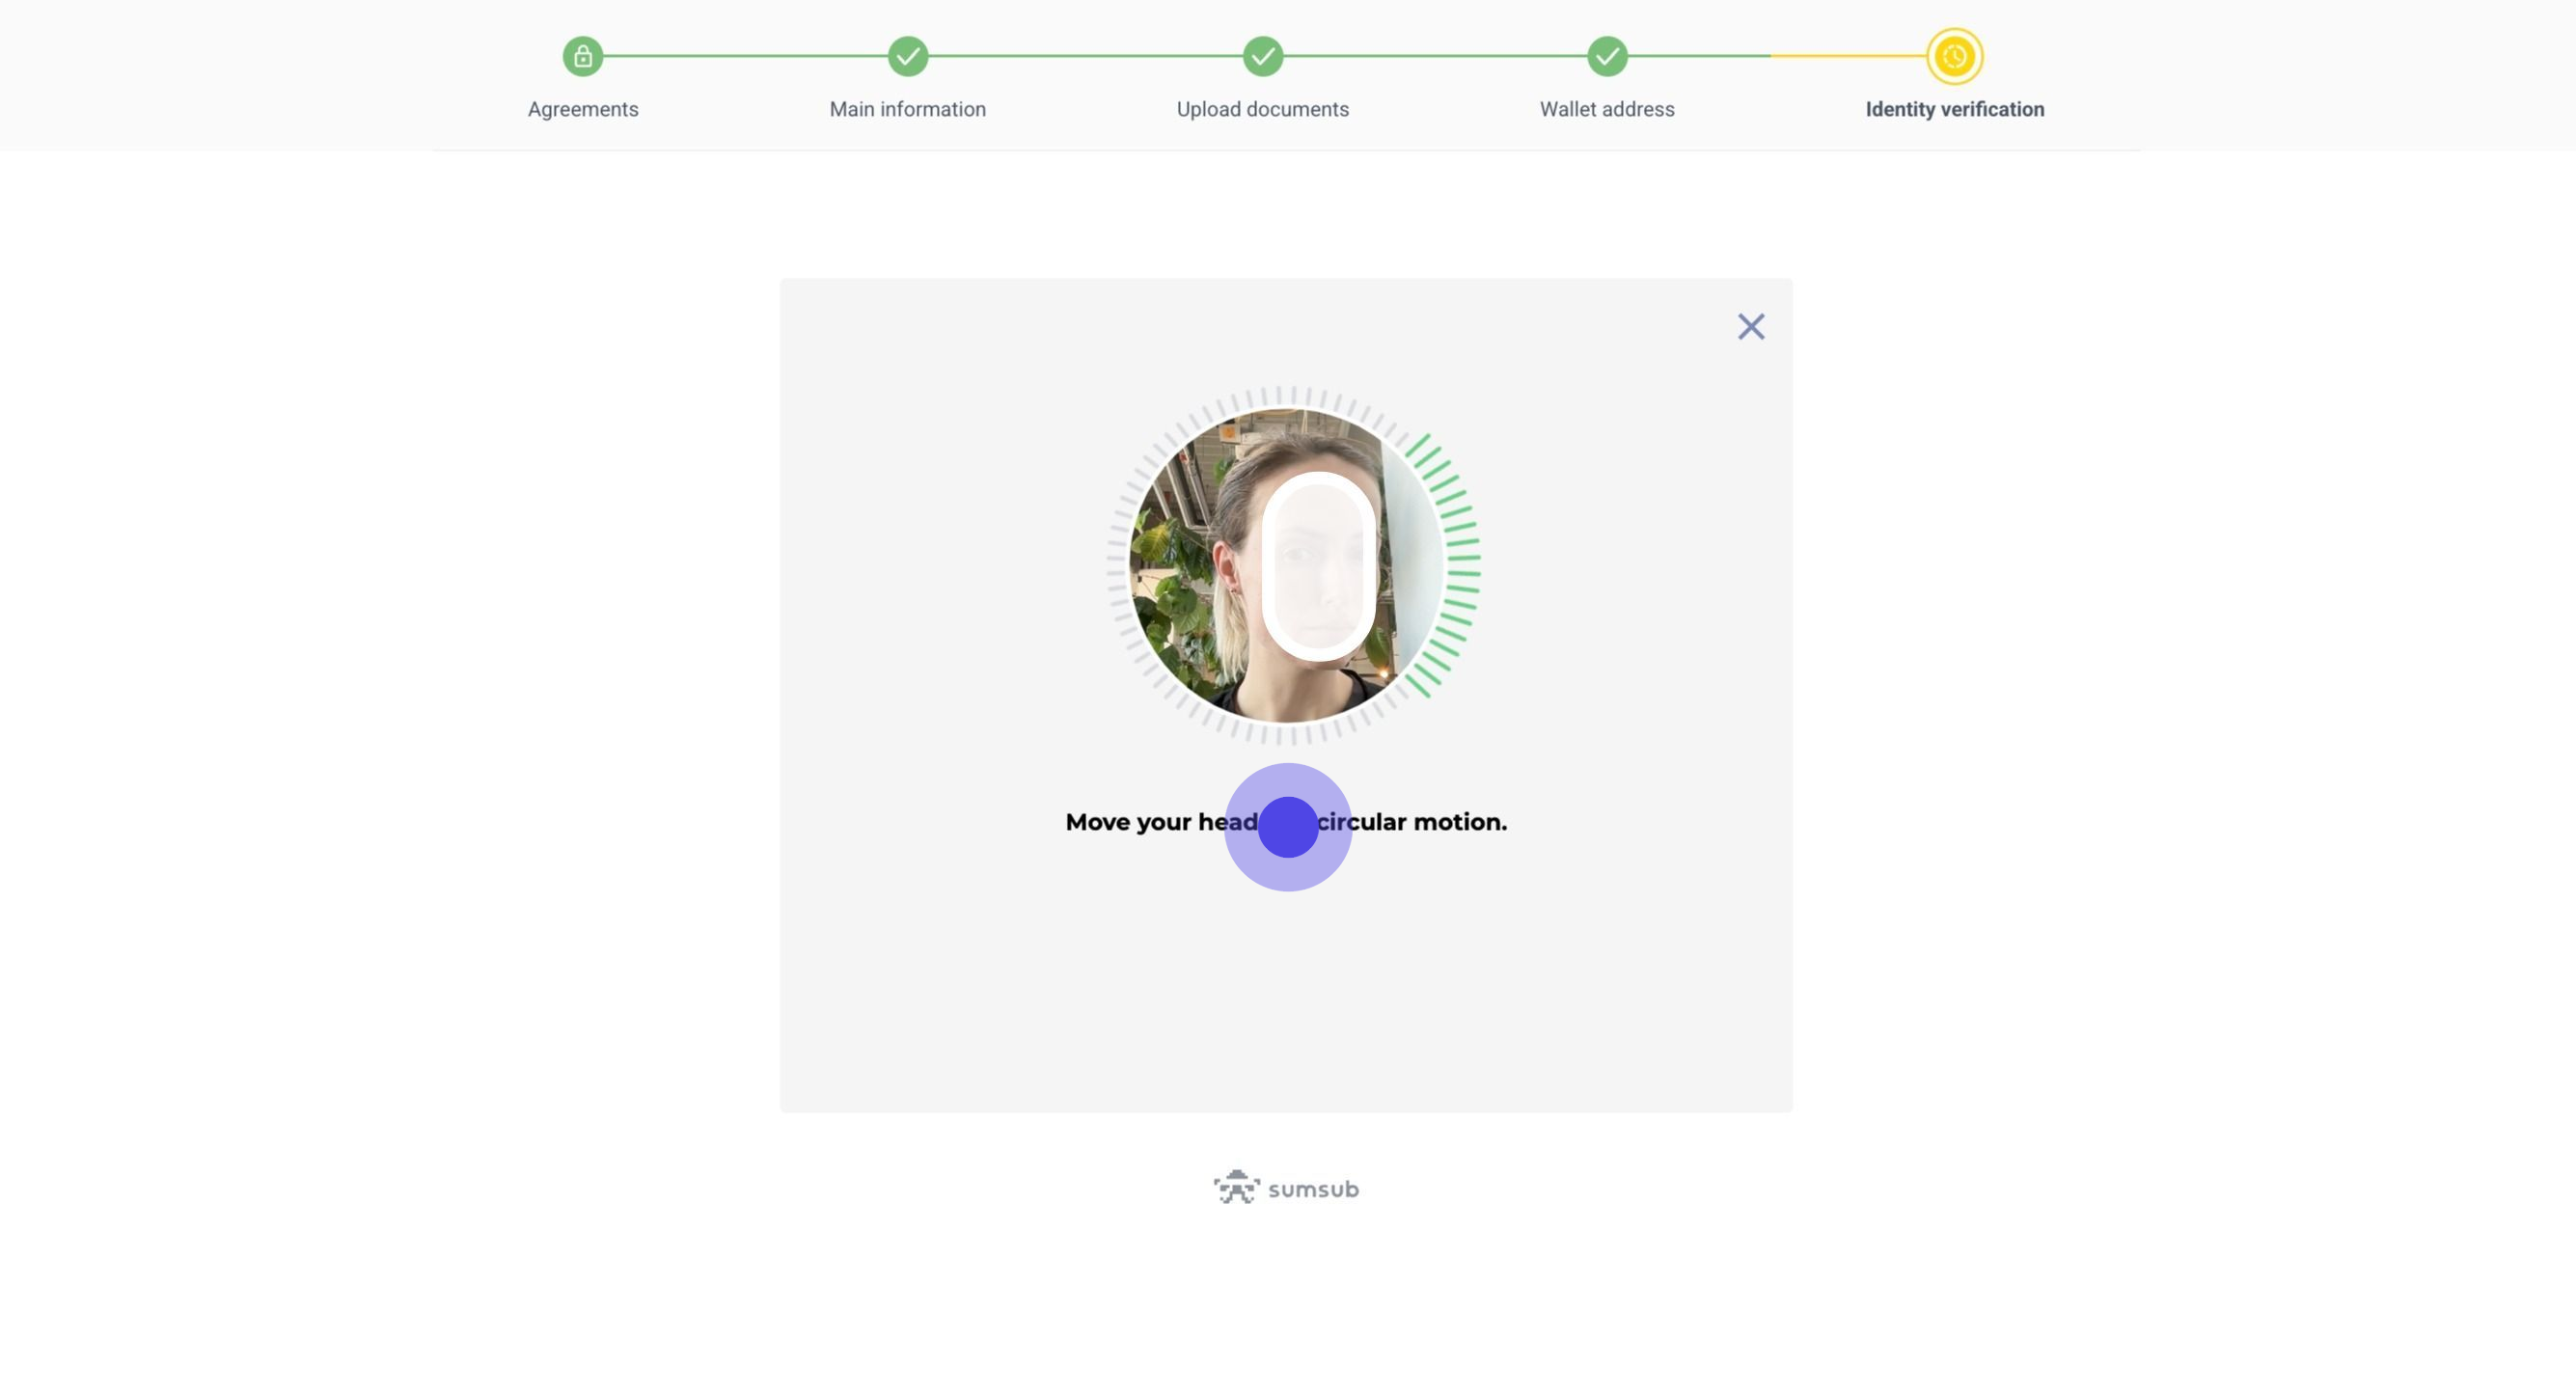
41. Now that your KYC application has been approved, the Issuer will proceed to verify your Investor profile and qualify it if everything is in order.
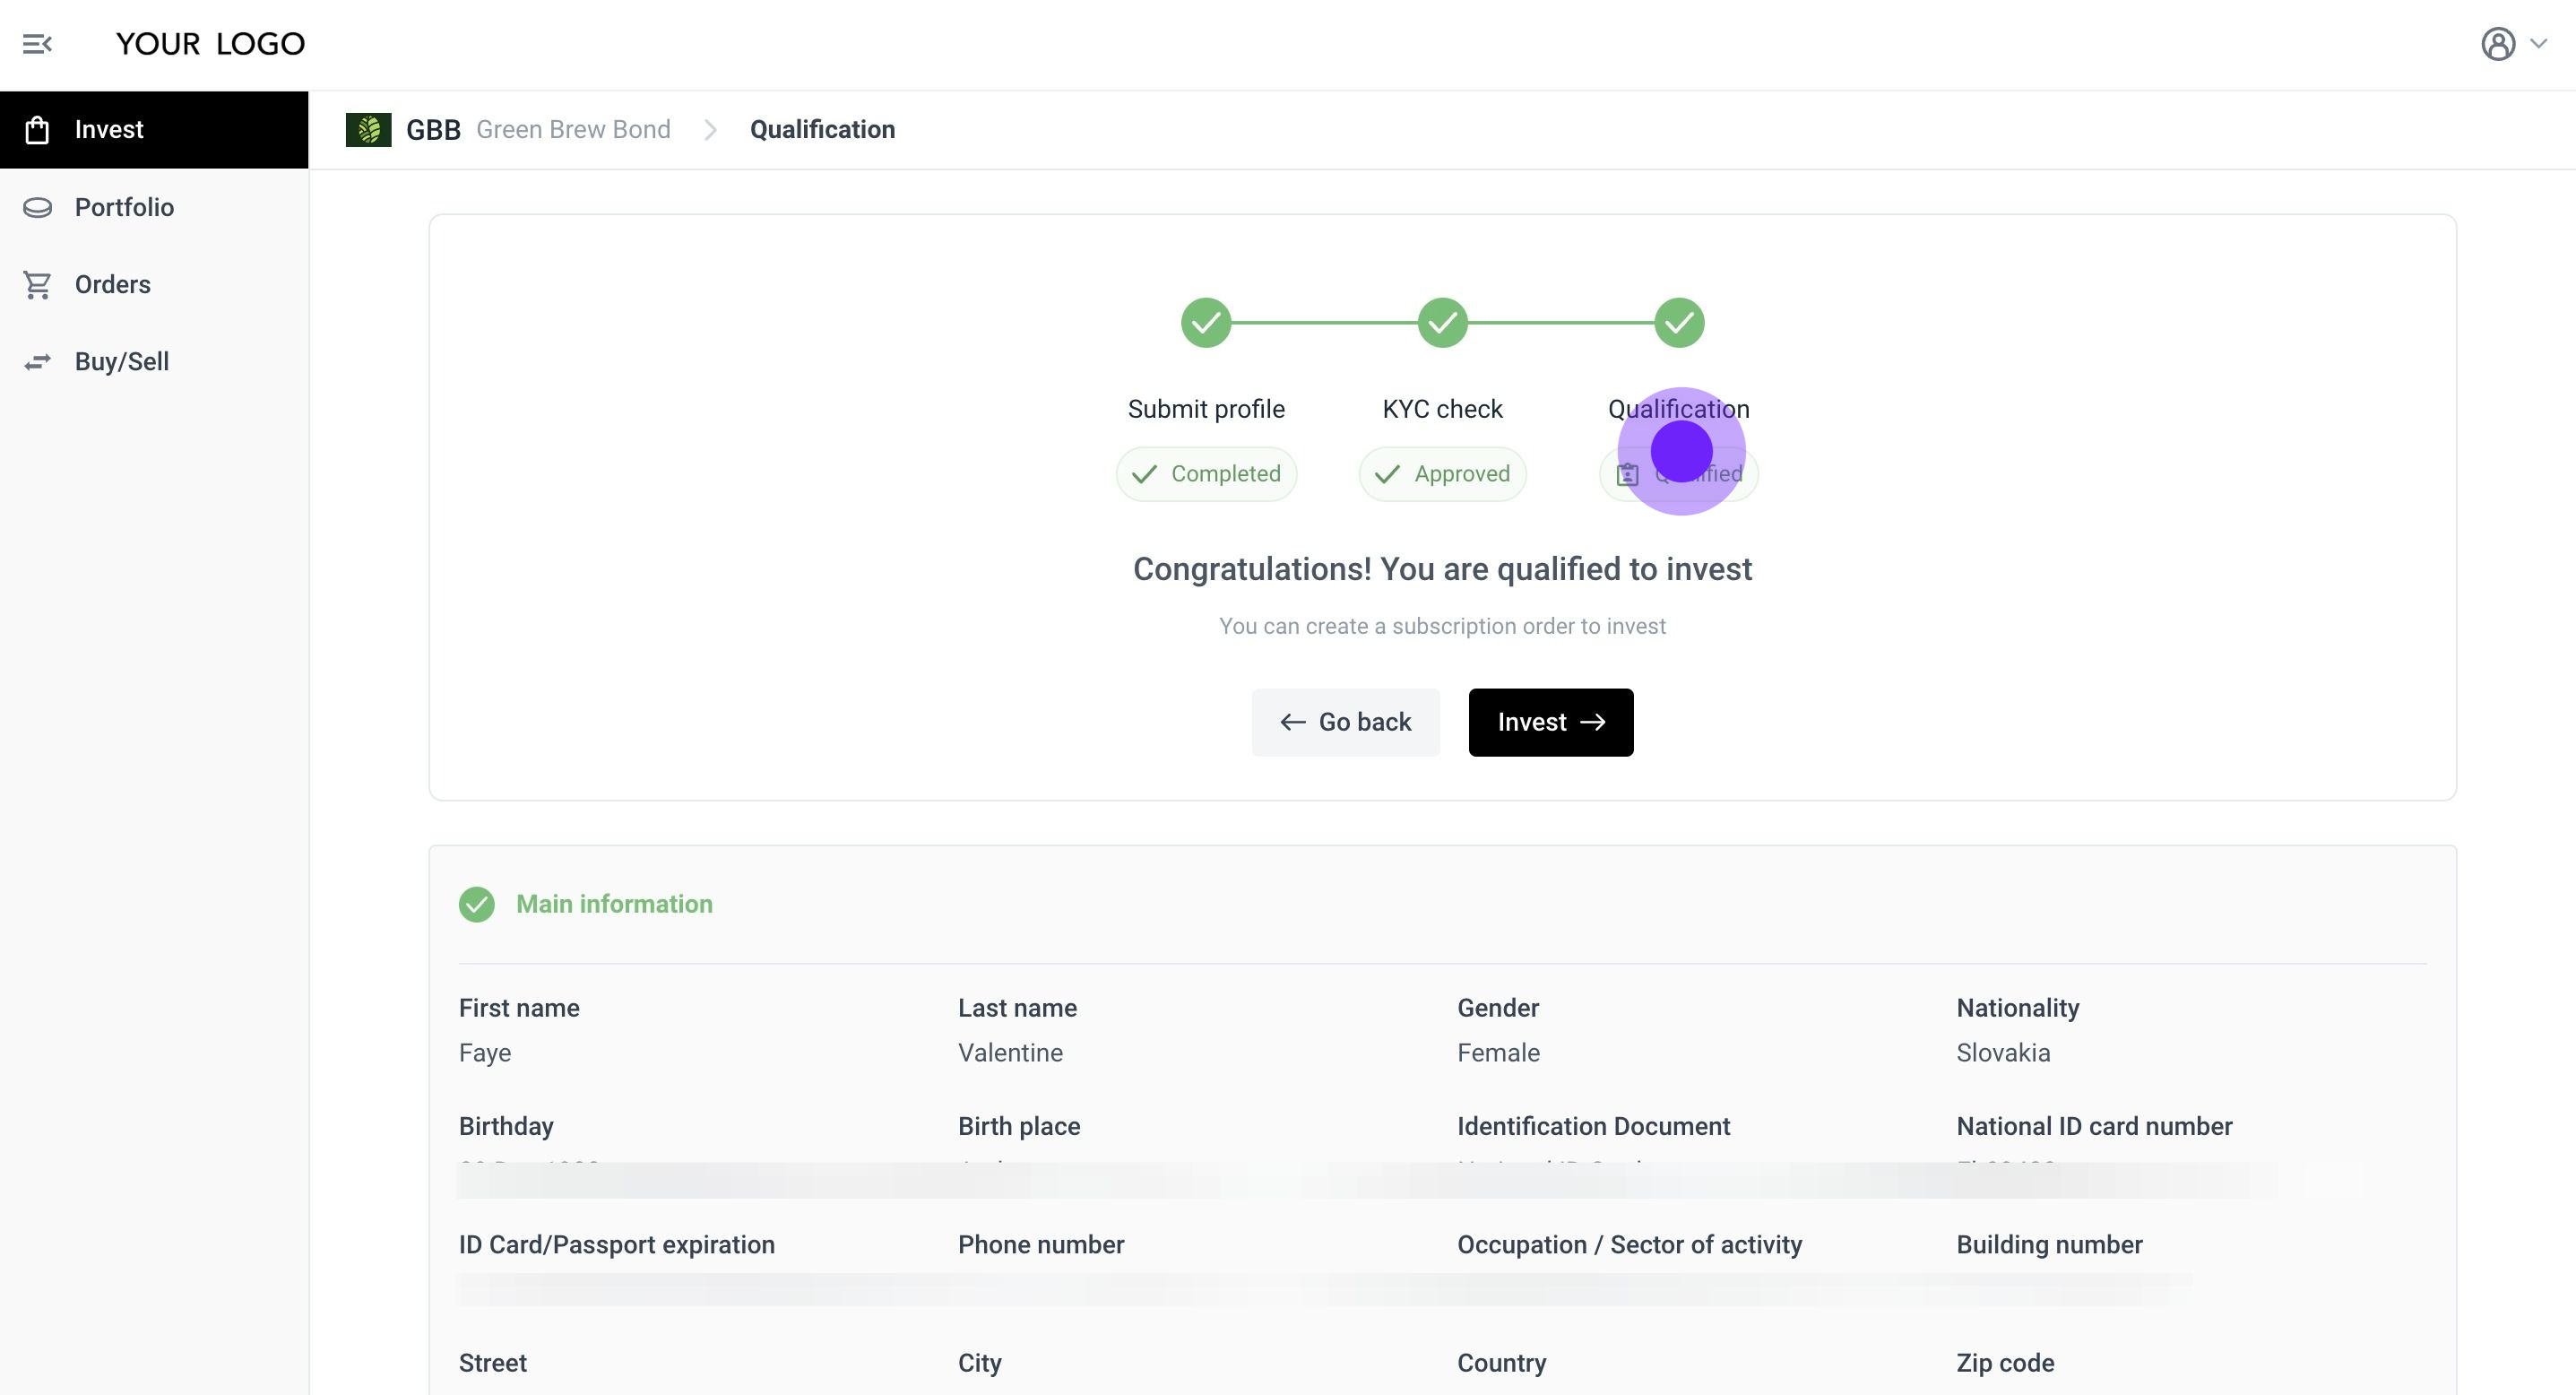
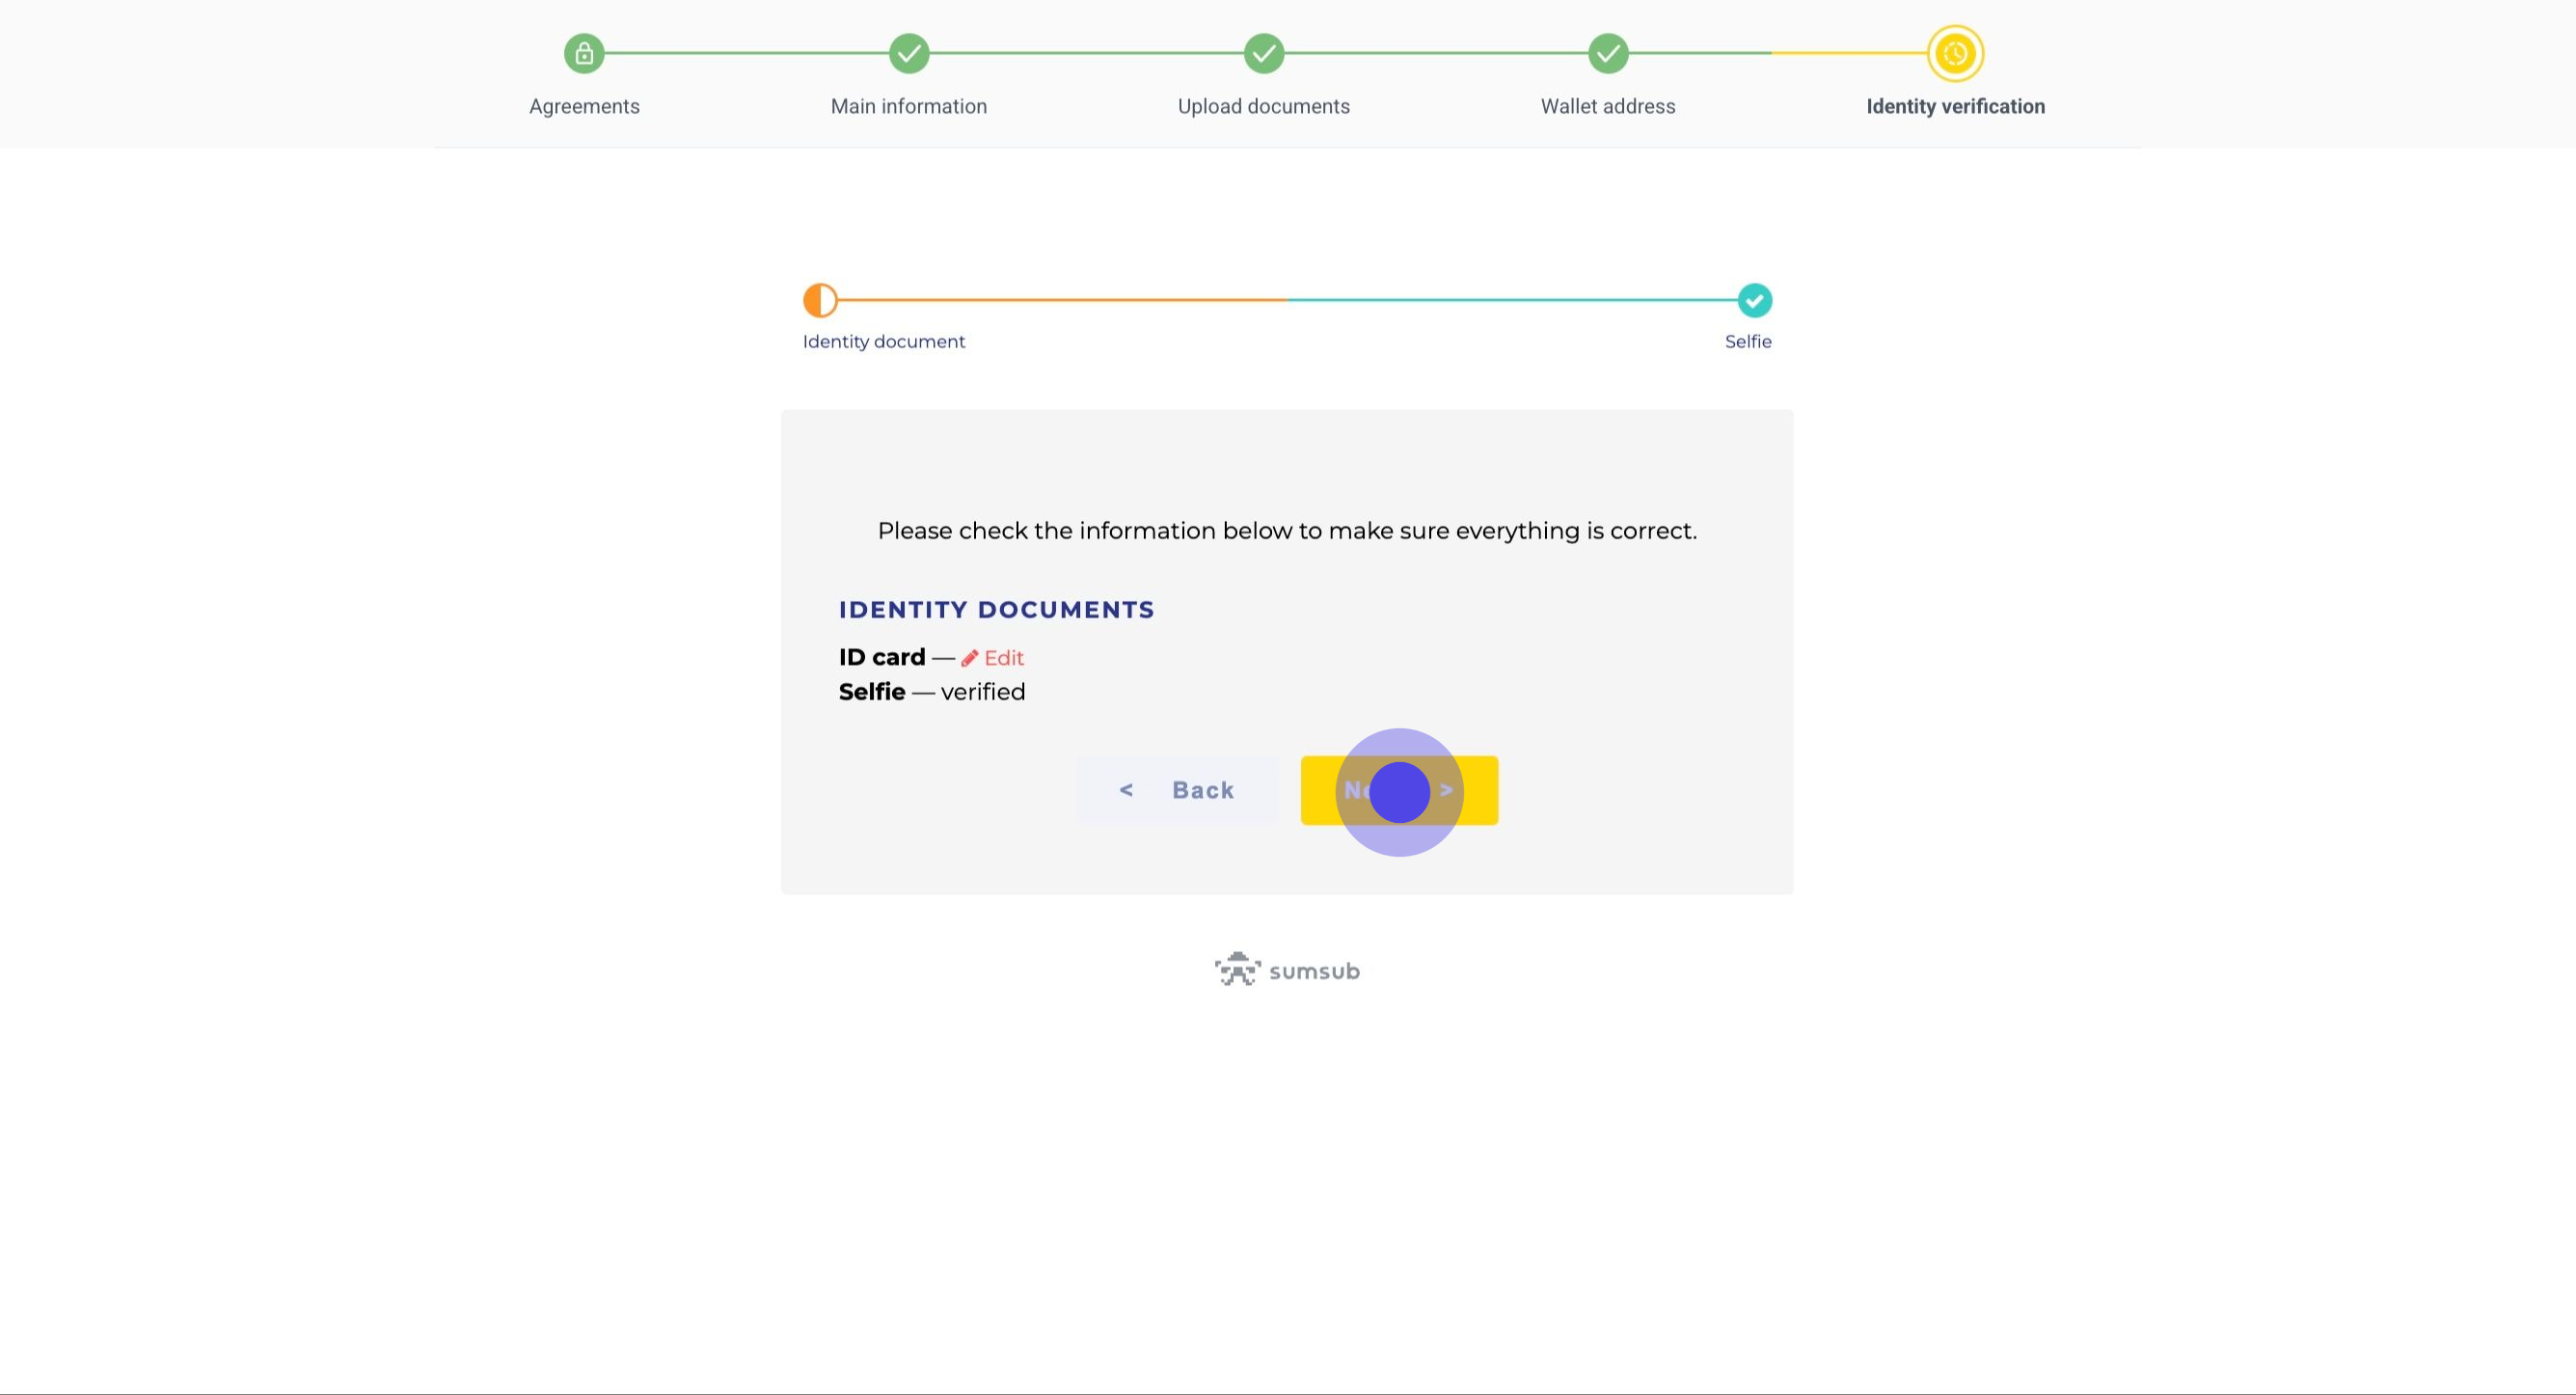
42. Congratulations! Your self-managed blockchain-based and reusable investment passport, ONCHAINID, has been successfully deployed. You are now a qualified investor and can begin investing in the Green Brew Token.
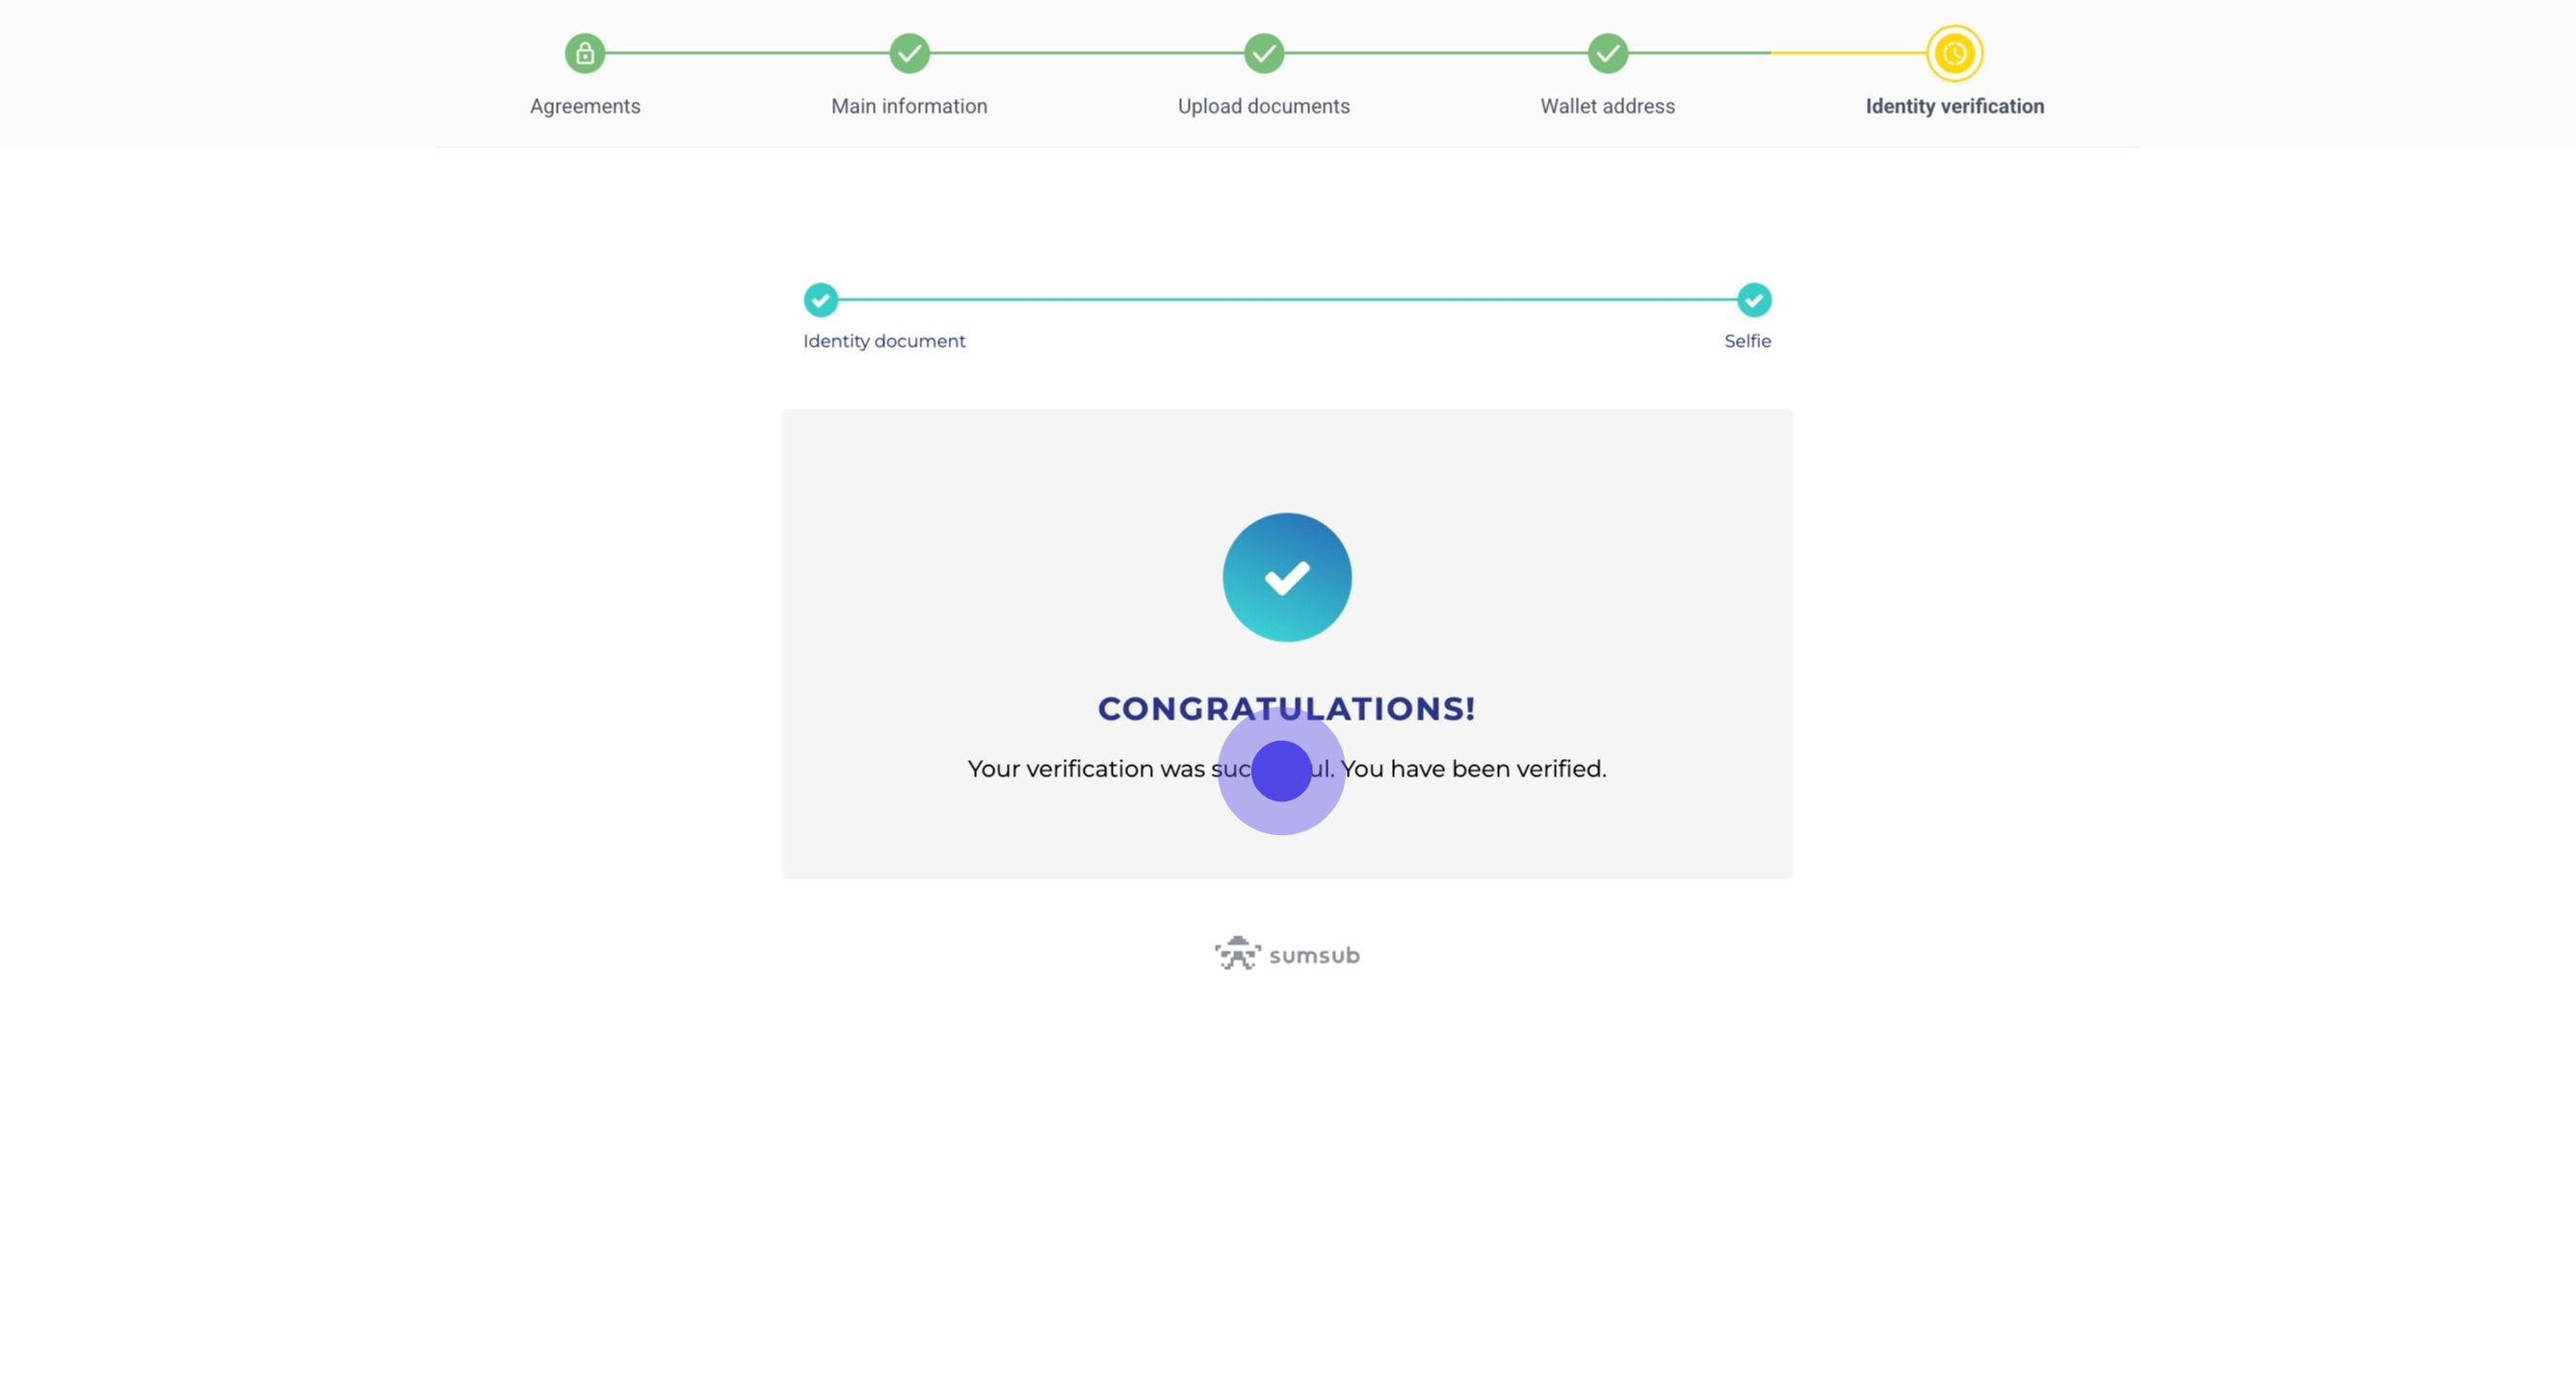
Digital identity verification using SumSub
After the 'documentation upload' step or 'wallet step' (depending on the preferred order of the Issuer), the Issuer can enable an integrated KYC solution - SumSub to automate identity verification. During the implementation phase, the Issuer decides whether to use an integrated KYC provider (at an additional cost) or proceed without one (handling identity verification in-house or using another solution). In this example, the Issuer has chosen to use SumSub.
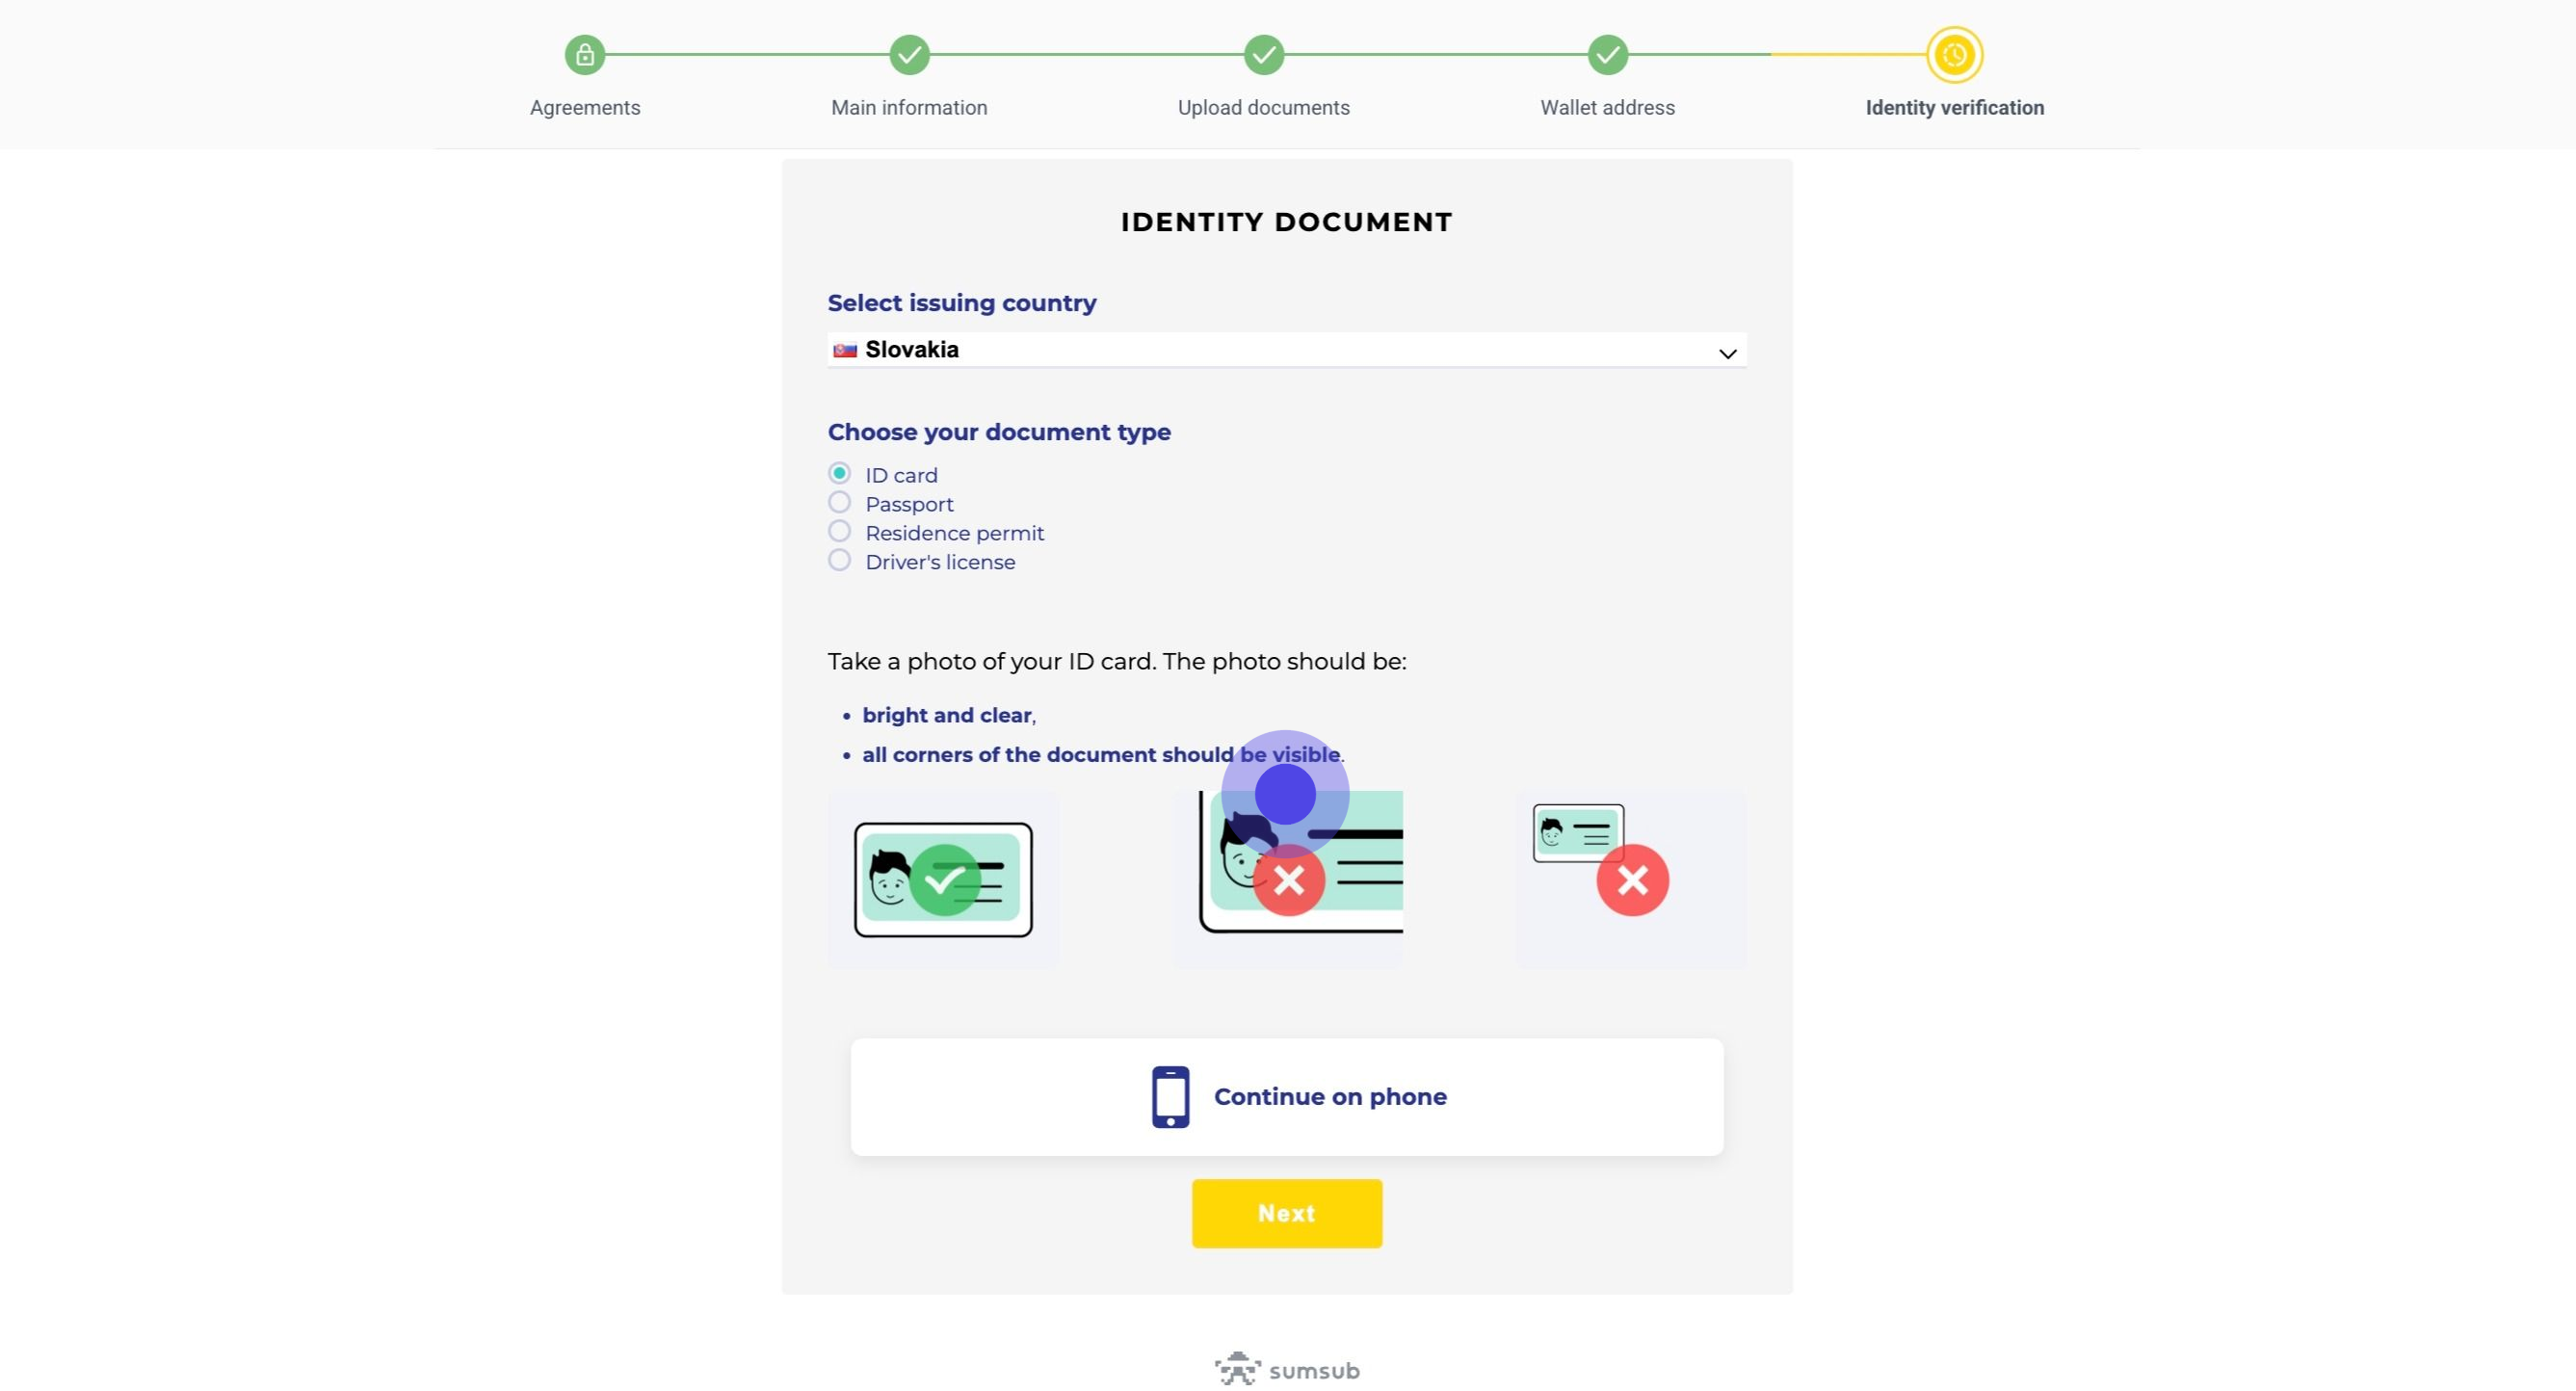
43. The investor must always select the issuing country and the type of document they will use to verify their identity. The issuer defines which documents are accepted during the configuration of their SumSub verification flow. Investors can choose to complete the identity verification on their computer or switch to their phone to continue the process.
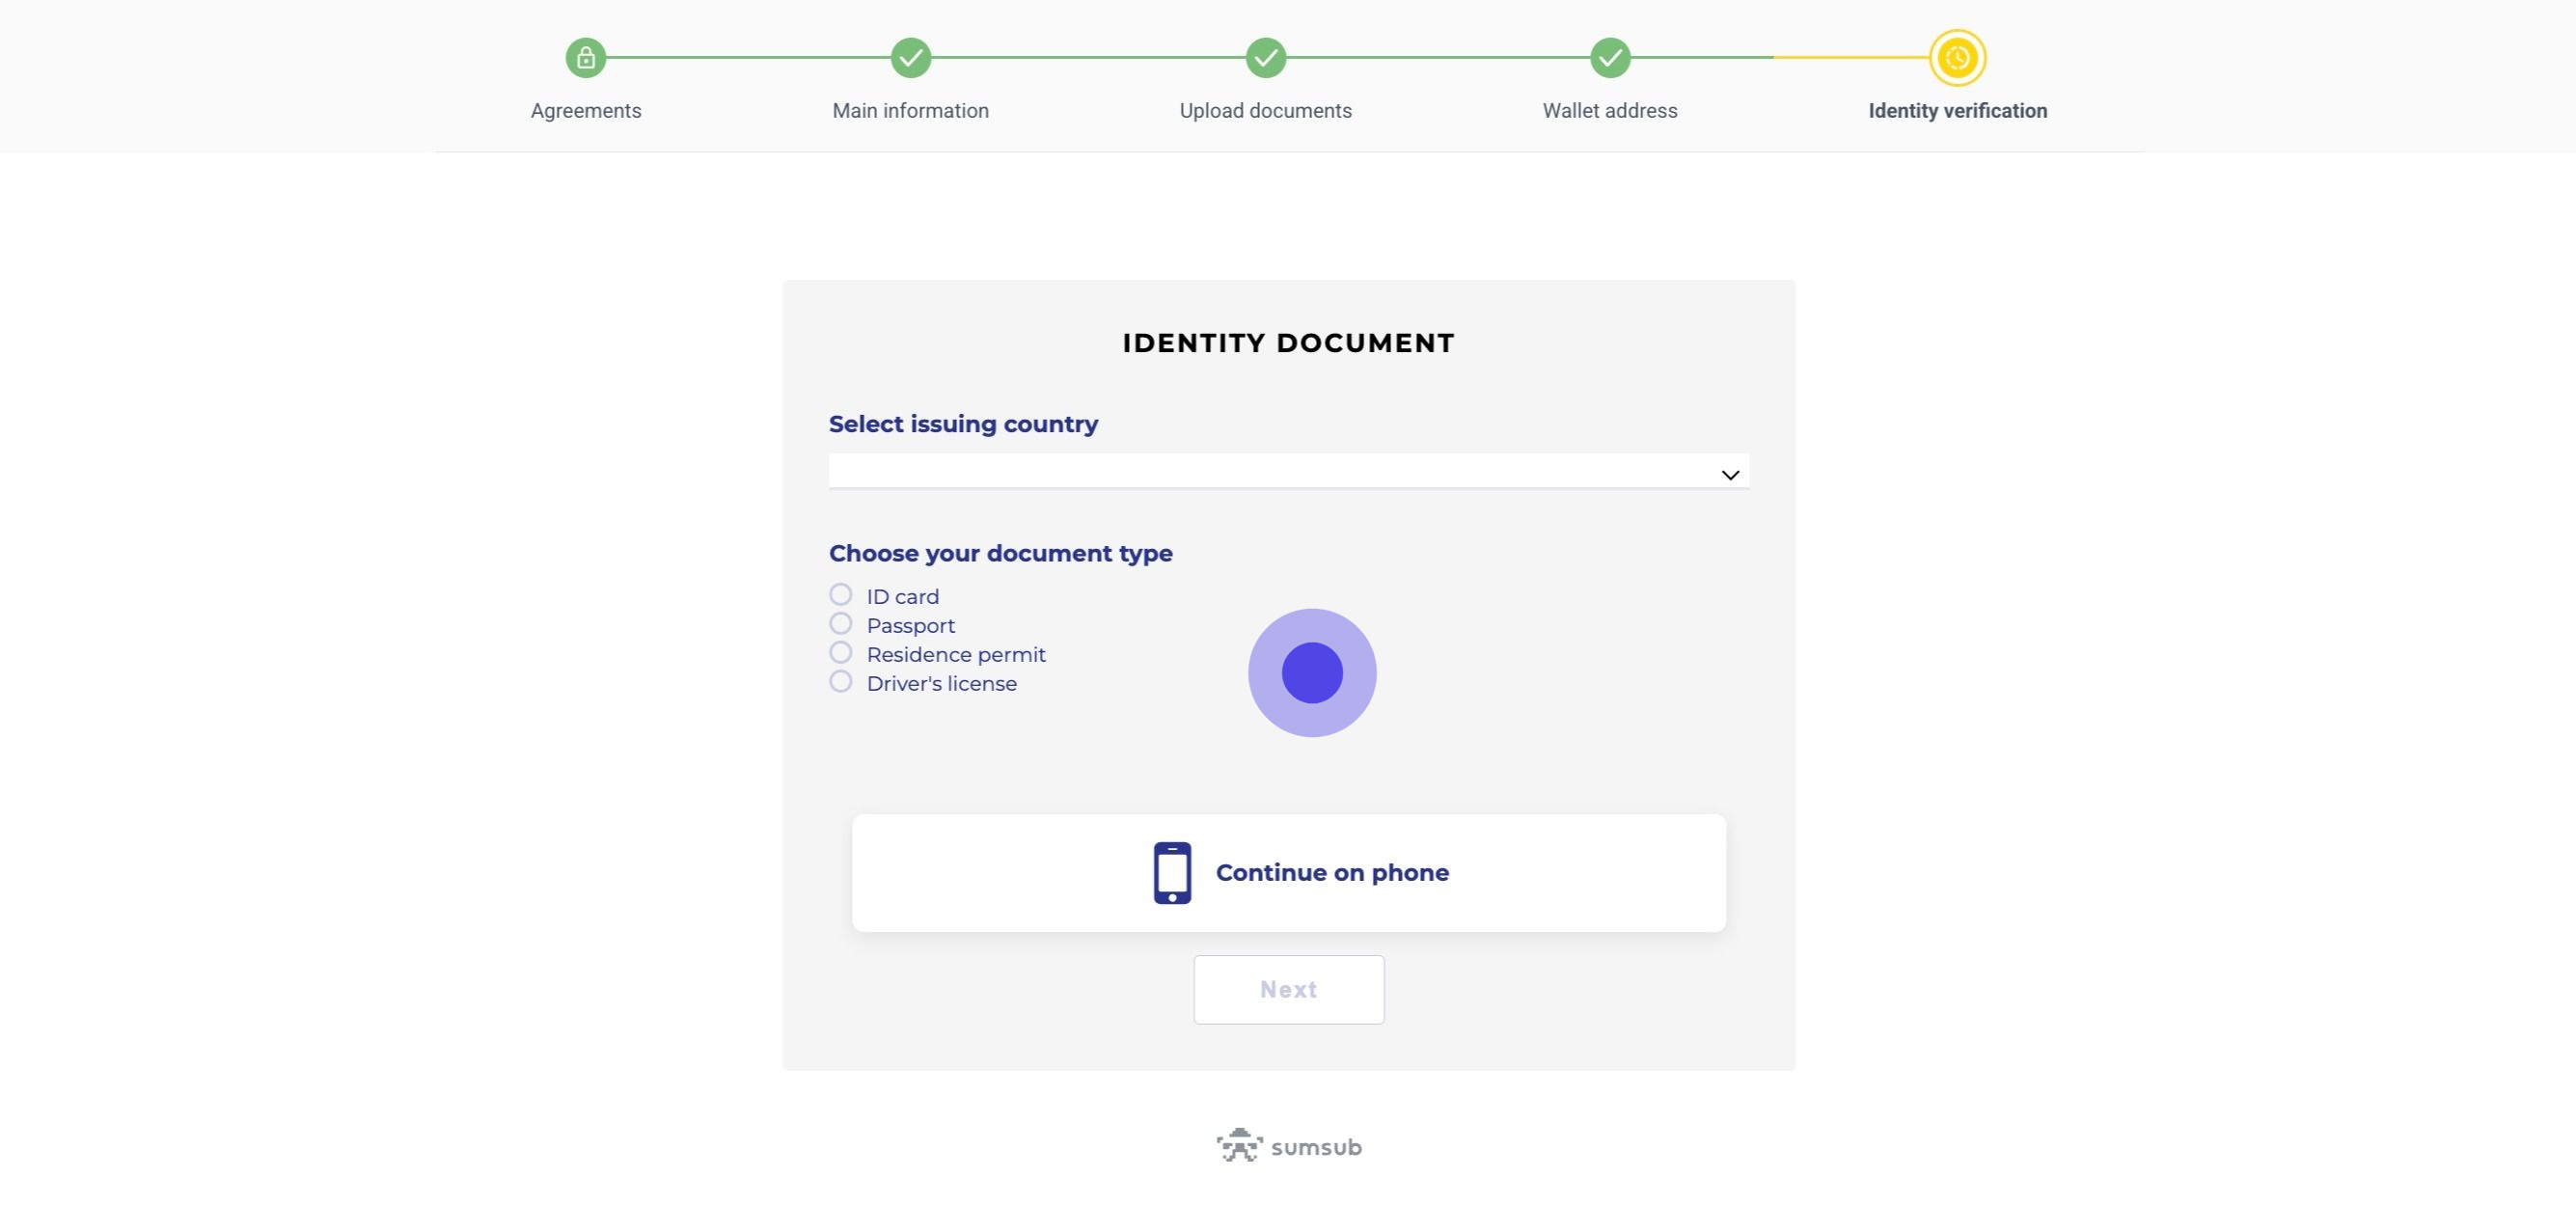
44. The investor selects their issuing country and document type, then clicks 'Next' to proceed.
45. The investor can either upload an existing copy of their identity document from their laptop/computer, OR >
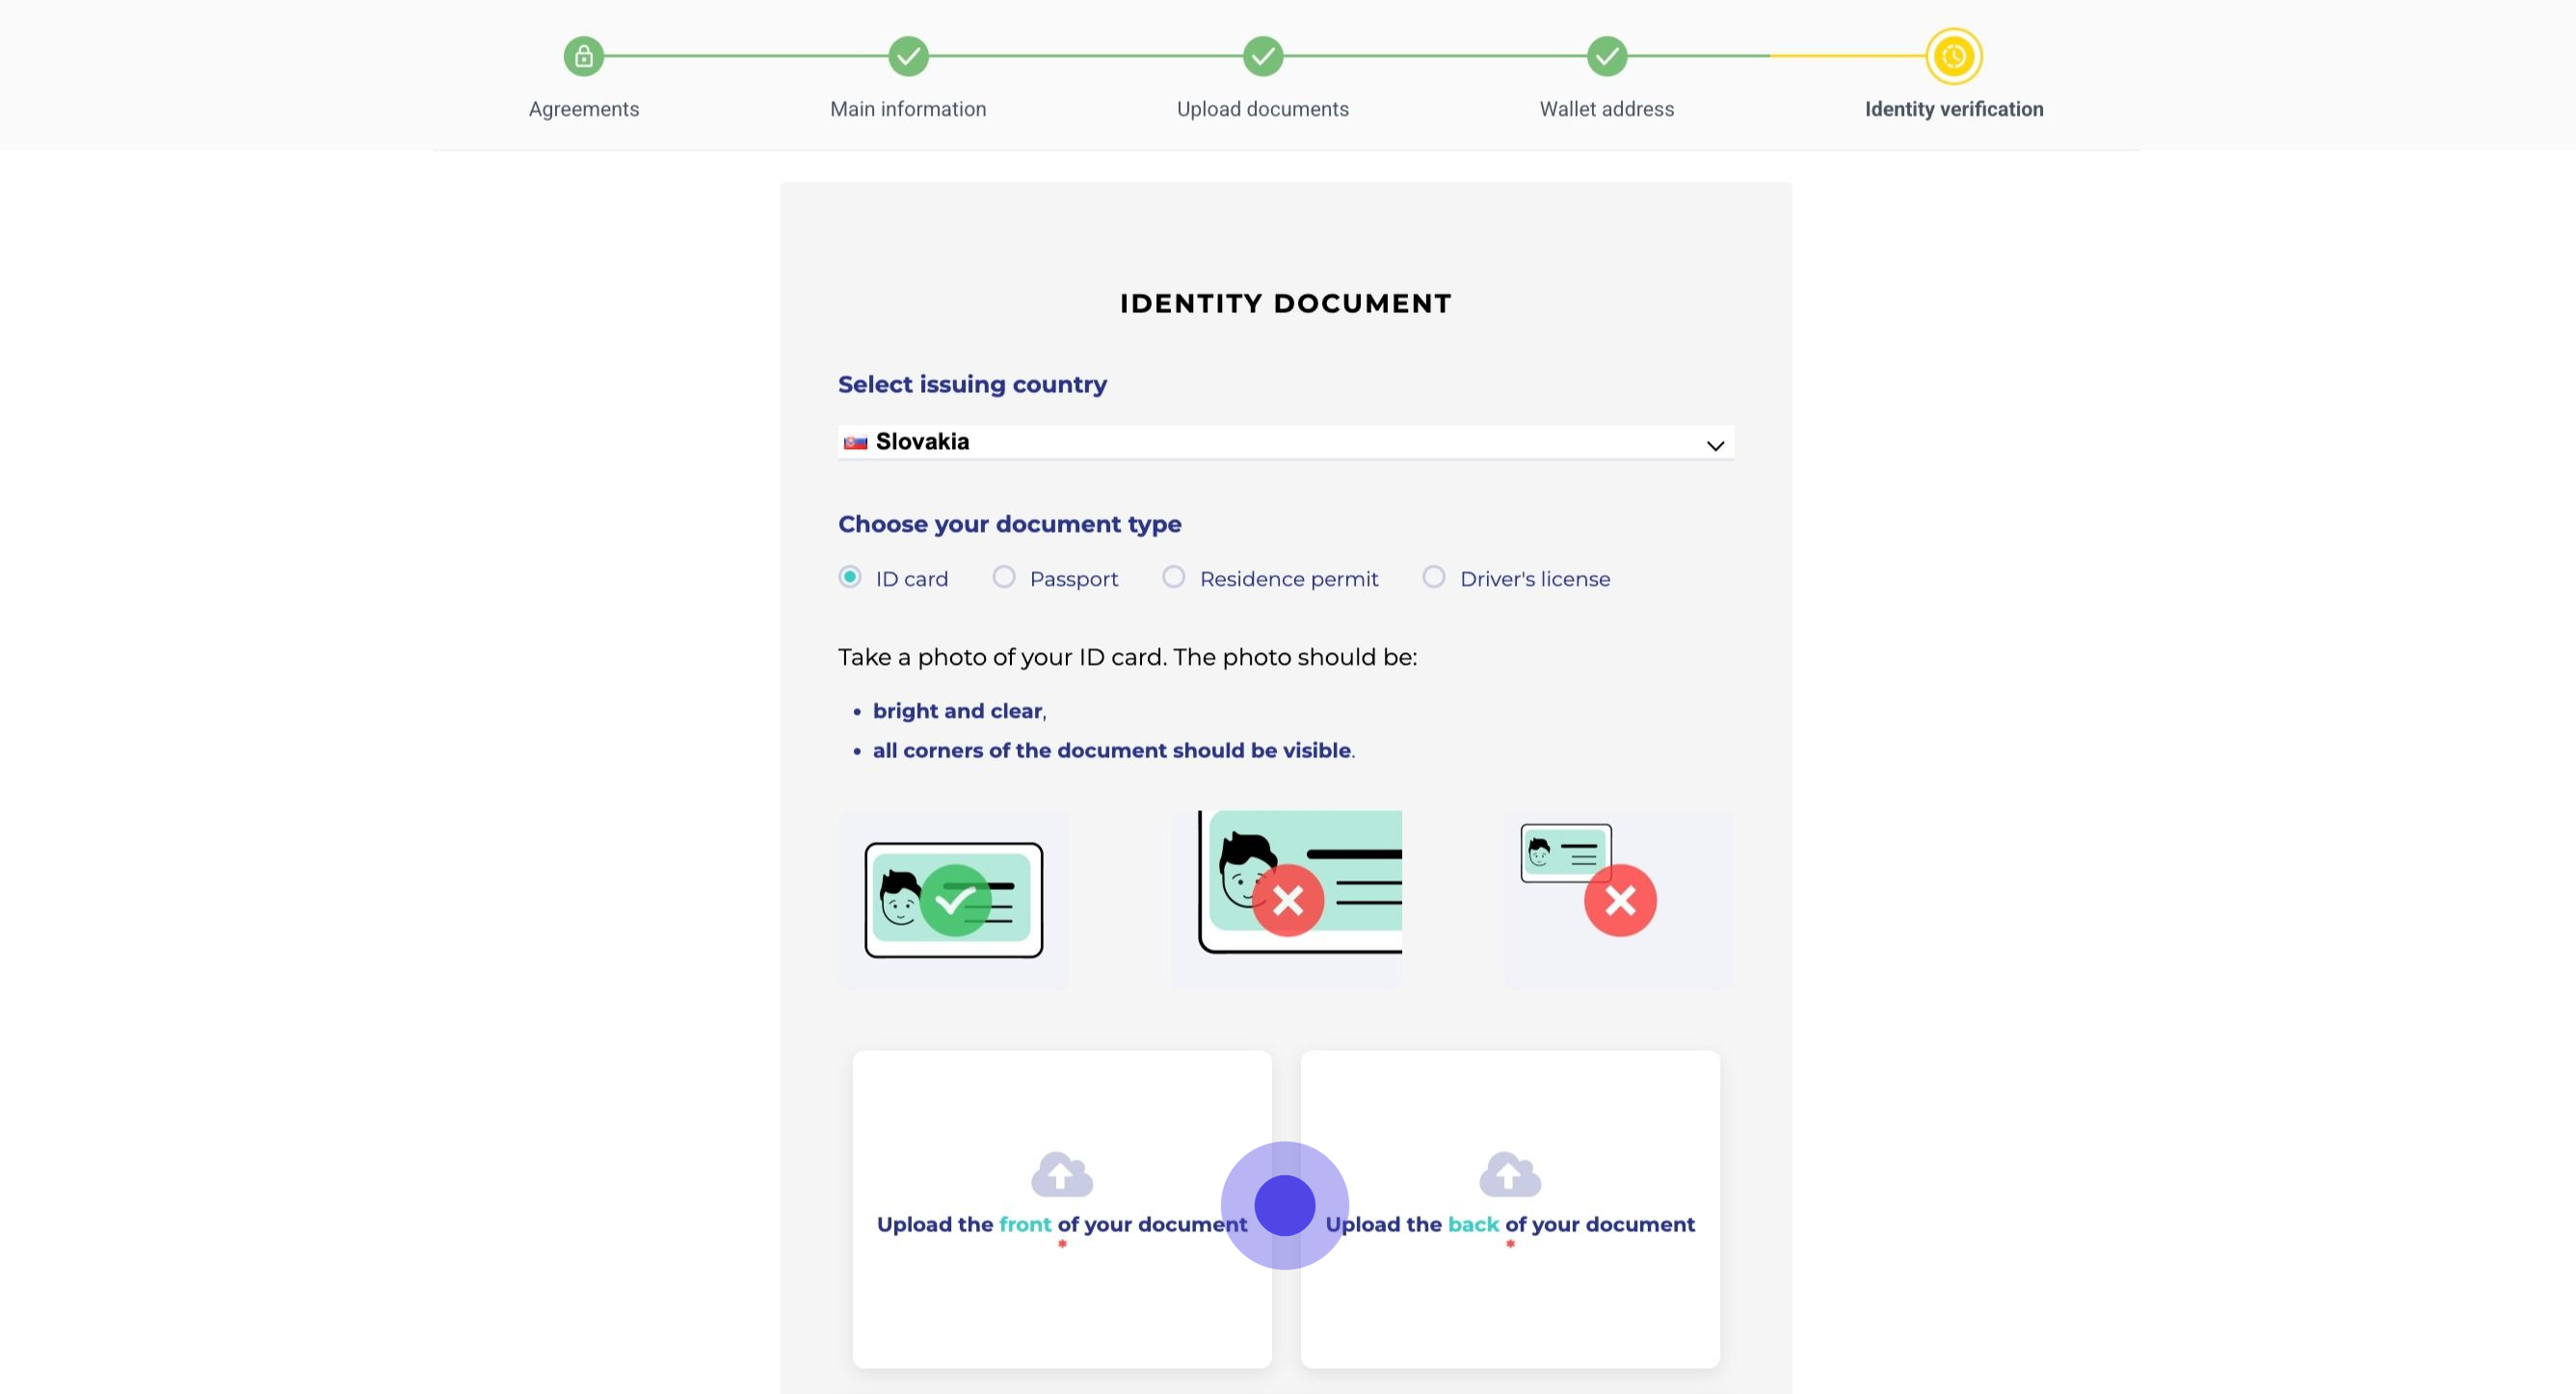
46. Or choose to continue on their phone to take the picture and upload it directly from there.
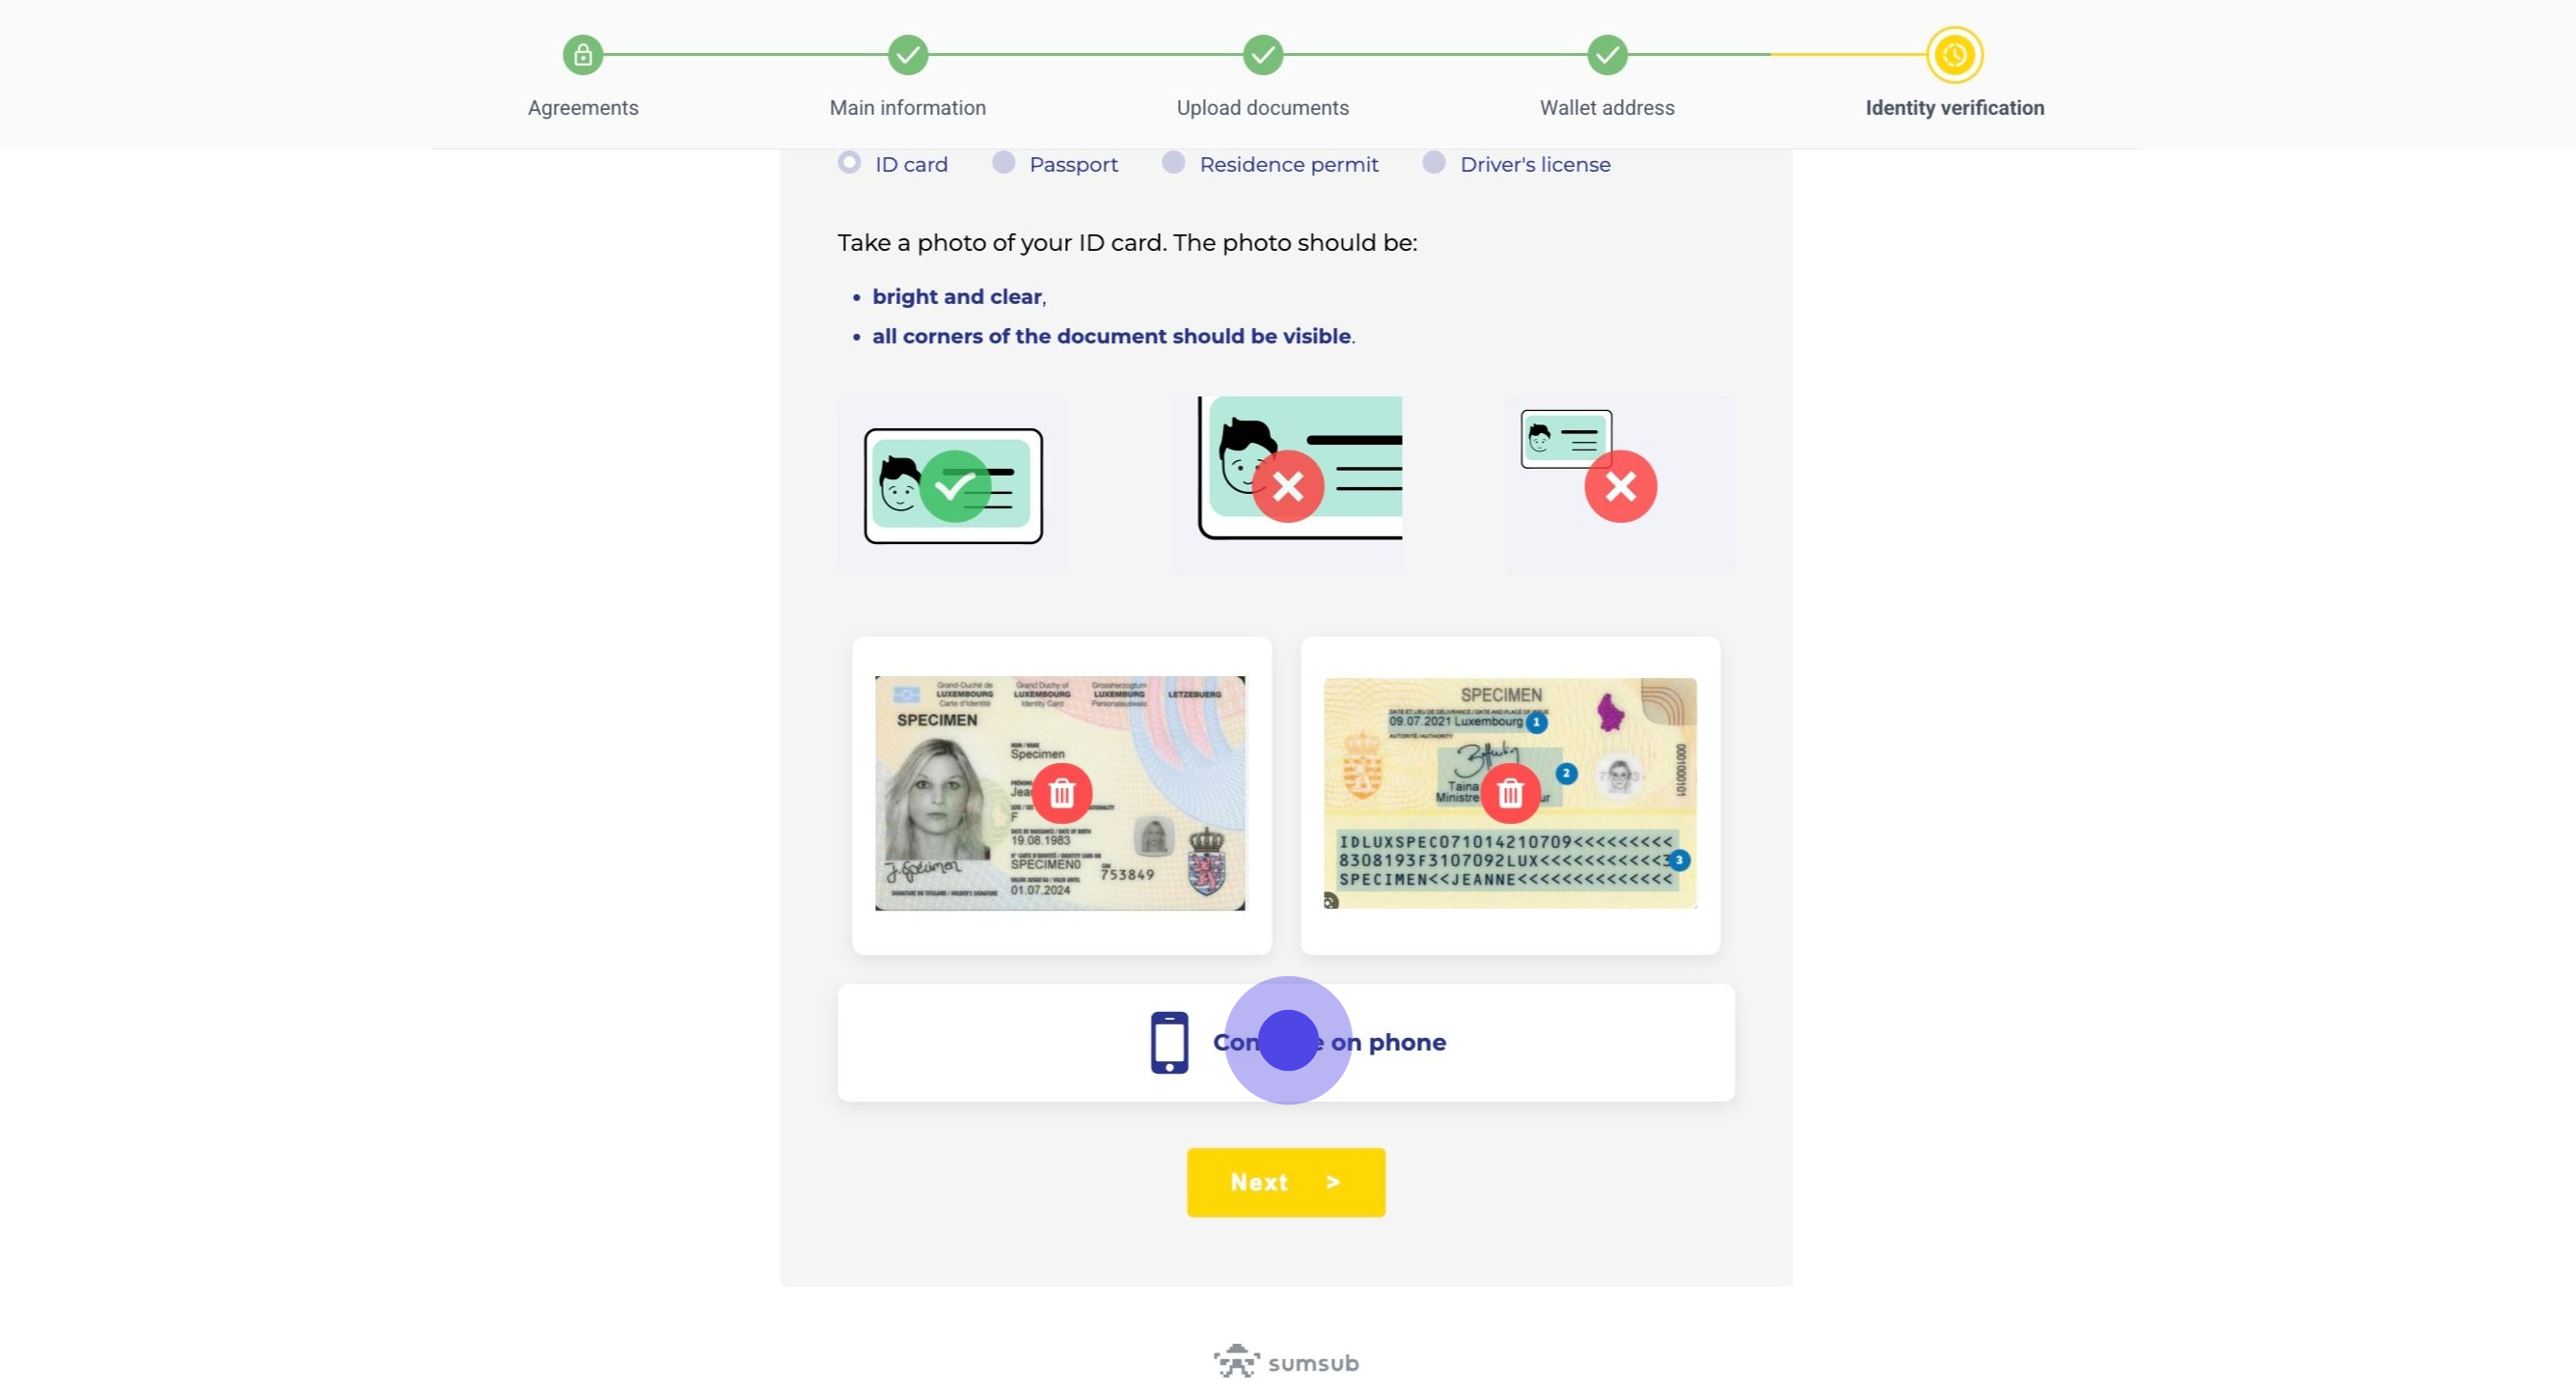
47. After uploading the images, the investor clicks 'Next' to continue.

48. Now that the identity document has been successfully uploaded, the investor can proceed with the liveness check.
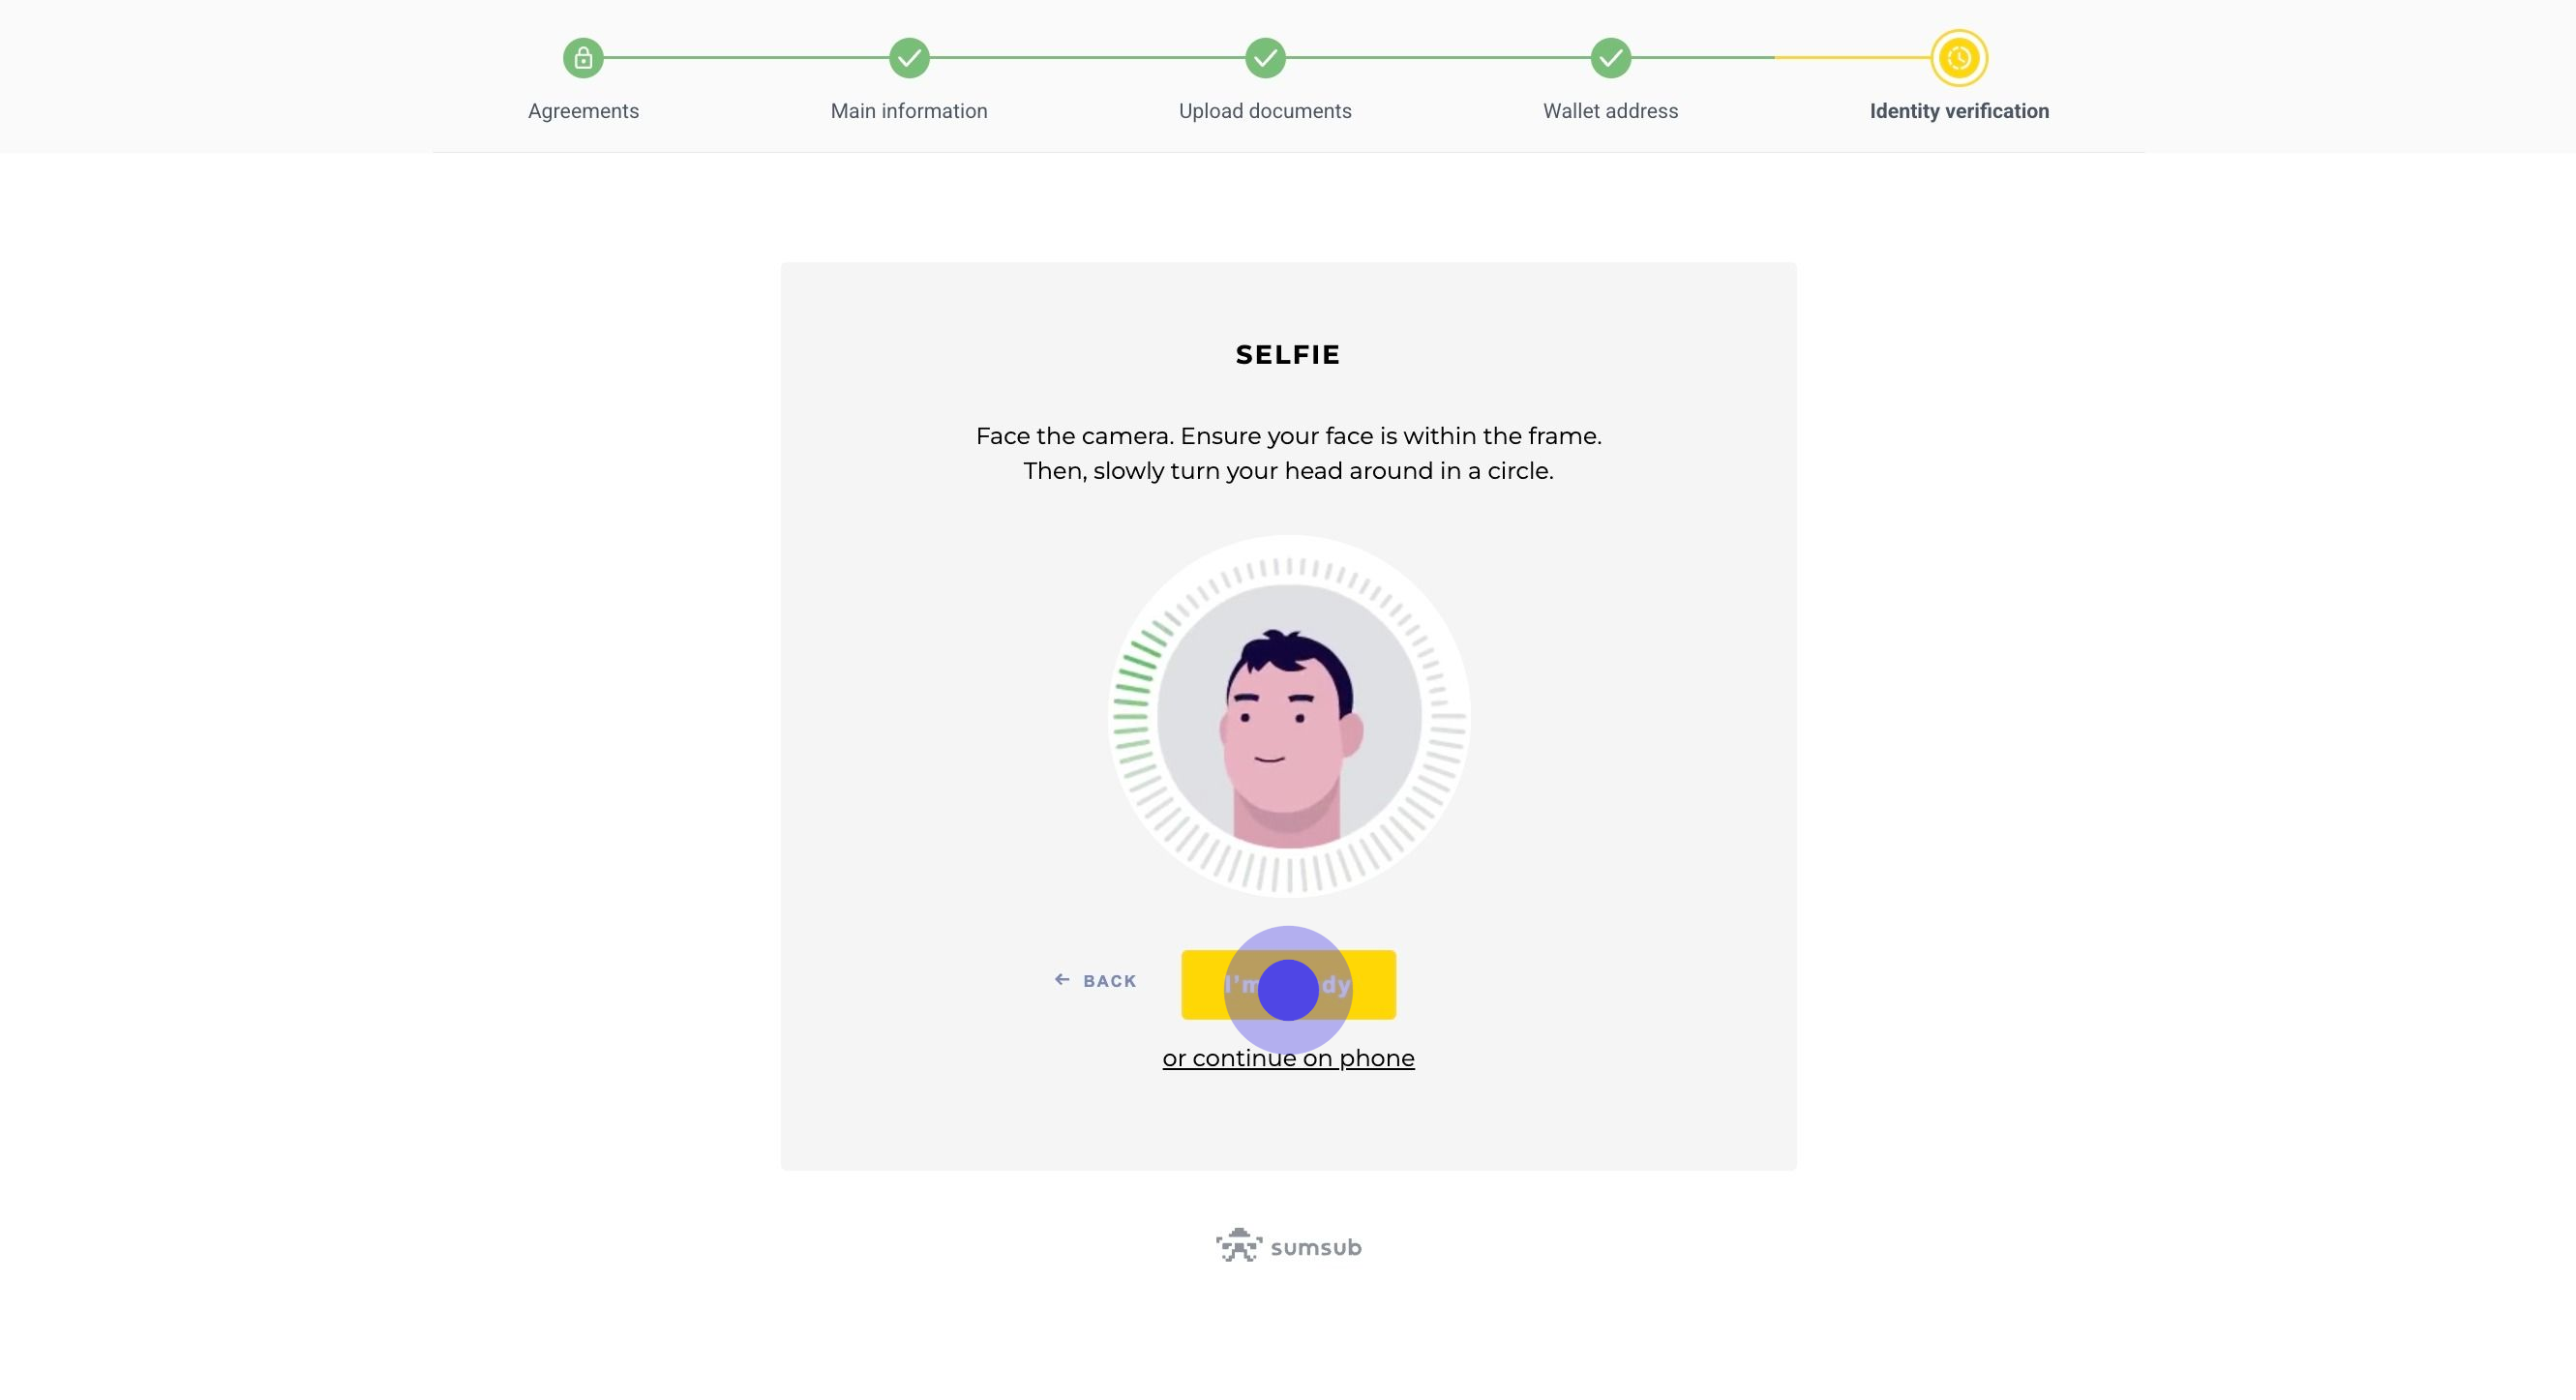
49. A pop-up requesting access to your camera will likely appear. Allow access and follow the on-screen instructions to move your head in a circular motion.
50. Double-check the information shown. If everything is correct, click 'Next' to begin the identity verification process.
51. The identity verification process is now underway. The investor will receive an automatic email confirming that verification has started. In most cases, KYC checks are completed automatically within a few minutes, without requiring intervention from the issuer and their further review in the SumSub dashboard. When the KYC status changes from Pending to KYC Success, an automatic confirmation email is sent to the investor. If additional review is required, the issuer will need to manually update the investor’s KYC status in the Servicing App. This action will trigger the sending of either a KYC Success or KYC Rejected email, depending on the outcome.