How to verify a wallet
Verifying a wallet is an essential process in the world of digital tokens. It safeguards the security and legitimacy of transactions while ensuring compliance with regulatory requirements and internal policies. In this guide, we’ll outline the steps for wallet verification from both the issuer's and the investor's perspectives.
Step 1: Creating an Investor
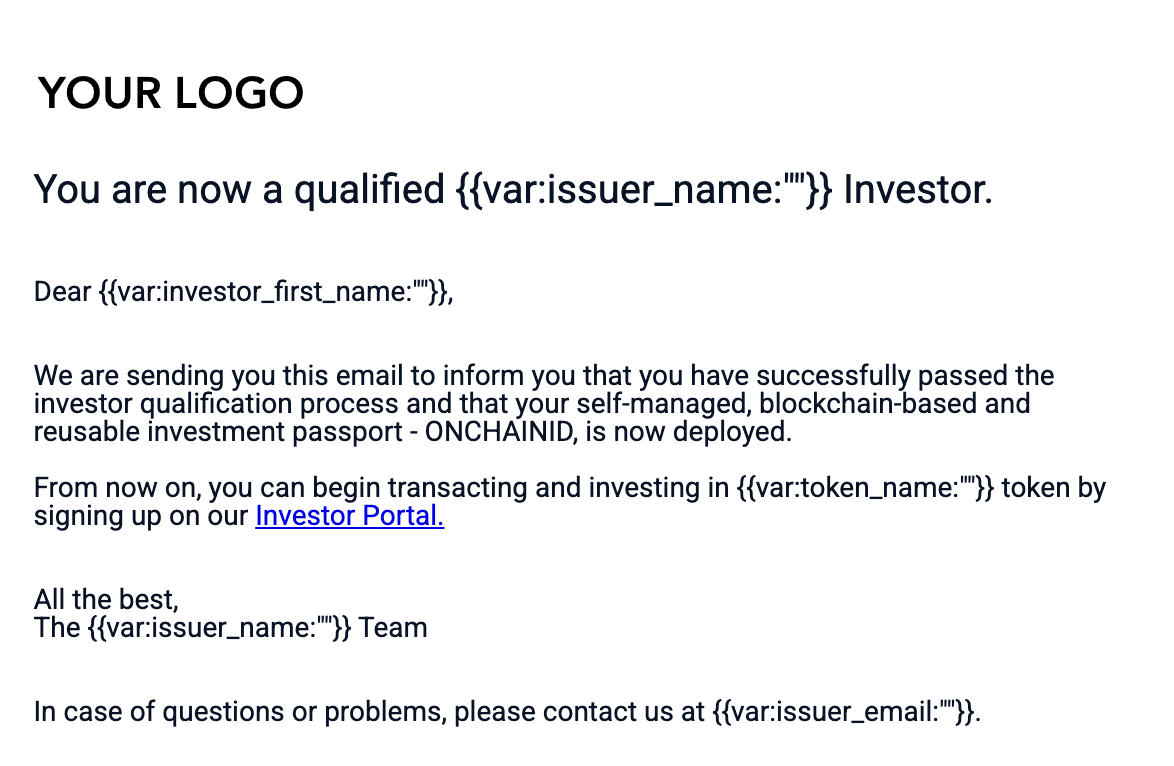
The issuer creates an investor-type user via CSV file import or by filling the form. This file contains necessary information such as investor type, email addresses, nationality and other relevant data. Upon this import, the created investor automatically gets qualified for the specific associated token. The newly qualified investor receives an automatic email with the following wording:

Step 2: Investor Account Creation
Upon receiving the email, the investor must create an account on the Investor Portal using the same email address provided by the issuer. During this step, the investor:
- Sets a new password.
- Confirms their email by clicking an activation link sent to their inbox.
Step 3: Initial Login and Portal Access
The investor logs into their newly created account. During the first login, the Investor Portal recognizes this as an initial access and automatically triggers the wallet verification process.
Step 4: Wallet Verification
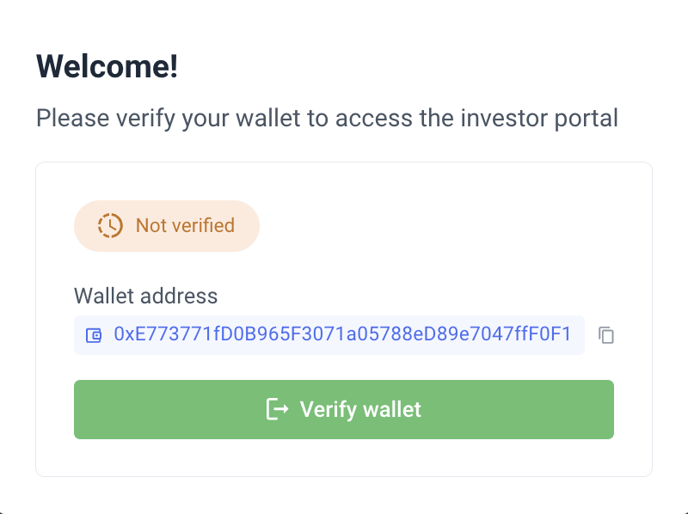
The portal prompts the investor to verify their wallet information. The steps are as follows:
- Confirm Wallet Details: The system displays the wallet linked during the investor qualification process (via CSV or form submission).
- Proof of Ownership: The investor connects and verifies the wallet address by signing a Proof of Ownership, demonstrating they control the wallet.
This step ensures the security and integrity of the wallet connection, significantly reducing the risk of unauthorized access.
The verification process varies based on the type of wallet:
- User-managed Wallets: These are wallets where the investor controls the private keys.
- Integrated Wallets: Non-custodial wallets to which the investor doesn't hold the private keys.
A: Verifying a user-managed wallet

B: Verifying a non-custodial integrated wallet
When investors log in for the first time, a pop-up instruction will appear, prompting them to 'Claim wallet' for secure transactions (refer to the image below). This process ensures they will own their wallet.

Important: The integrated wallet setup process varies based on the investor's operating system and browser. Investors should select the scenario that aligns with their setup to begin creating their private key. Each account will be limited to a single method for signing operations.
The investor chooses the desired method to store the private key, which will allow them to verify that they are the owner of the wallet before proceeding in secure transactions. (The image below shows the available options for a macOS and a Chrome browser.)
.png?width=450&height=433&name=Integrated%20wallets%20(1).png)
