Guide: Permissions and roles of users
This article provides detailed information about the different roles and permissions managed within our platforms. It outlines the types of roles, their definitions, capabilities, and procedures for granting access.
Type of permissions
We have four roles within the platform:
| Admin | Token Creator | Token Owner | Token Agent | |
| Platform Settings | configure | no access | no access | no access |
| Token Settings | read only | only deploy token | allowed | no access |
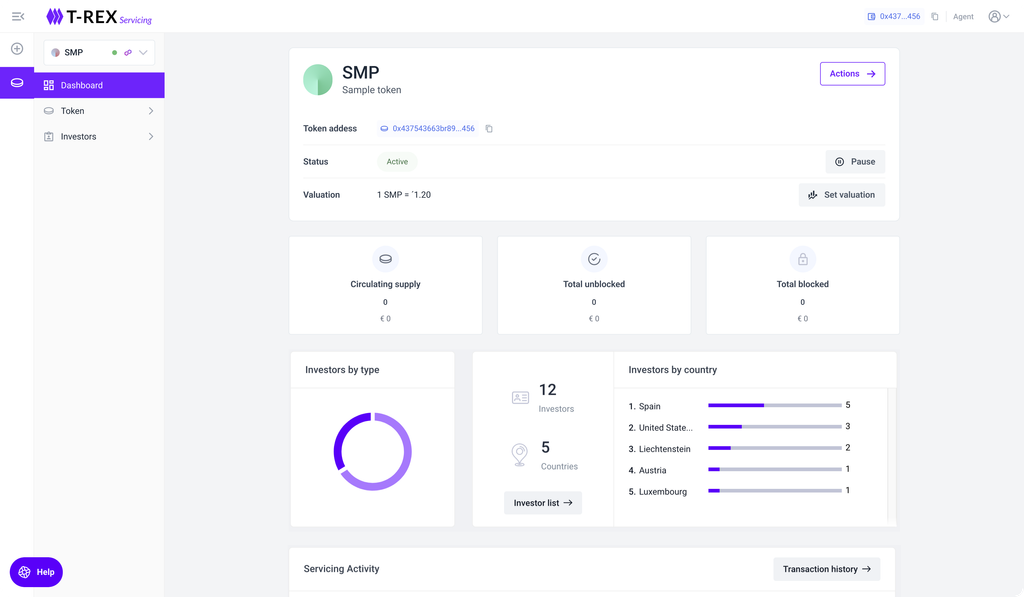
| Token Dashboard | read only | reduced view | allowed | allowed |
| Token Actions | read only | no access | no access | allowed |
Roles description
1 - Admin
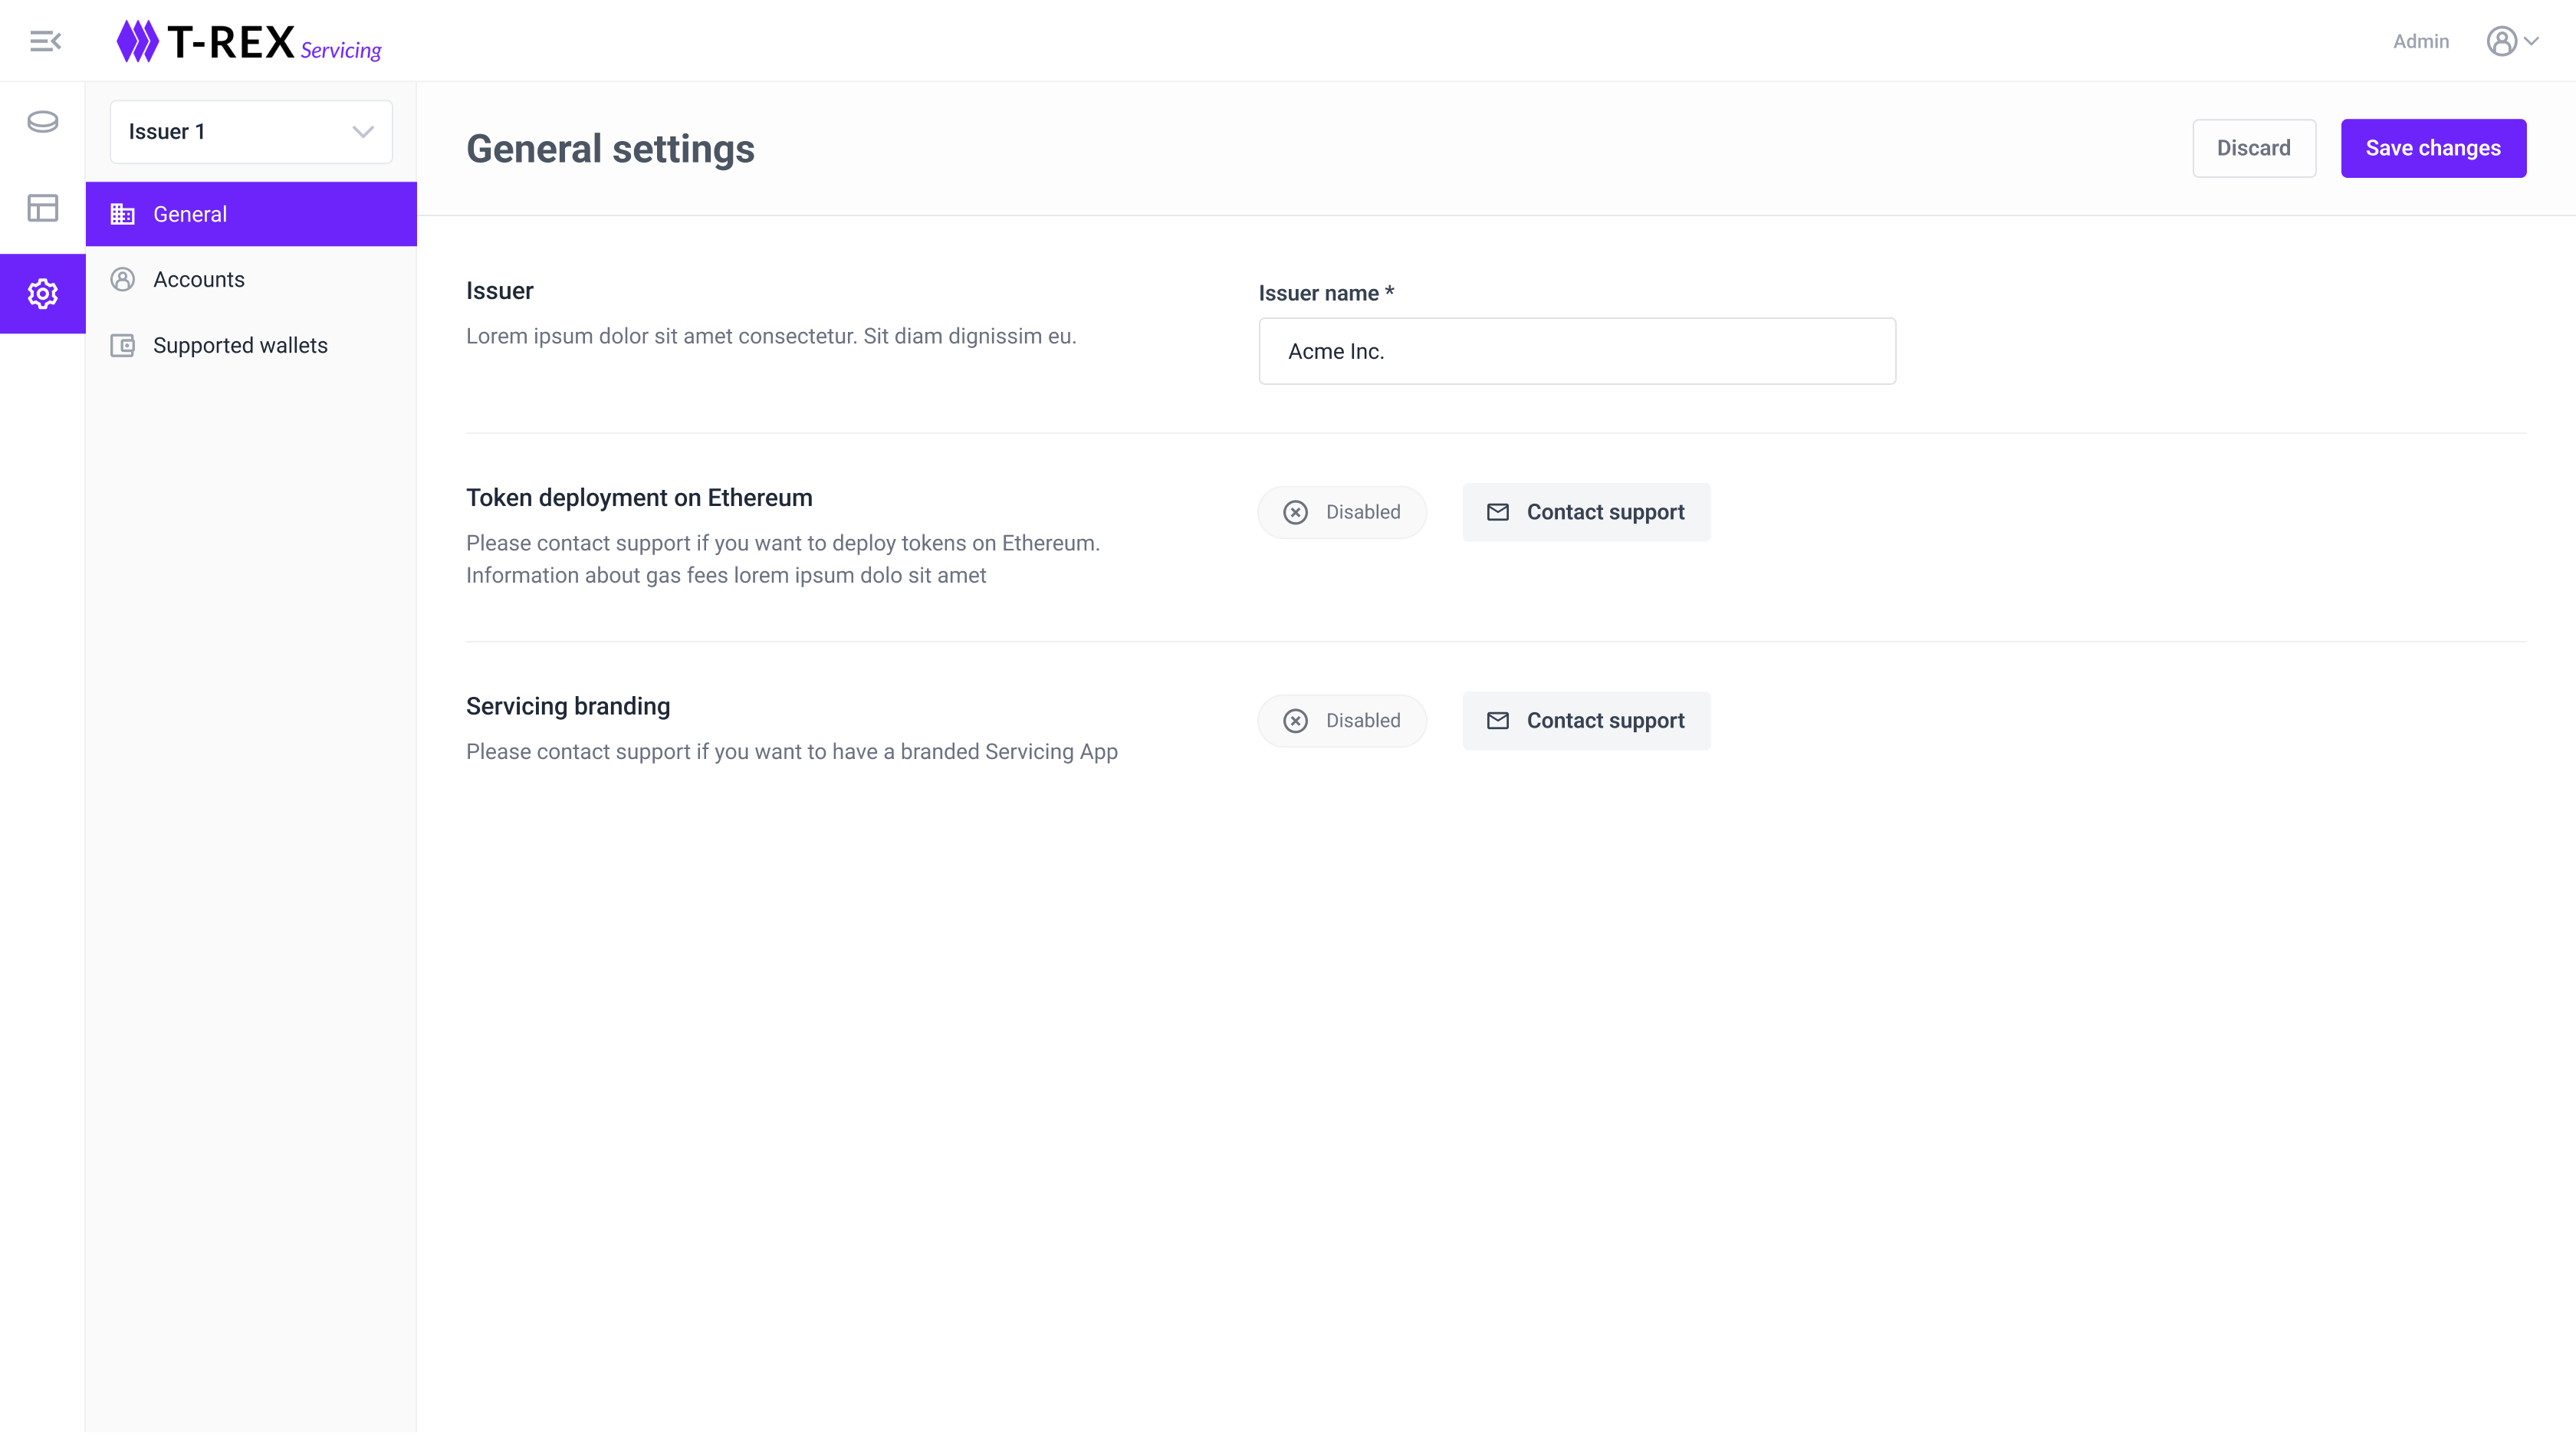
They are the ones that can access and configure the platform settings and the investor app settings. They can also access the rest of the token settings in read-only mode within Servicing application.
Platform settings - General: here they can configure the issuer name, and contact support if they want to enable Token deployment on Ethereum, and Servicing application branding.
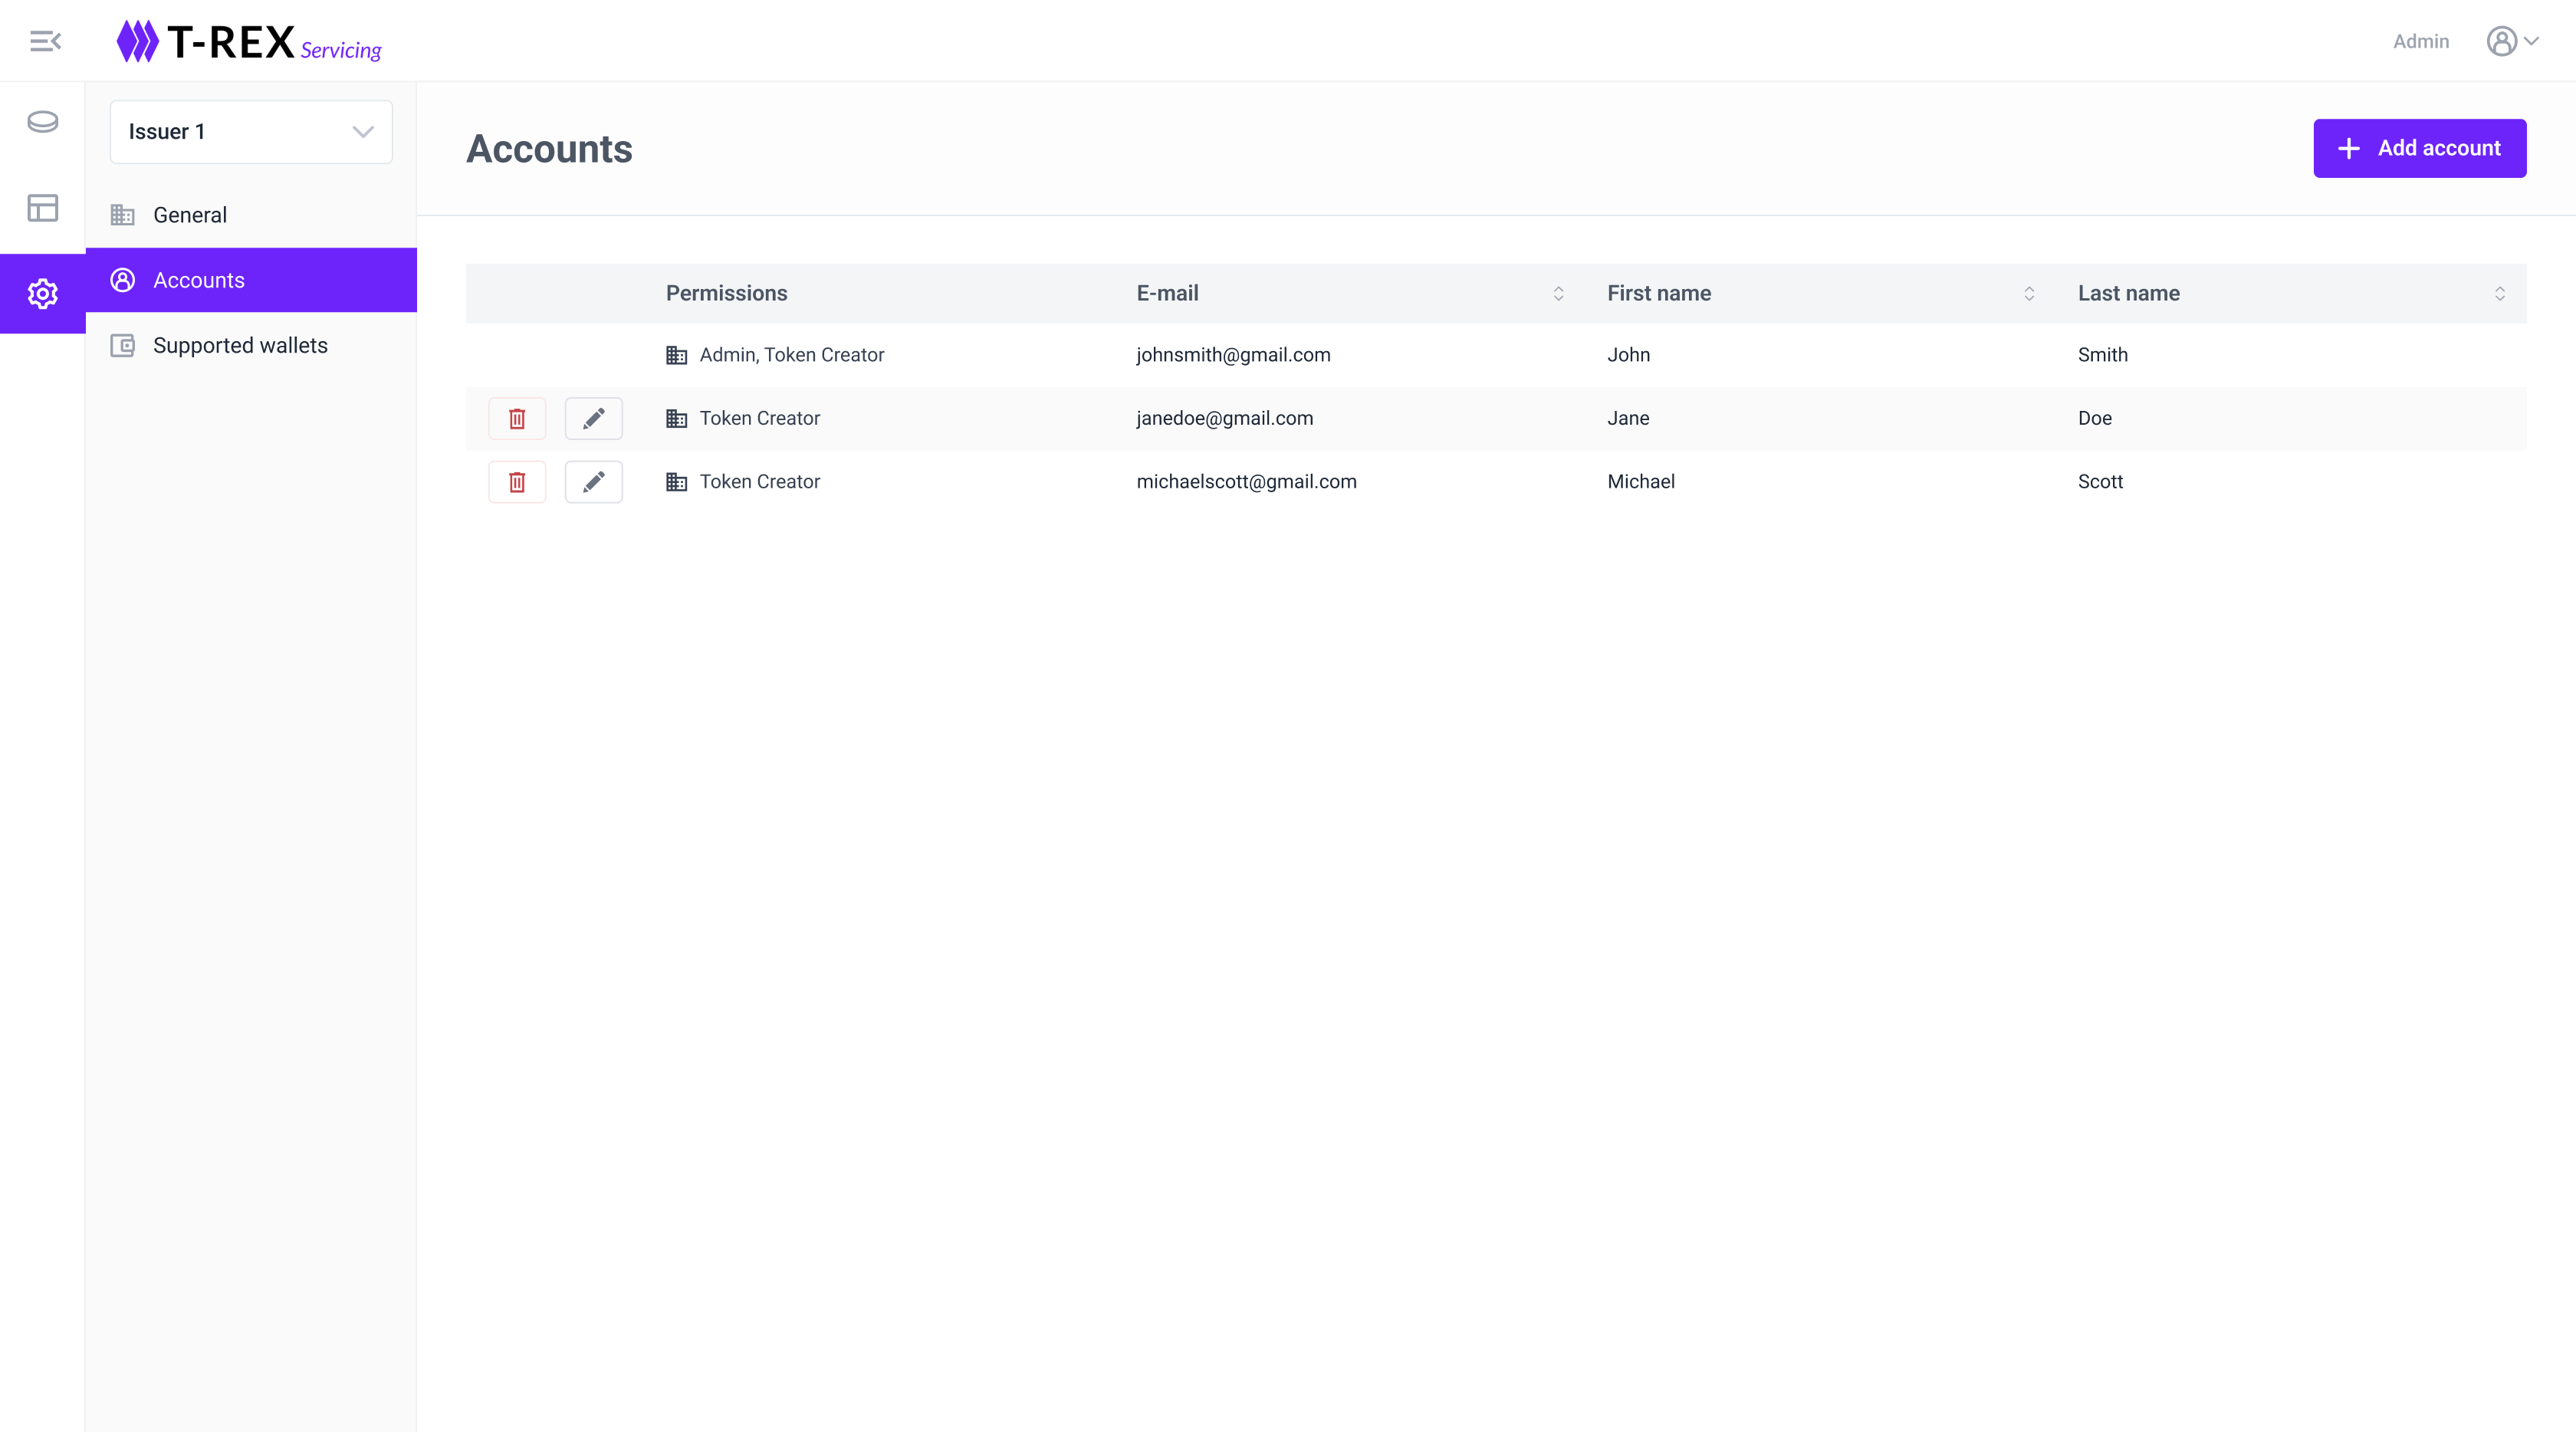
Platform settings - Accounts: here they can add or modify existing issuer admins and token creators.
Platform settings - Supported Wallets: here they can select the wallets they want to support, user managed wallets, and/or integrated wallets. Integrated wallets has to be enabled/disabled contacting customer support.

2 - Token Creator
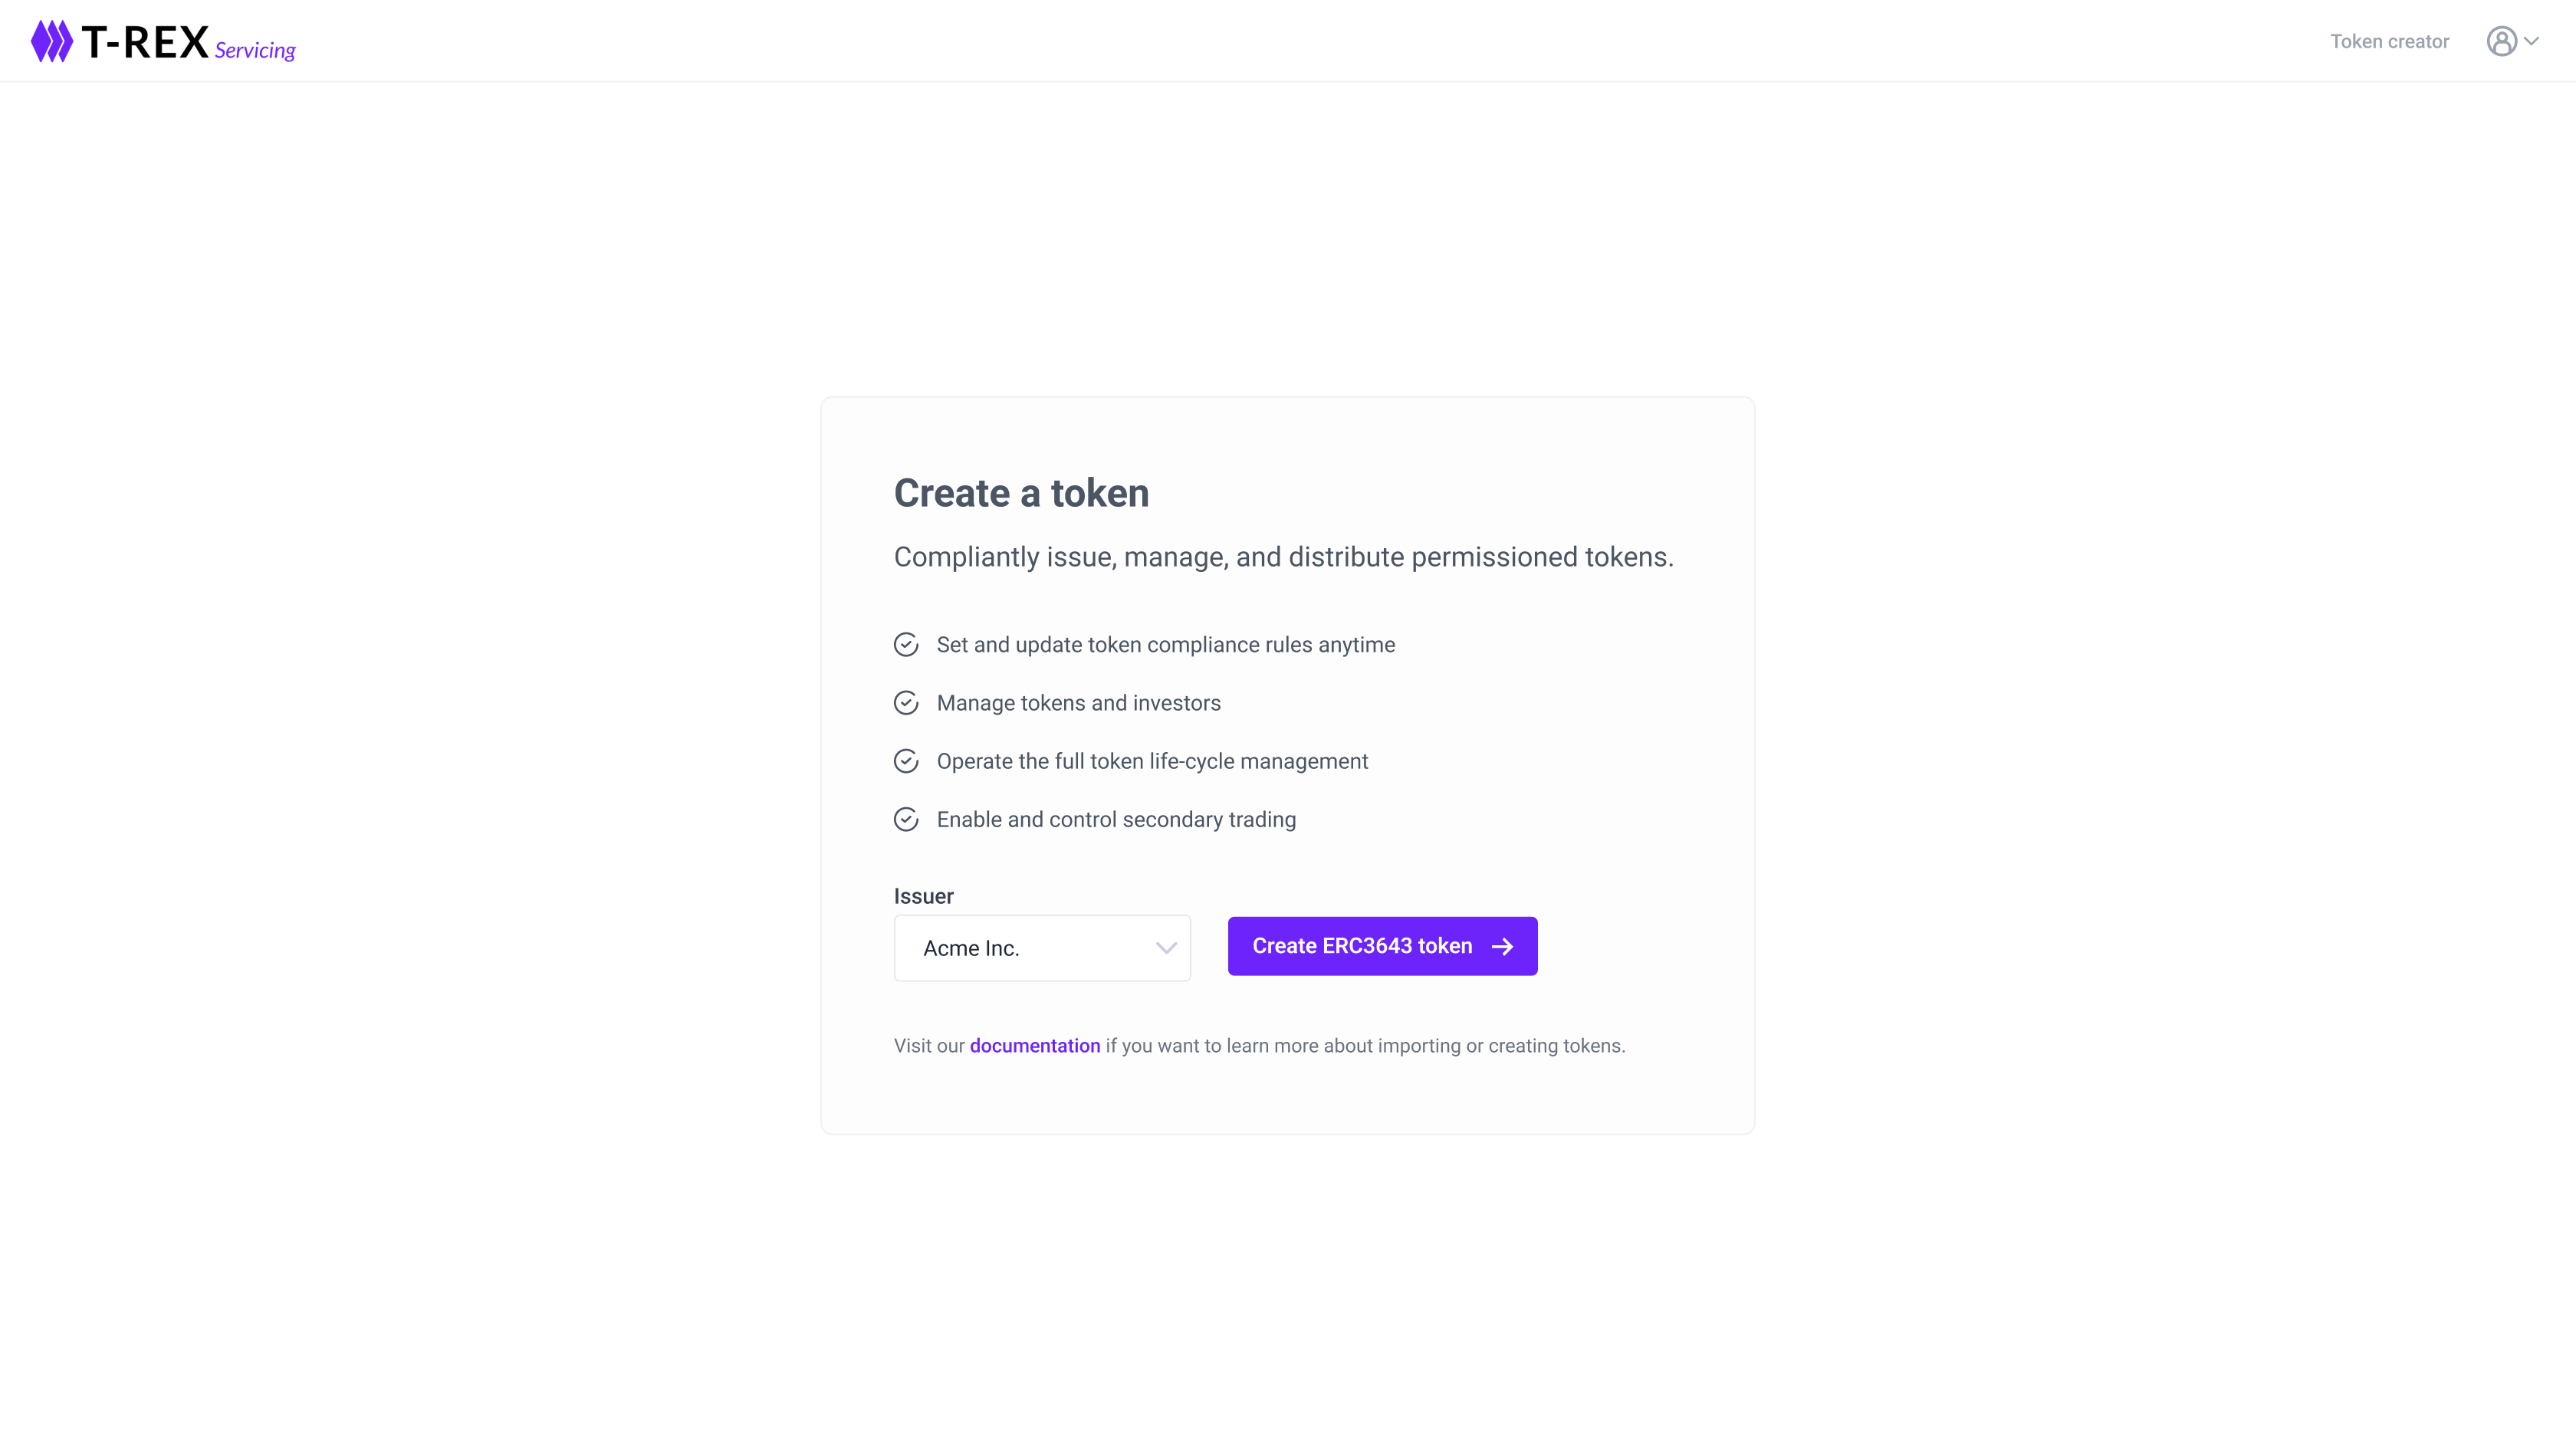
They are the ones that can create tokens for the issuer, and deploy them.
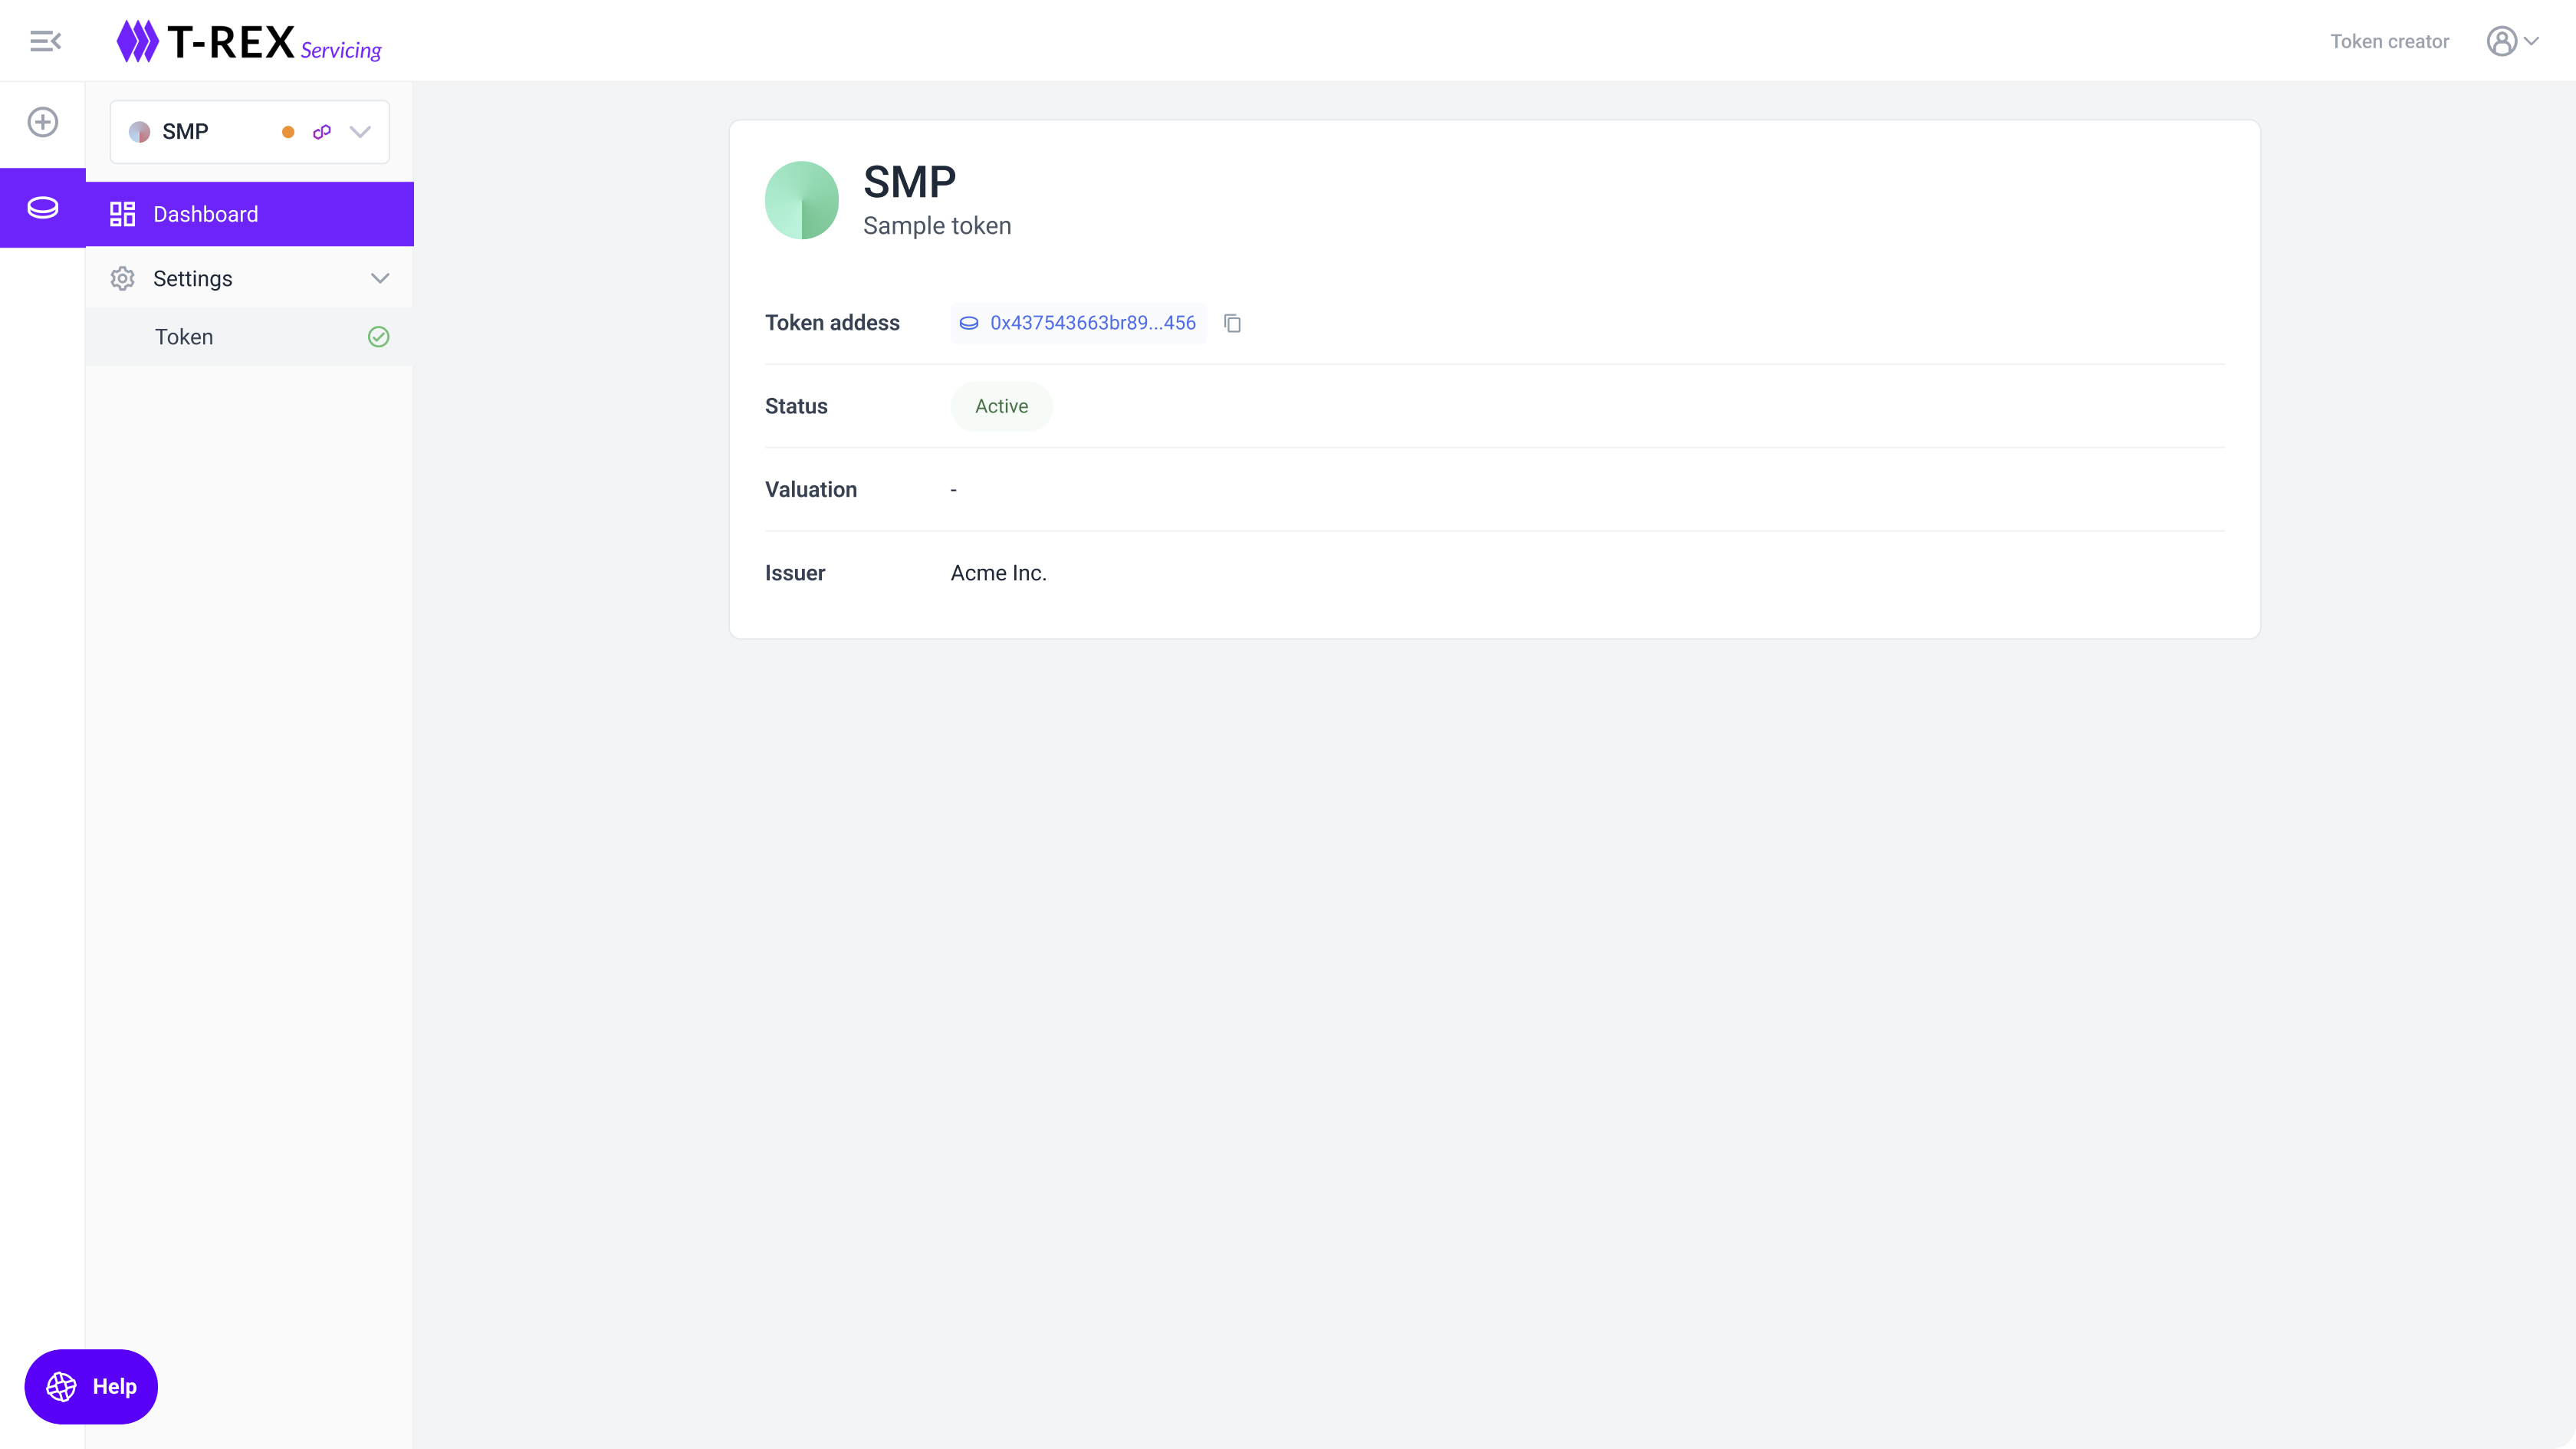
New Token - Creating and Deploying a Token: if they don't have any token, they will see the following screen.
If they already have tokens, they will go to the Token Dashboard, where they can click on create a new token:
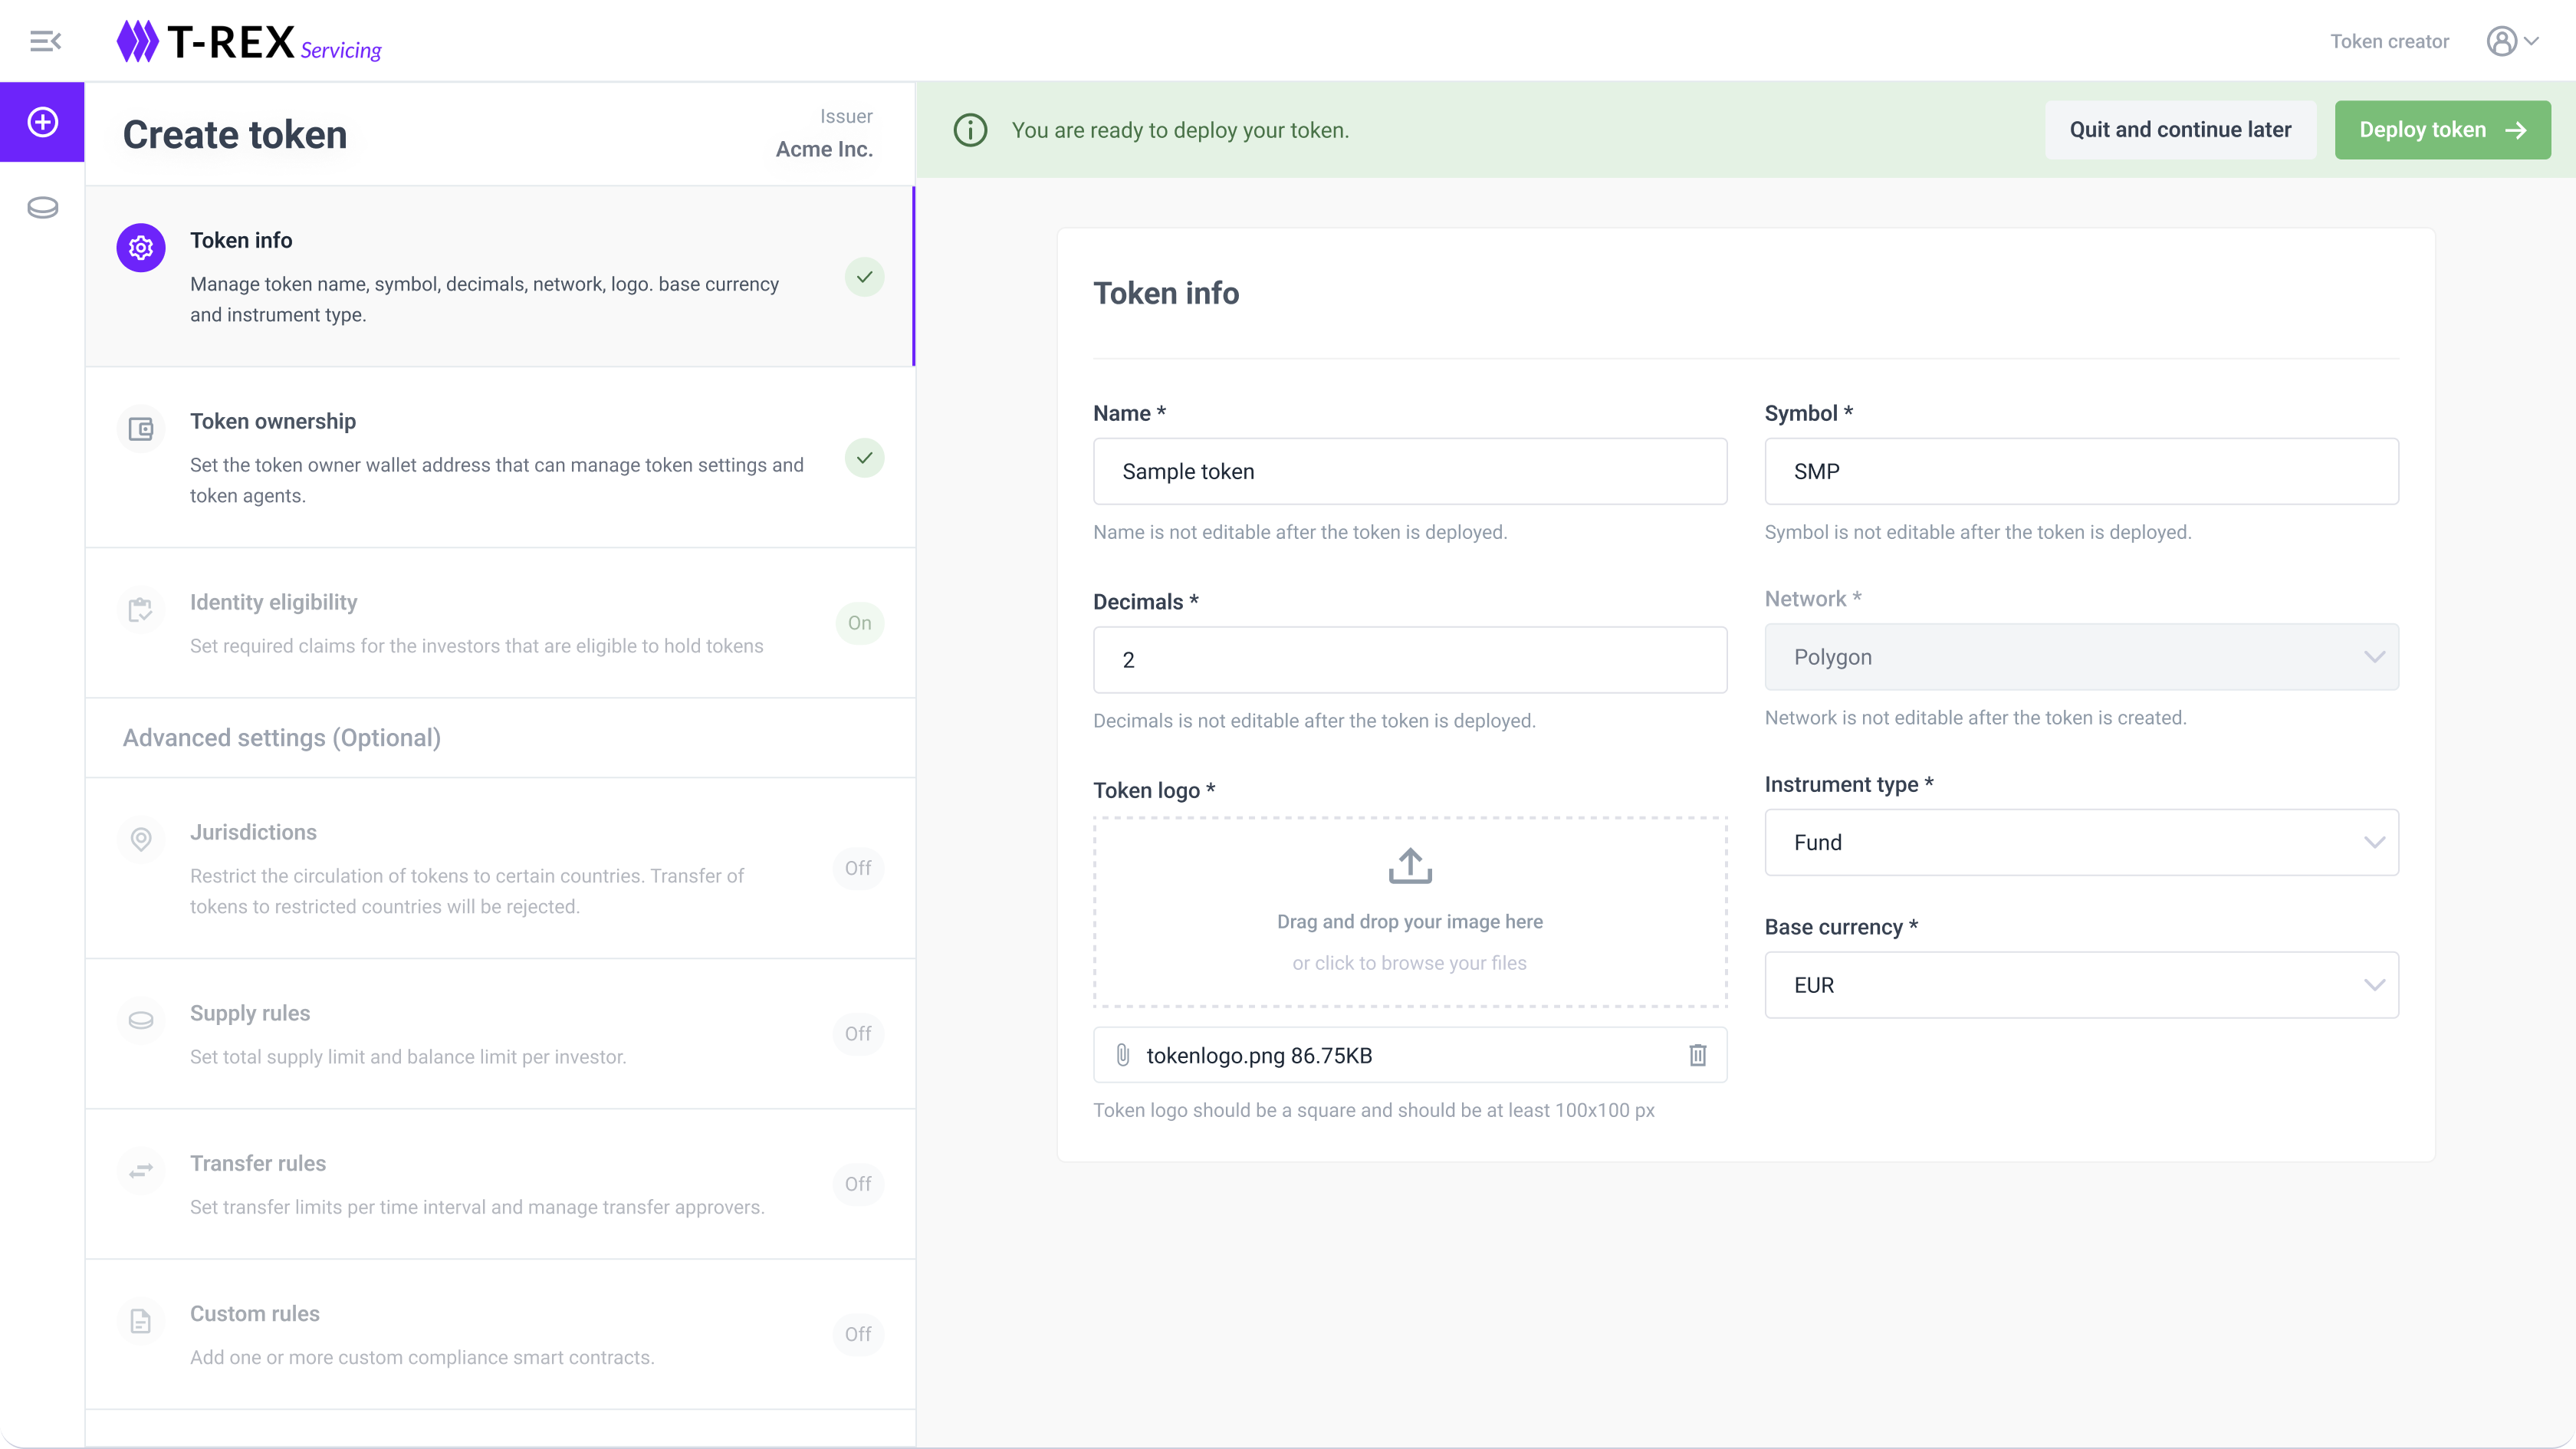
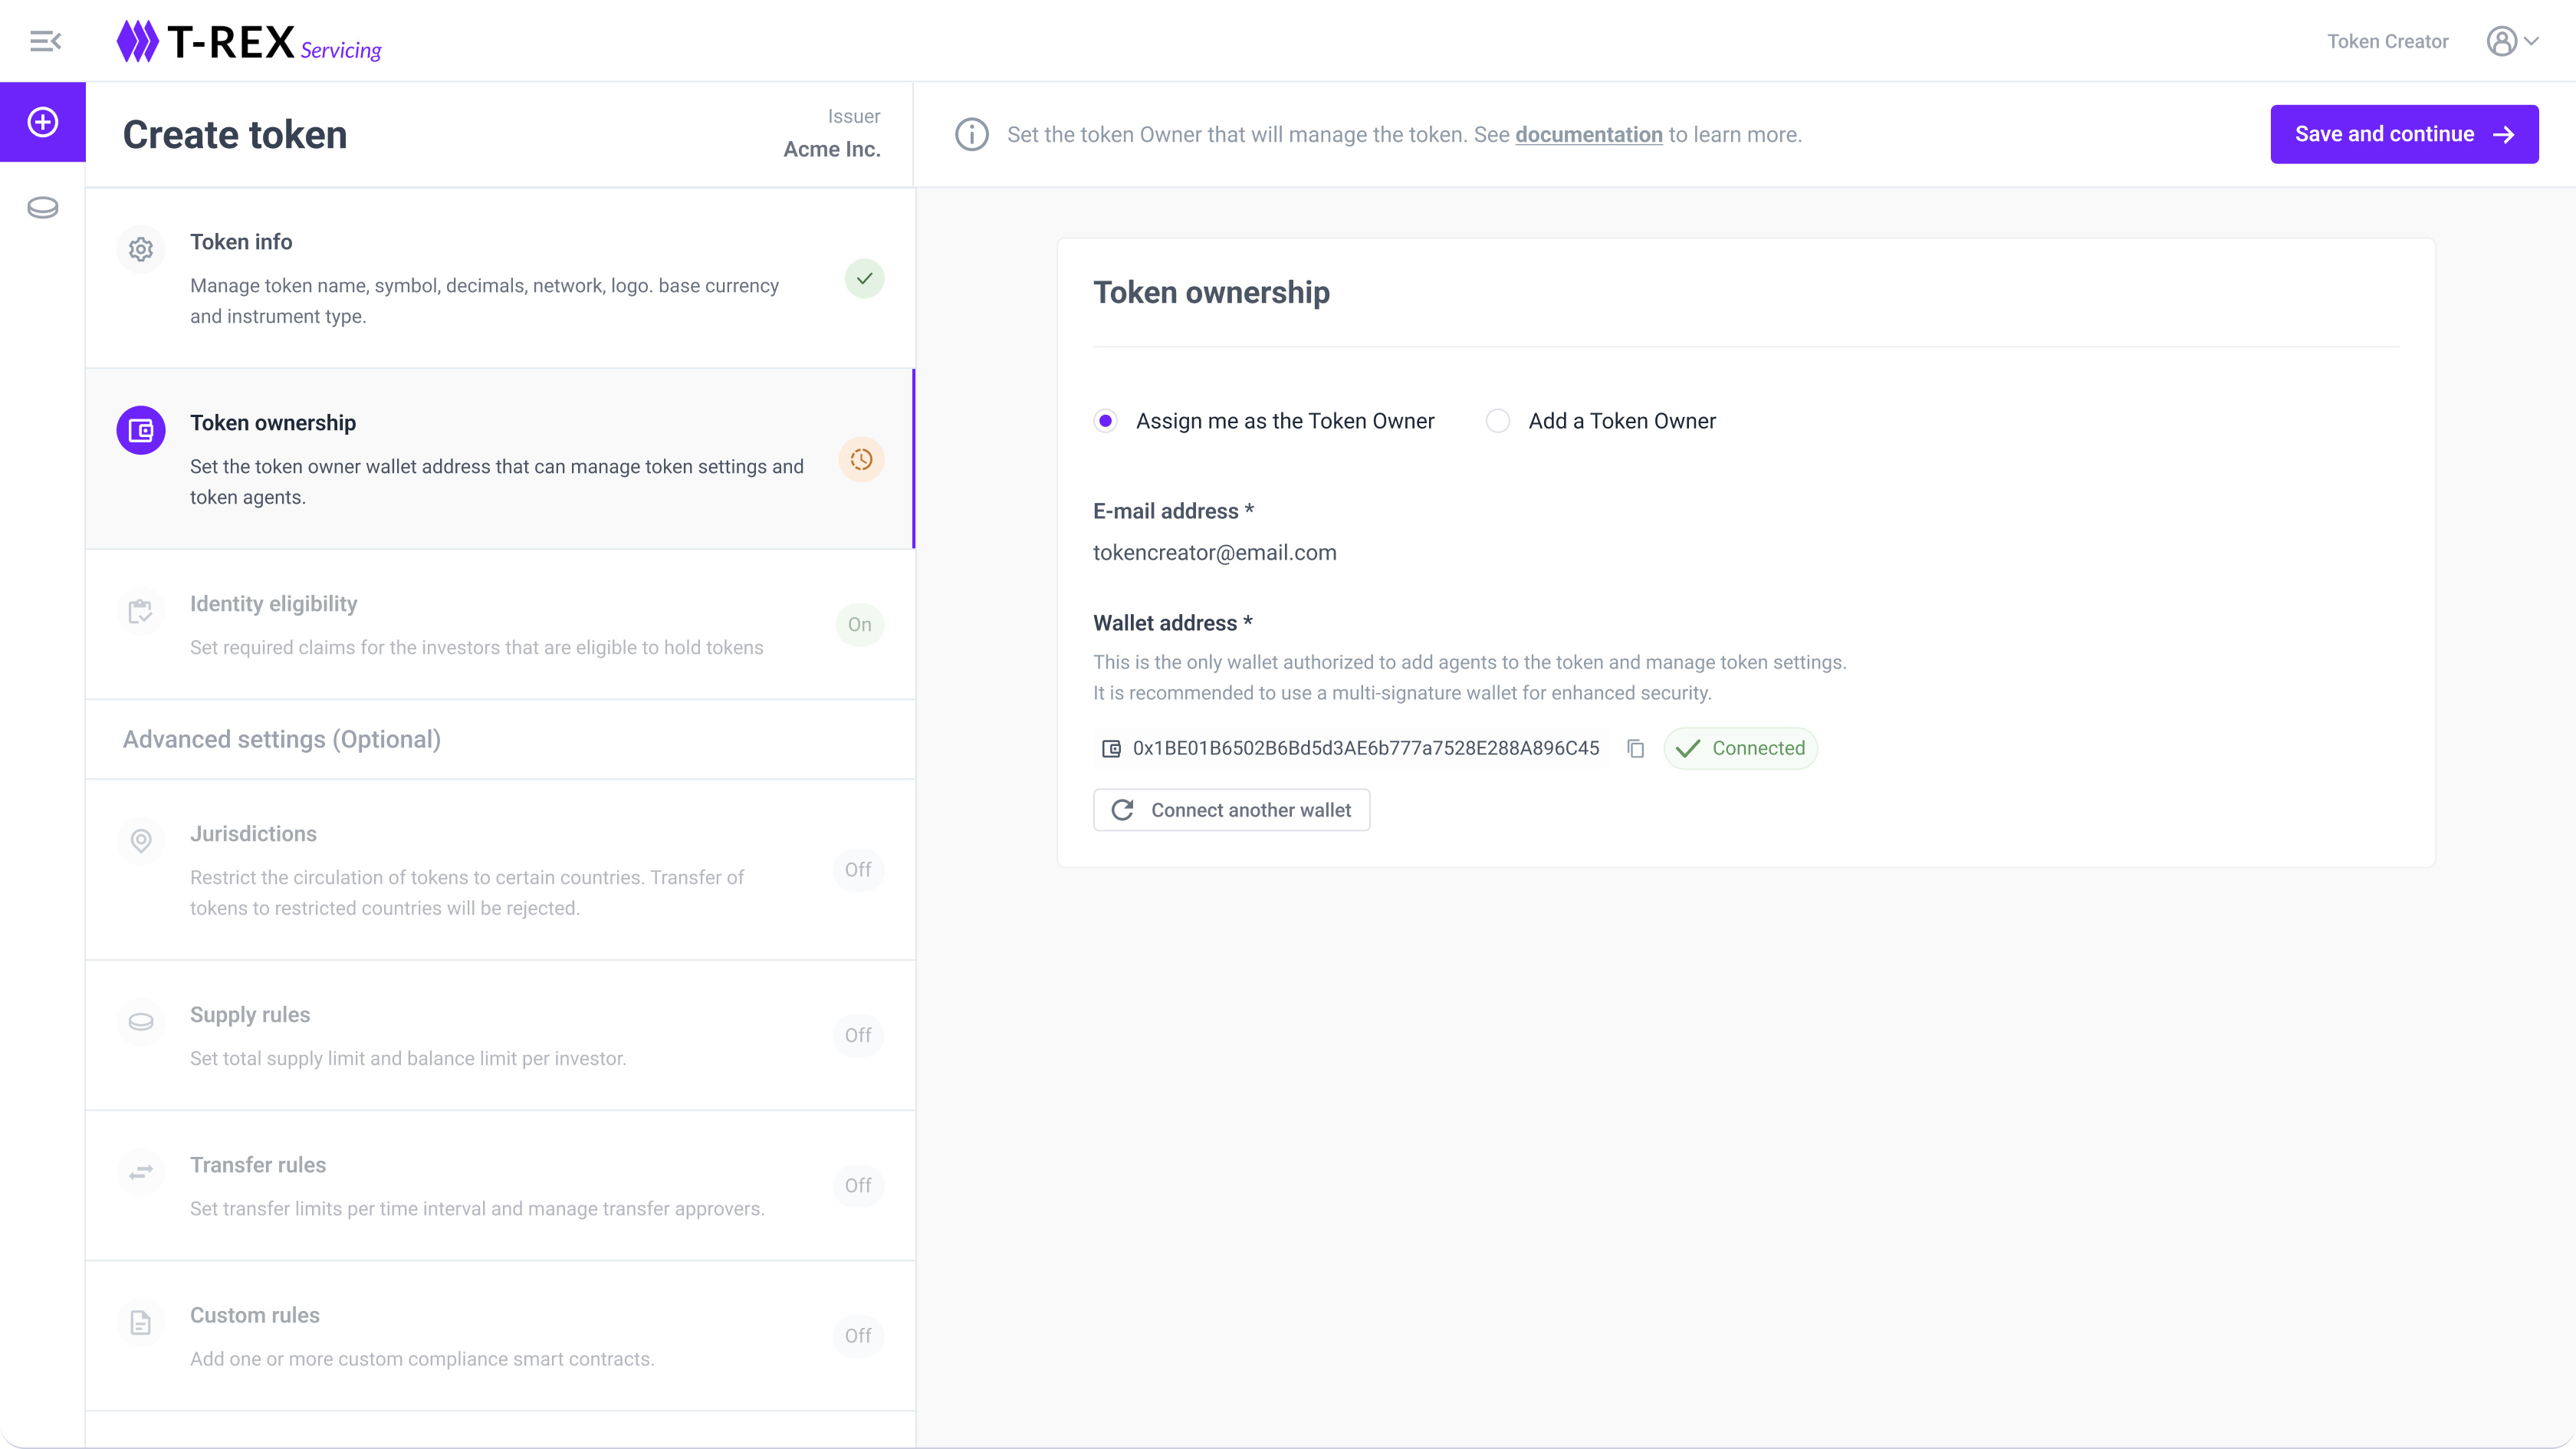
And when they create a token, they can configure Token info, define the Token ownership, Identify eligibility and advances settings, to deploy it. You can see the full configuration guide here.
They can assign themselves as owners if desired, and if they don't assign them as owners, they will only see the dashboard with general information about the token.
3 - Token Owner
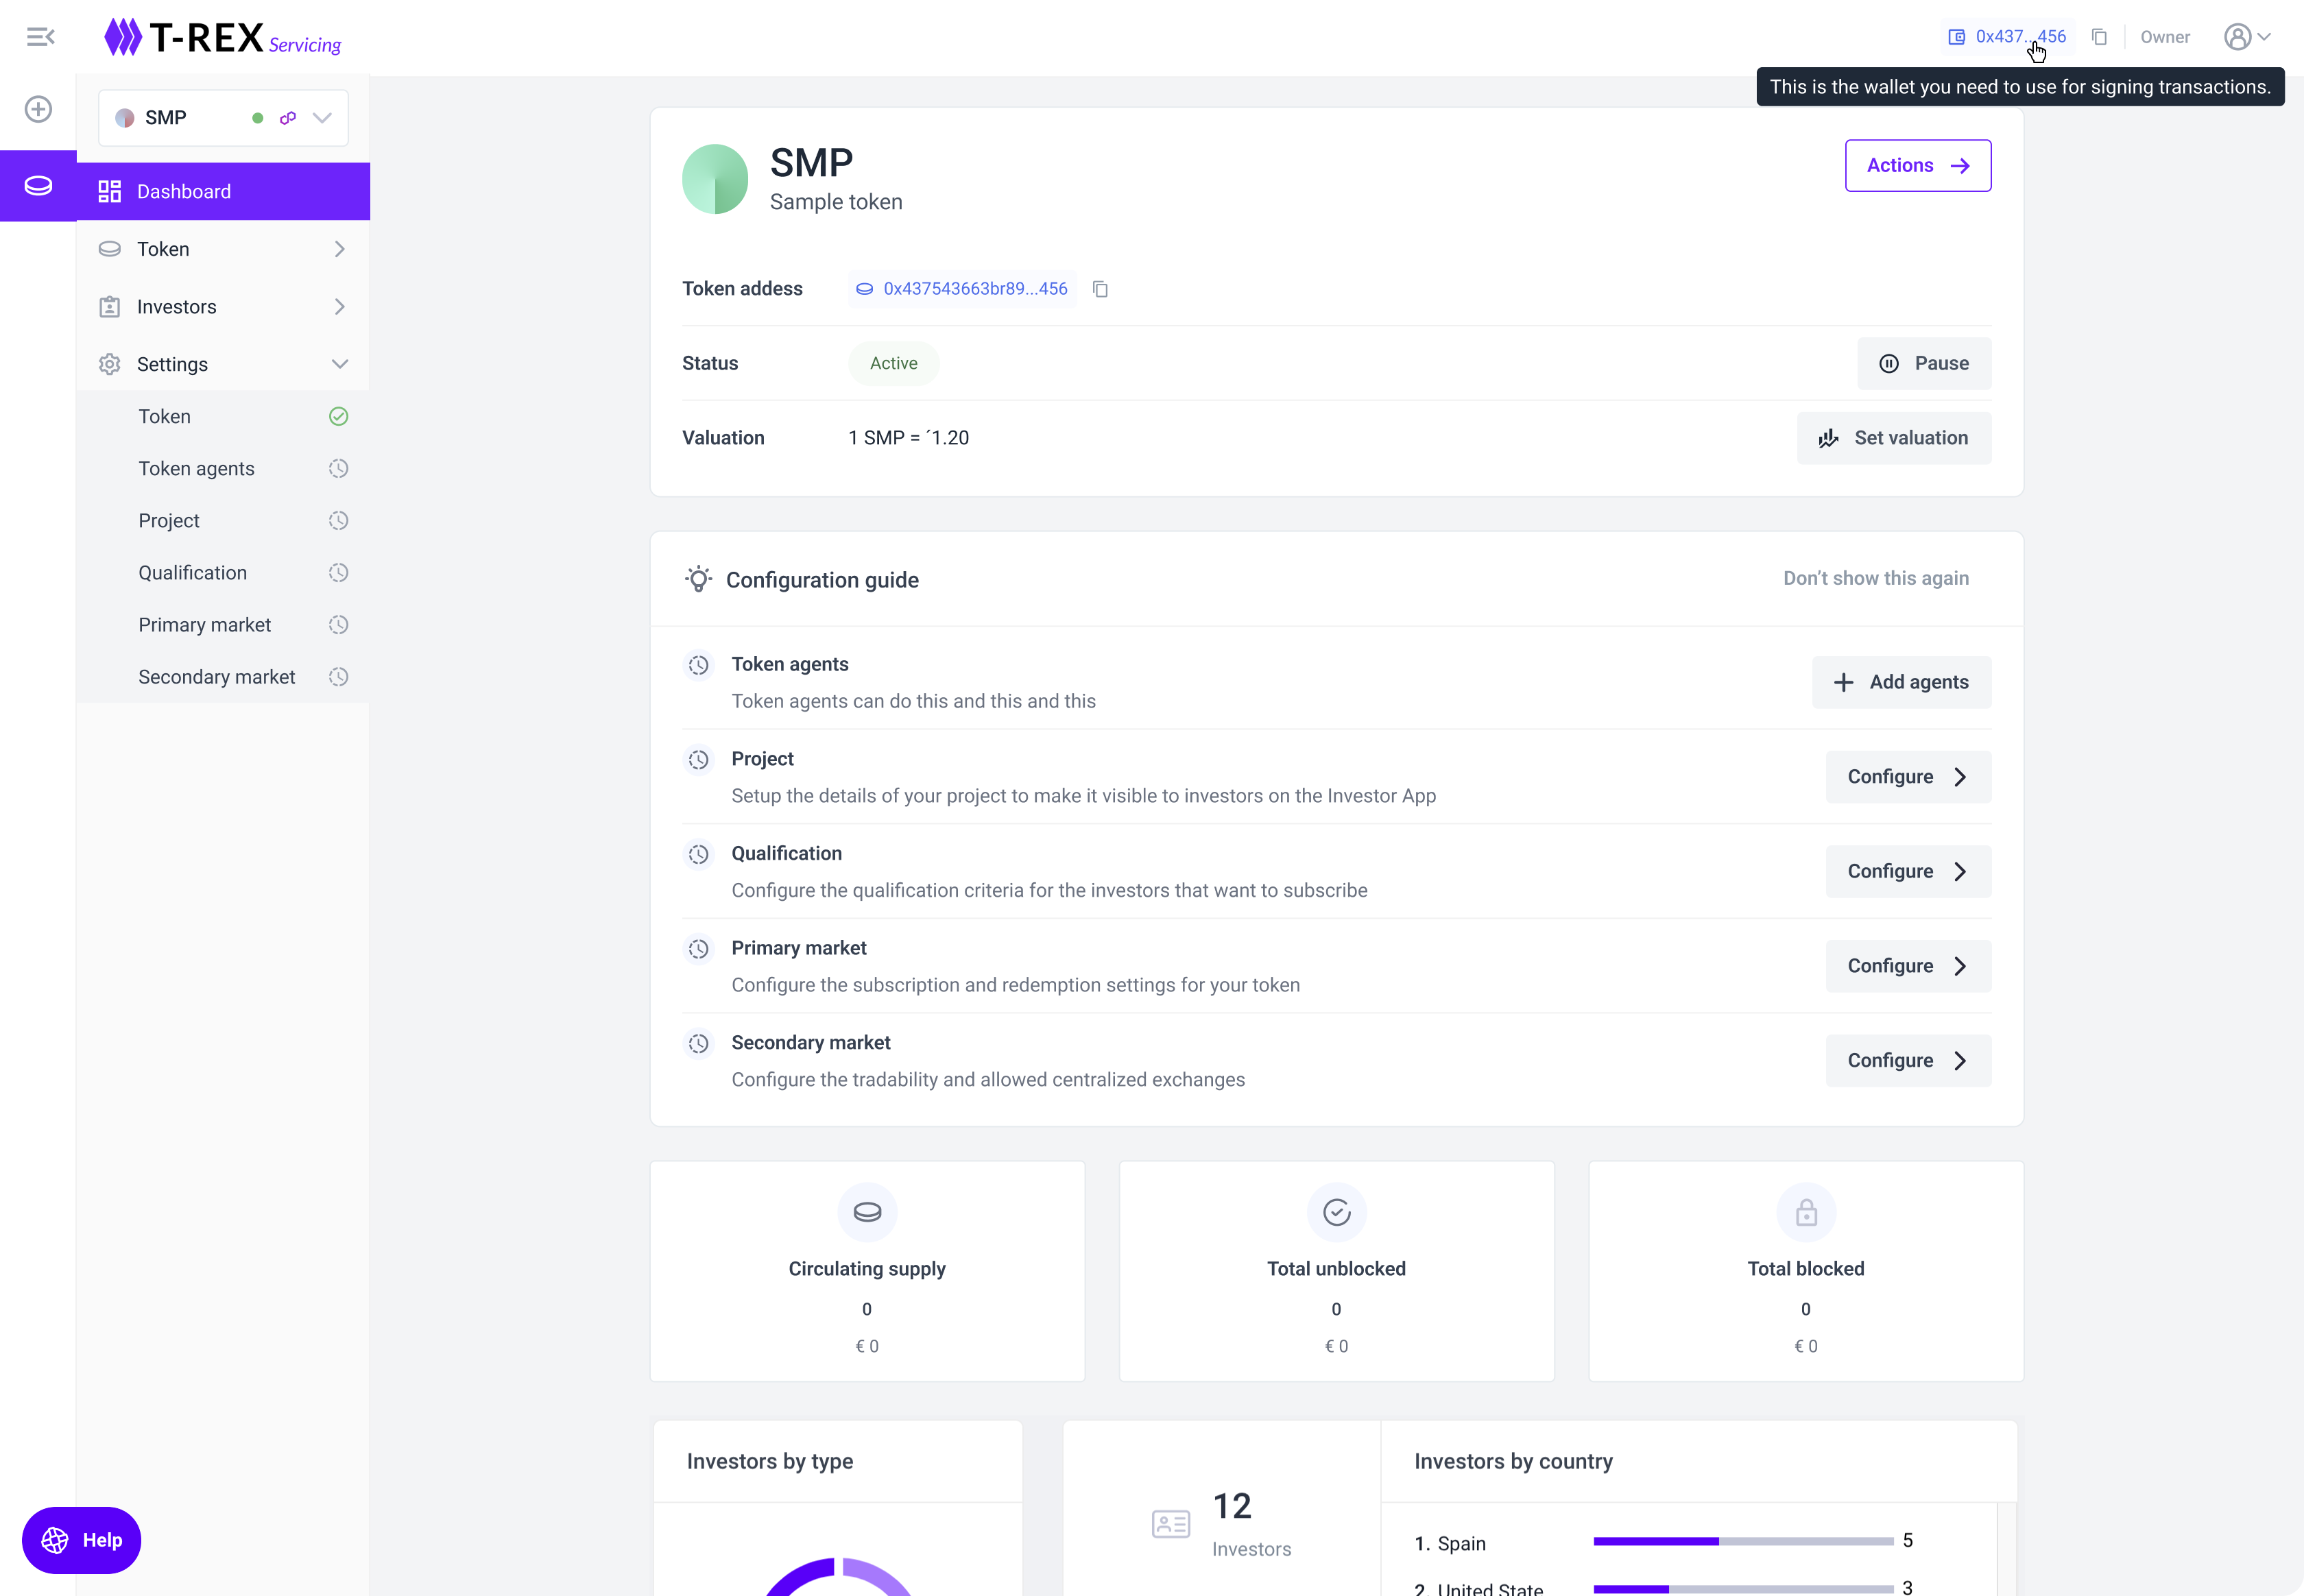
They are the ones that can update the settings for a token: token settings, add token agents, configure projects, configure qualification, configure primary and secondary markets.
Token - Dashboard: here they can see information about the tokens they created, and start configuring them if desired.
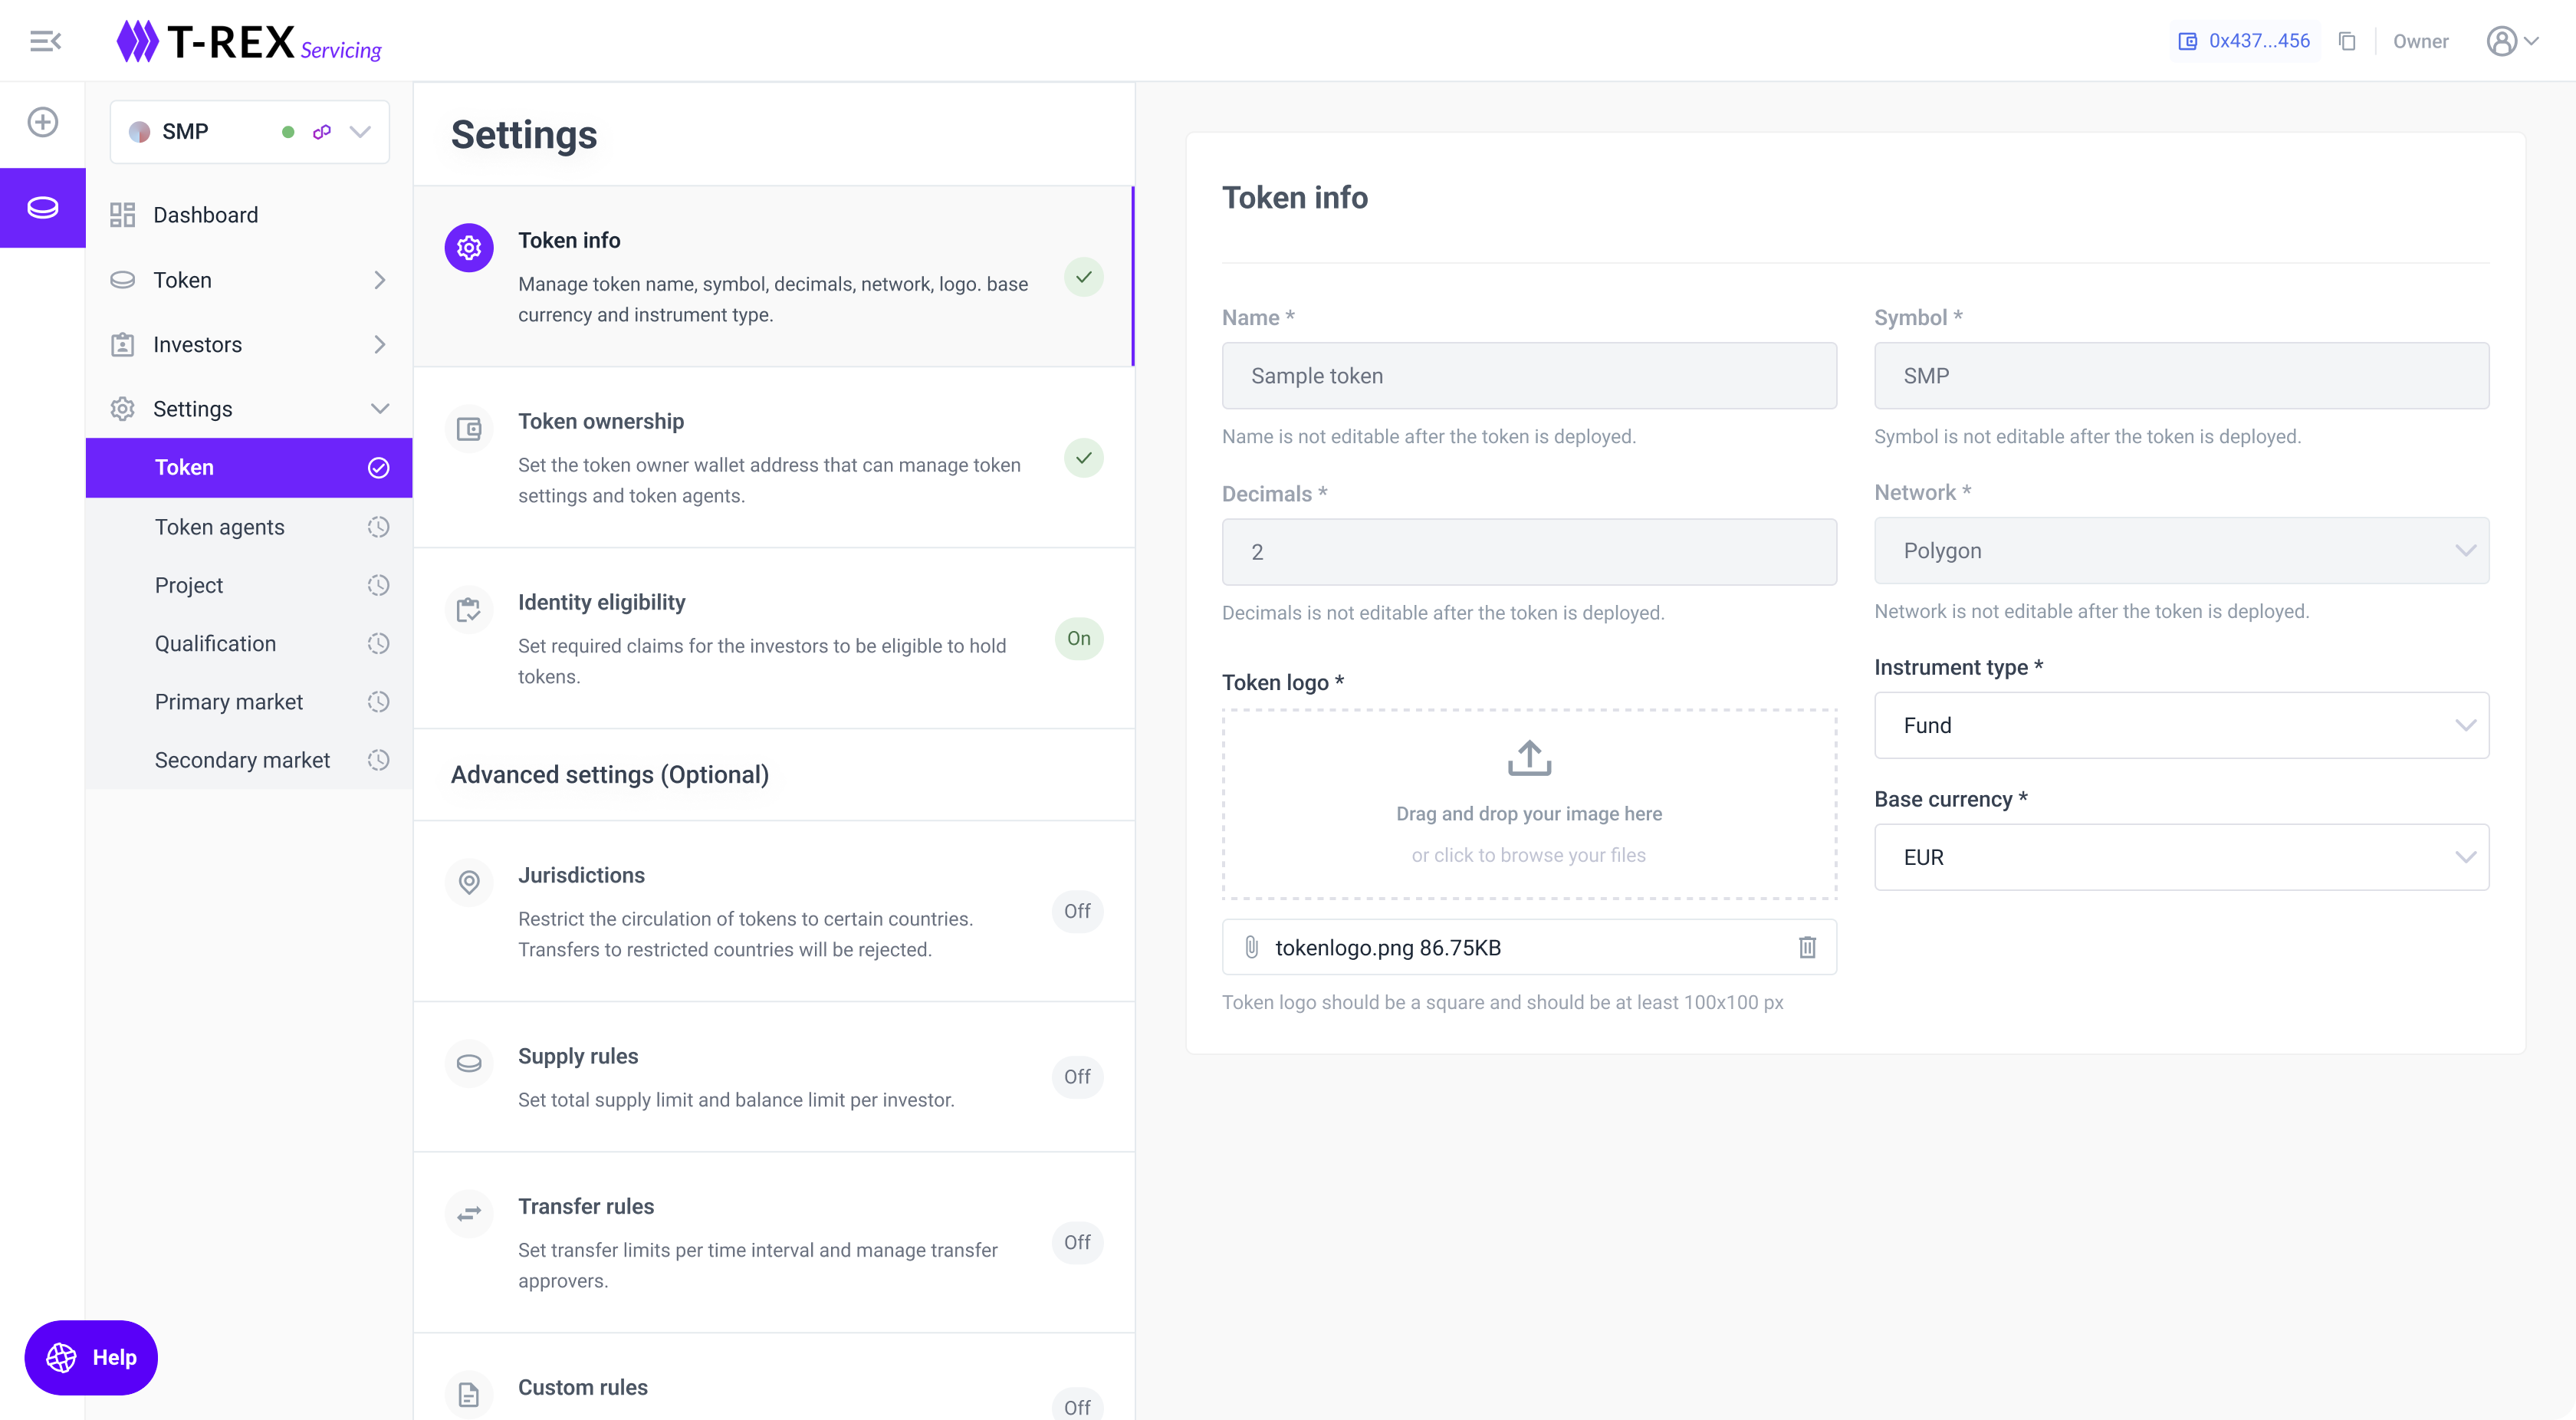
Token - Settings - Token: here they can configure all the settings for the token, including Token info, Token ownership, Identity eligibility, and Advanced settings, such us Jurisdictions, Supply rules, Transfer rules, and other Custom rules.
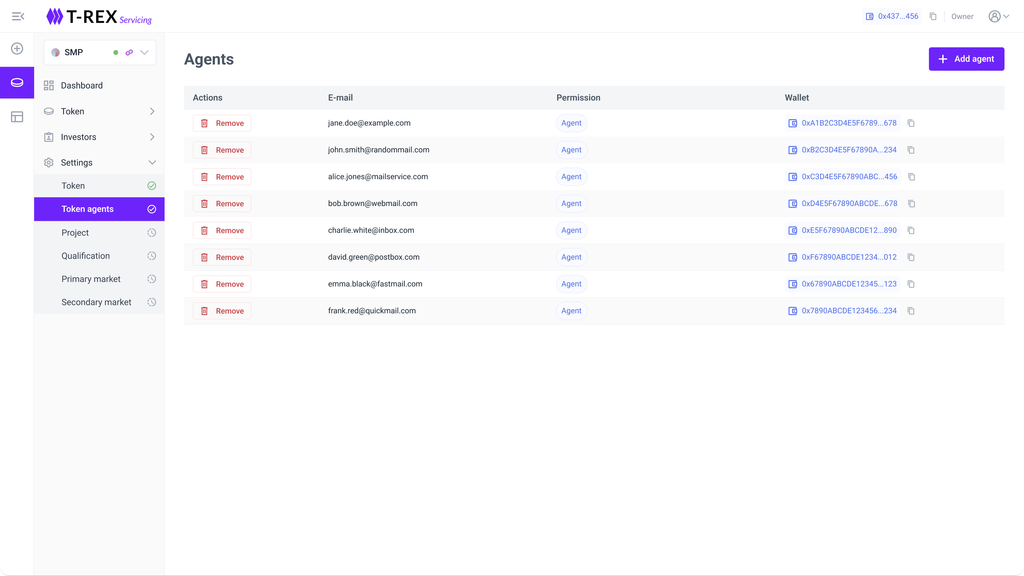
Token - Settings - Token agents: here they can add new agents or modify existing ones. They can also assign themselves as agents if needed.
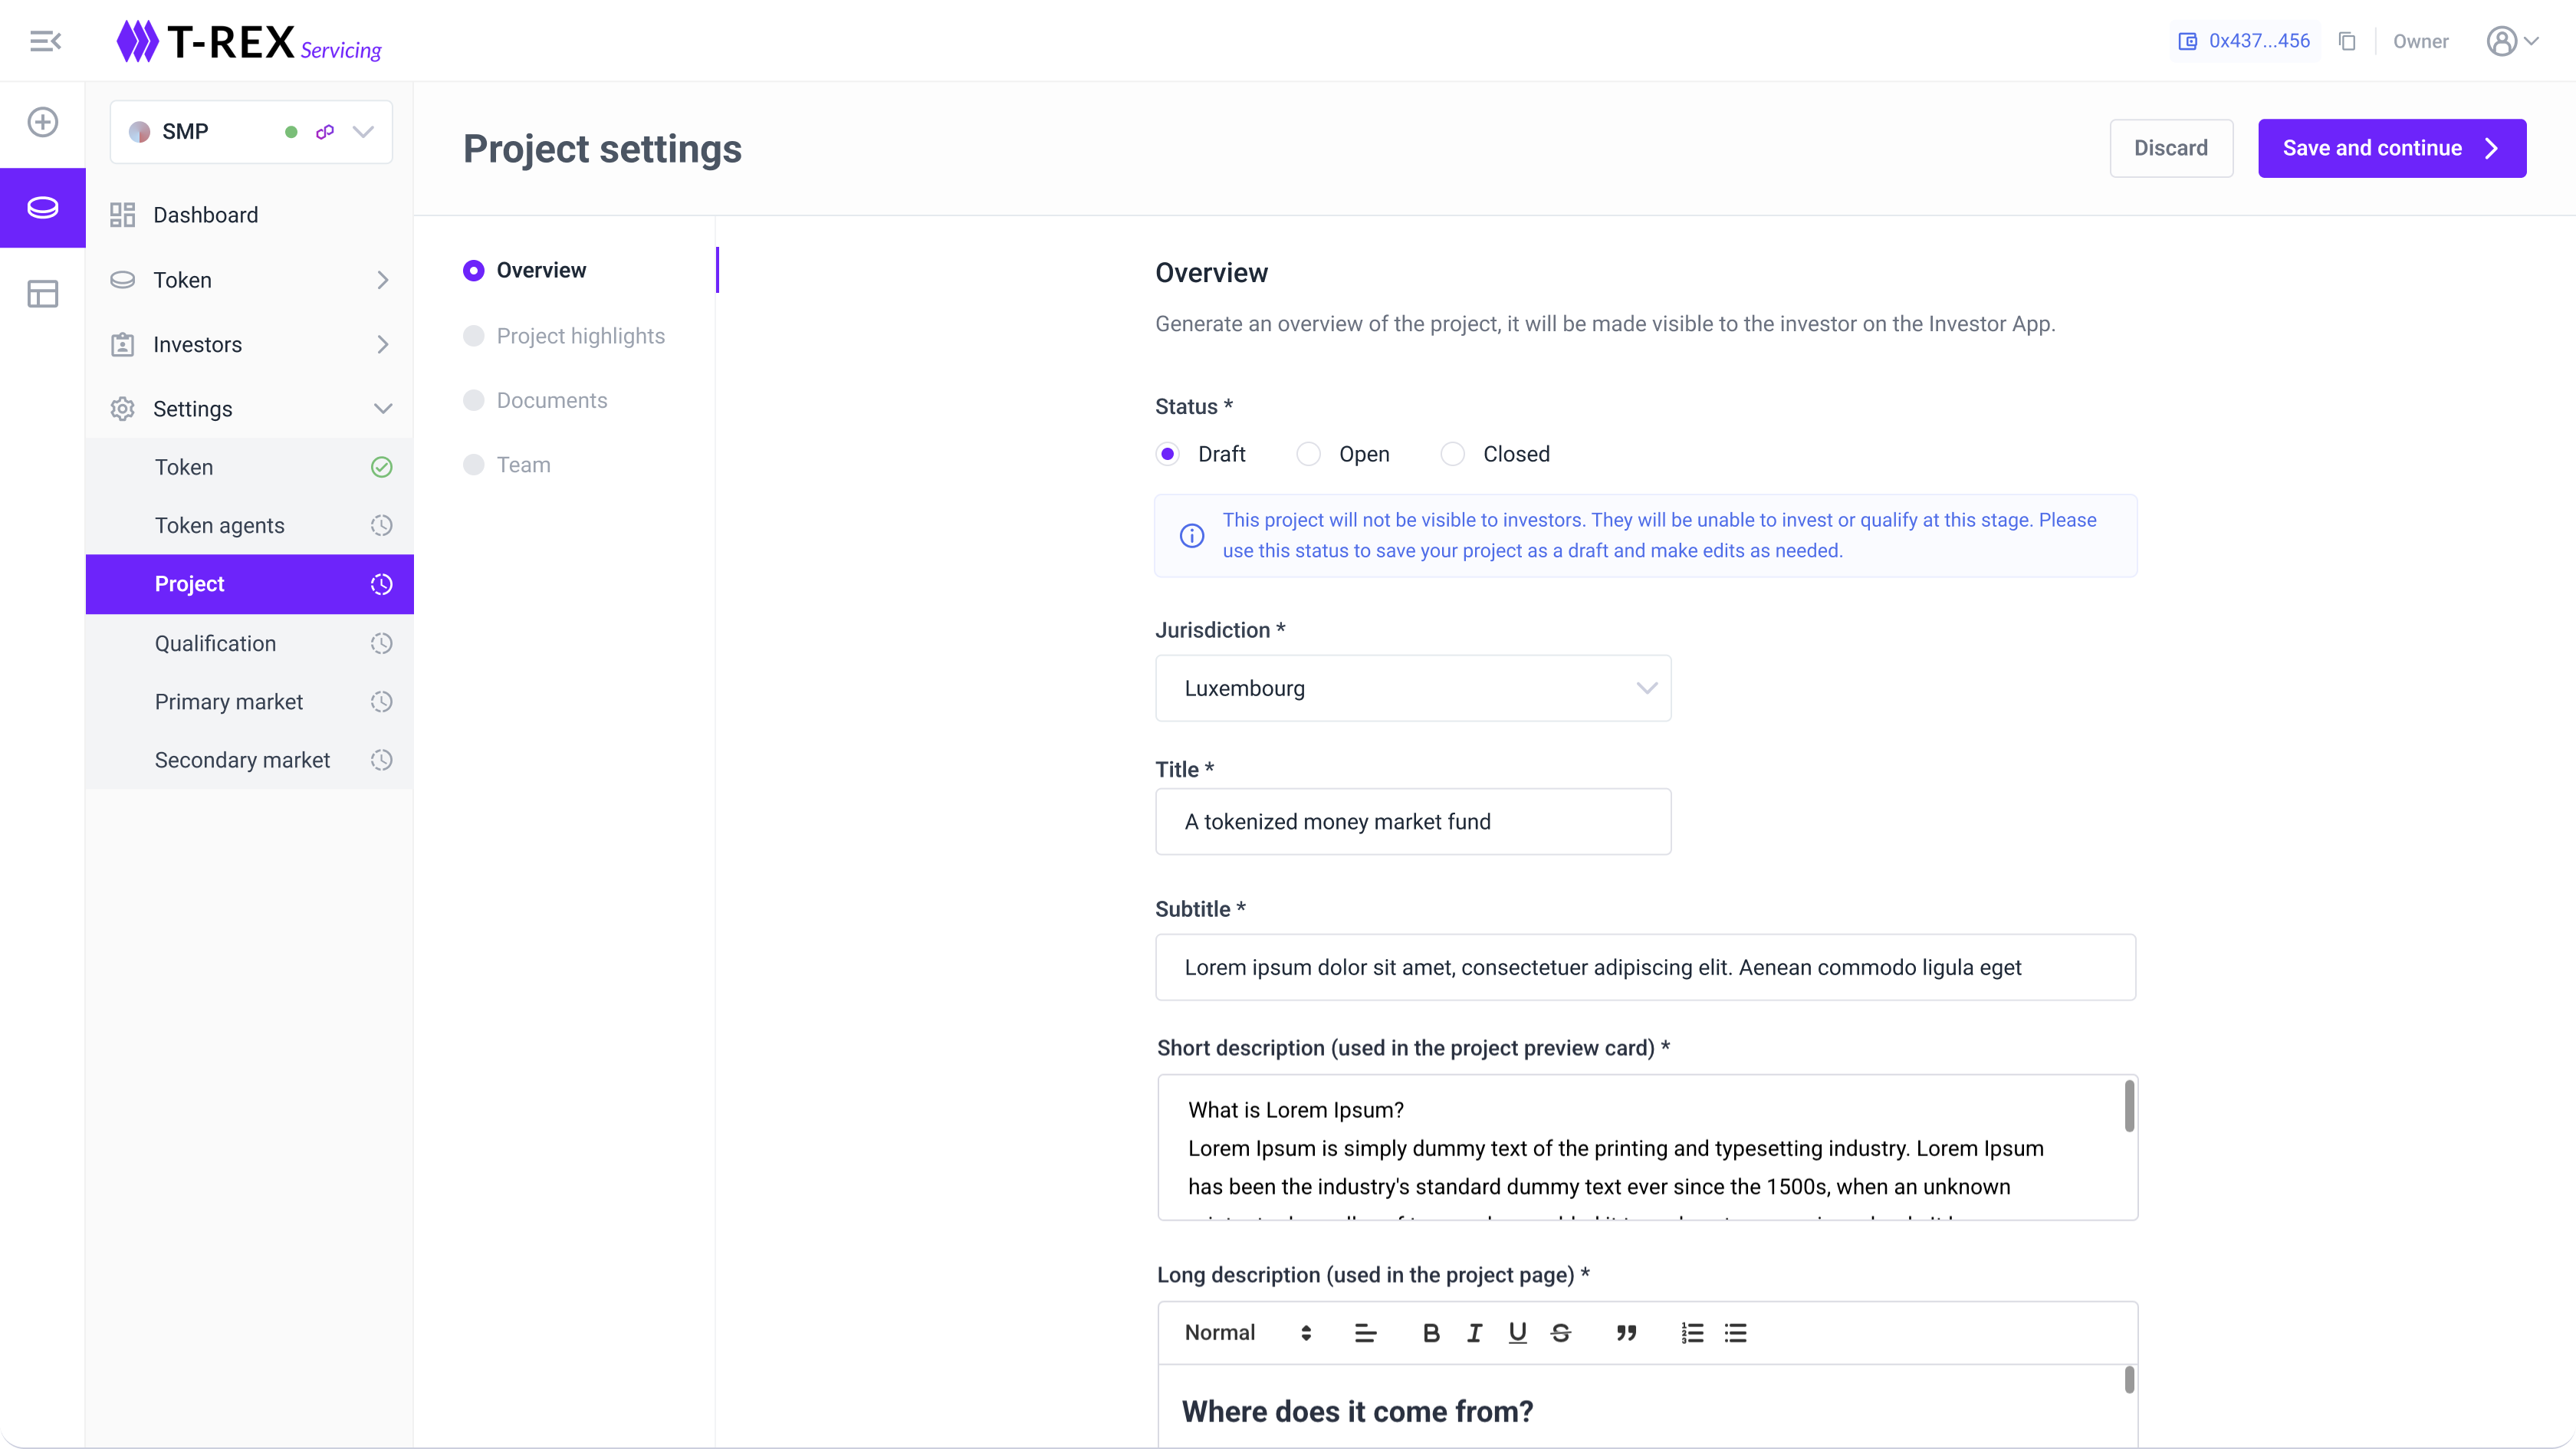
Token - Settings - Project: here they can configure everything related to the project settings.
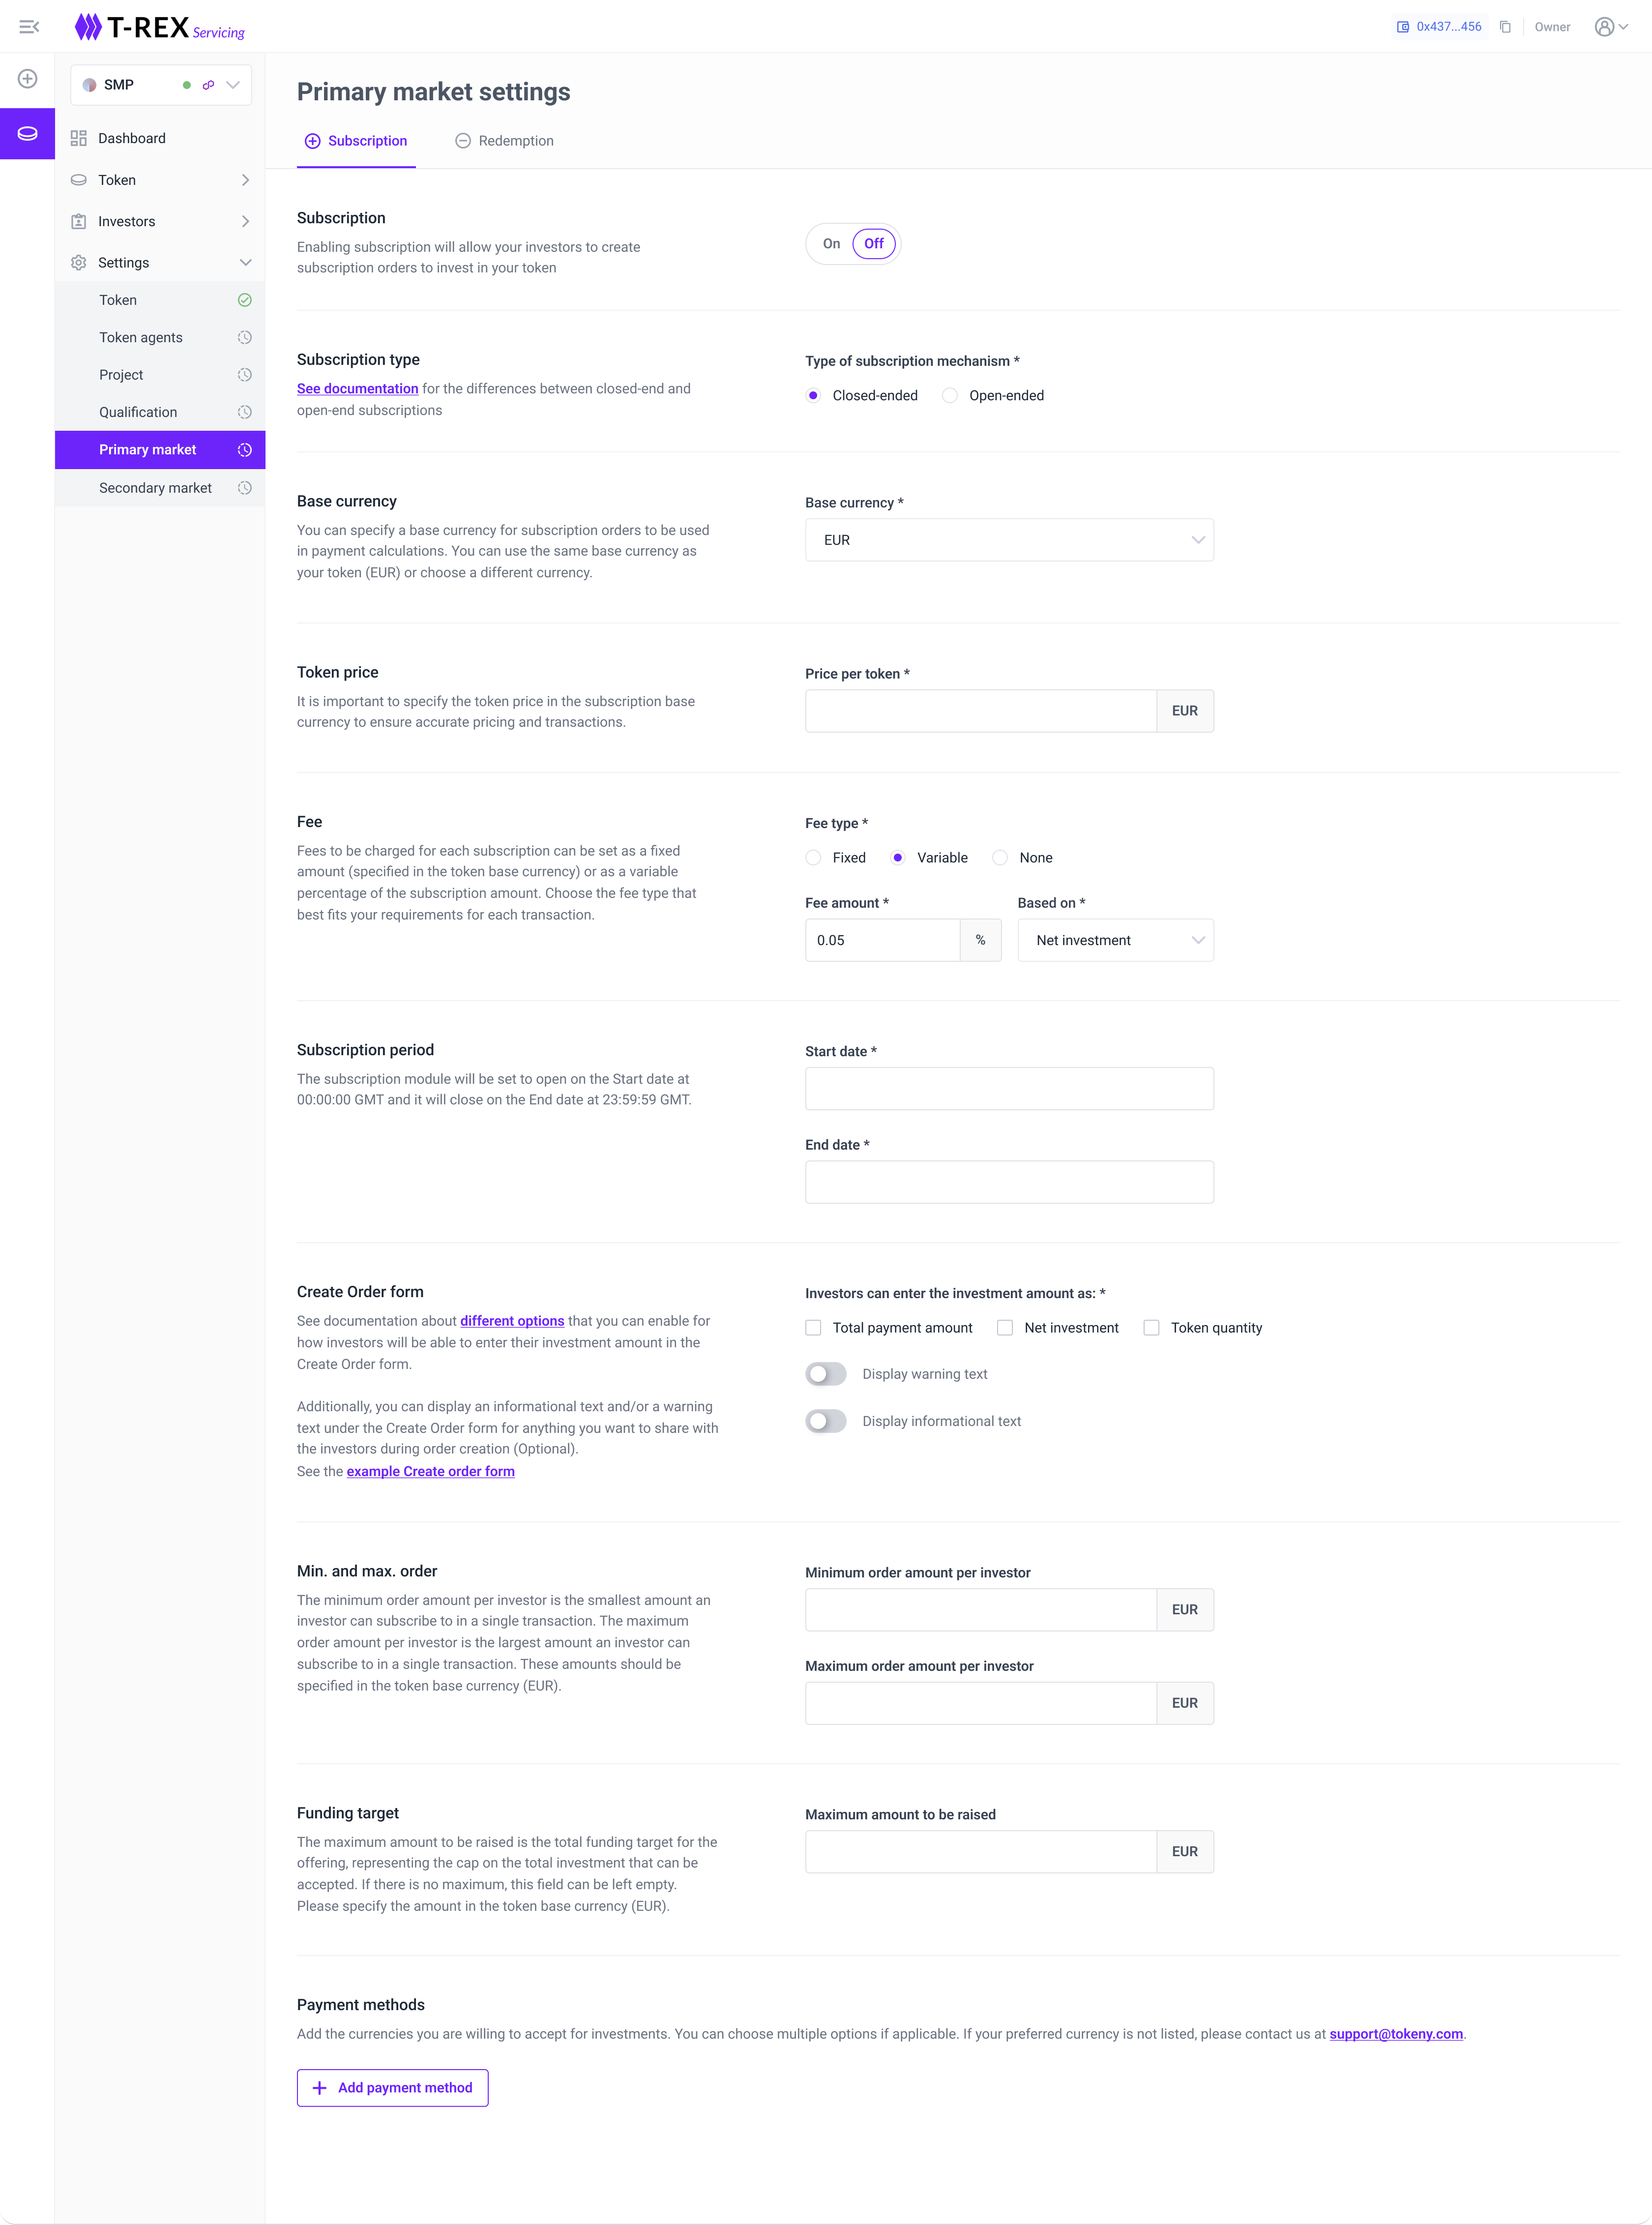
Token - Settings - Primary Market: here they can configure everything related to your primary market settings.
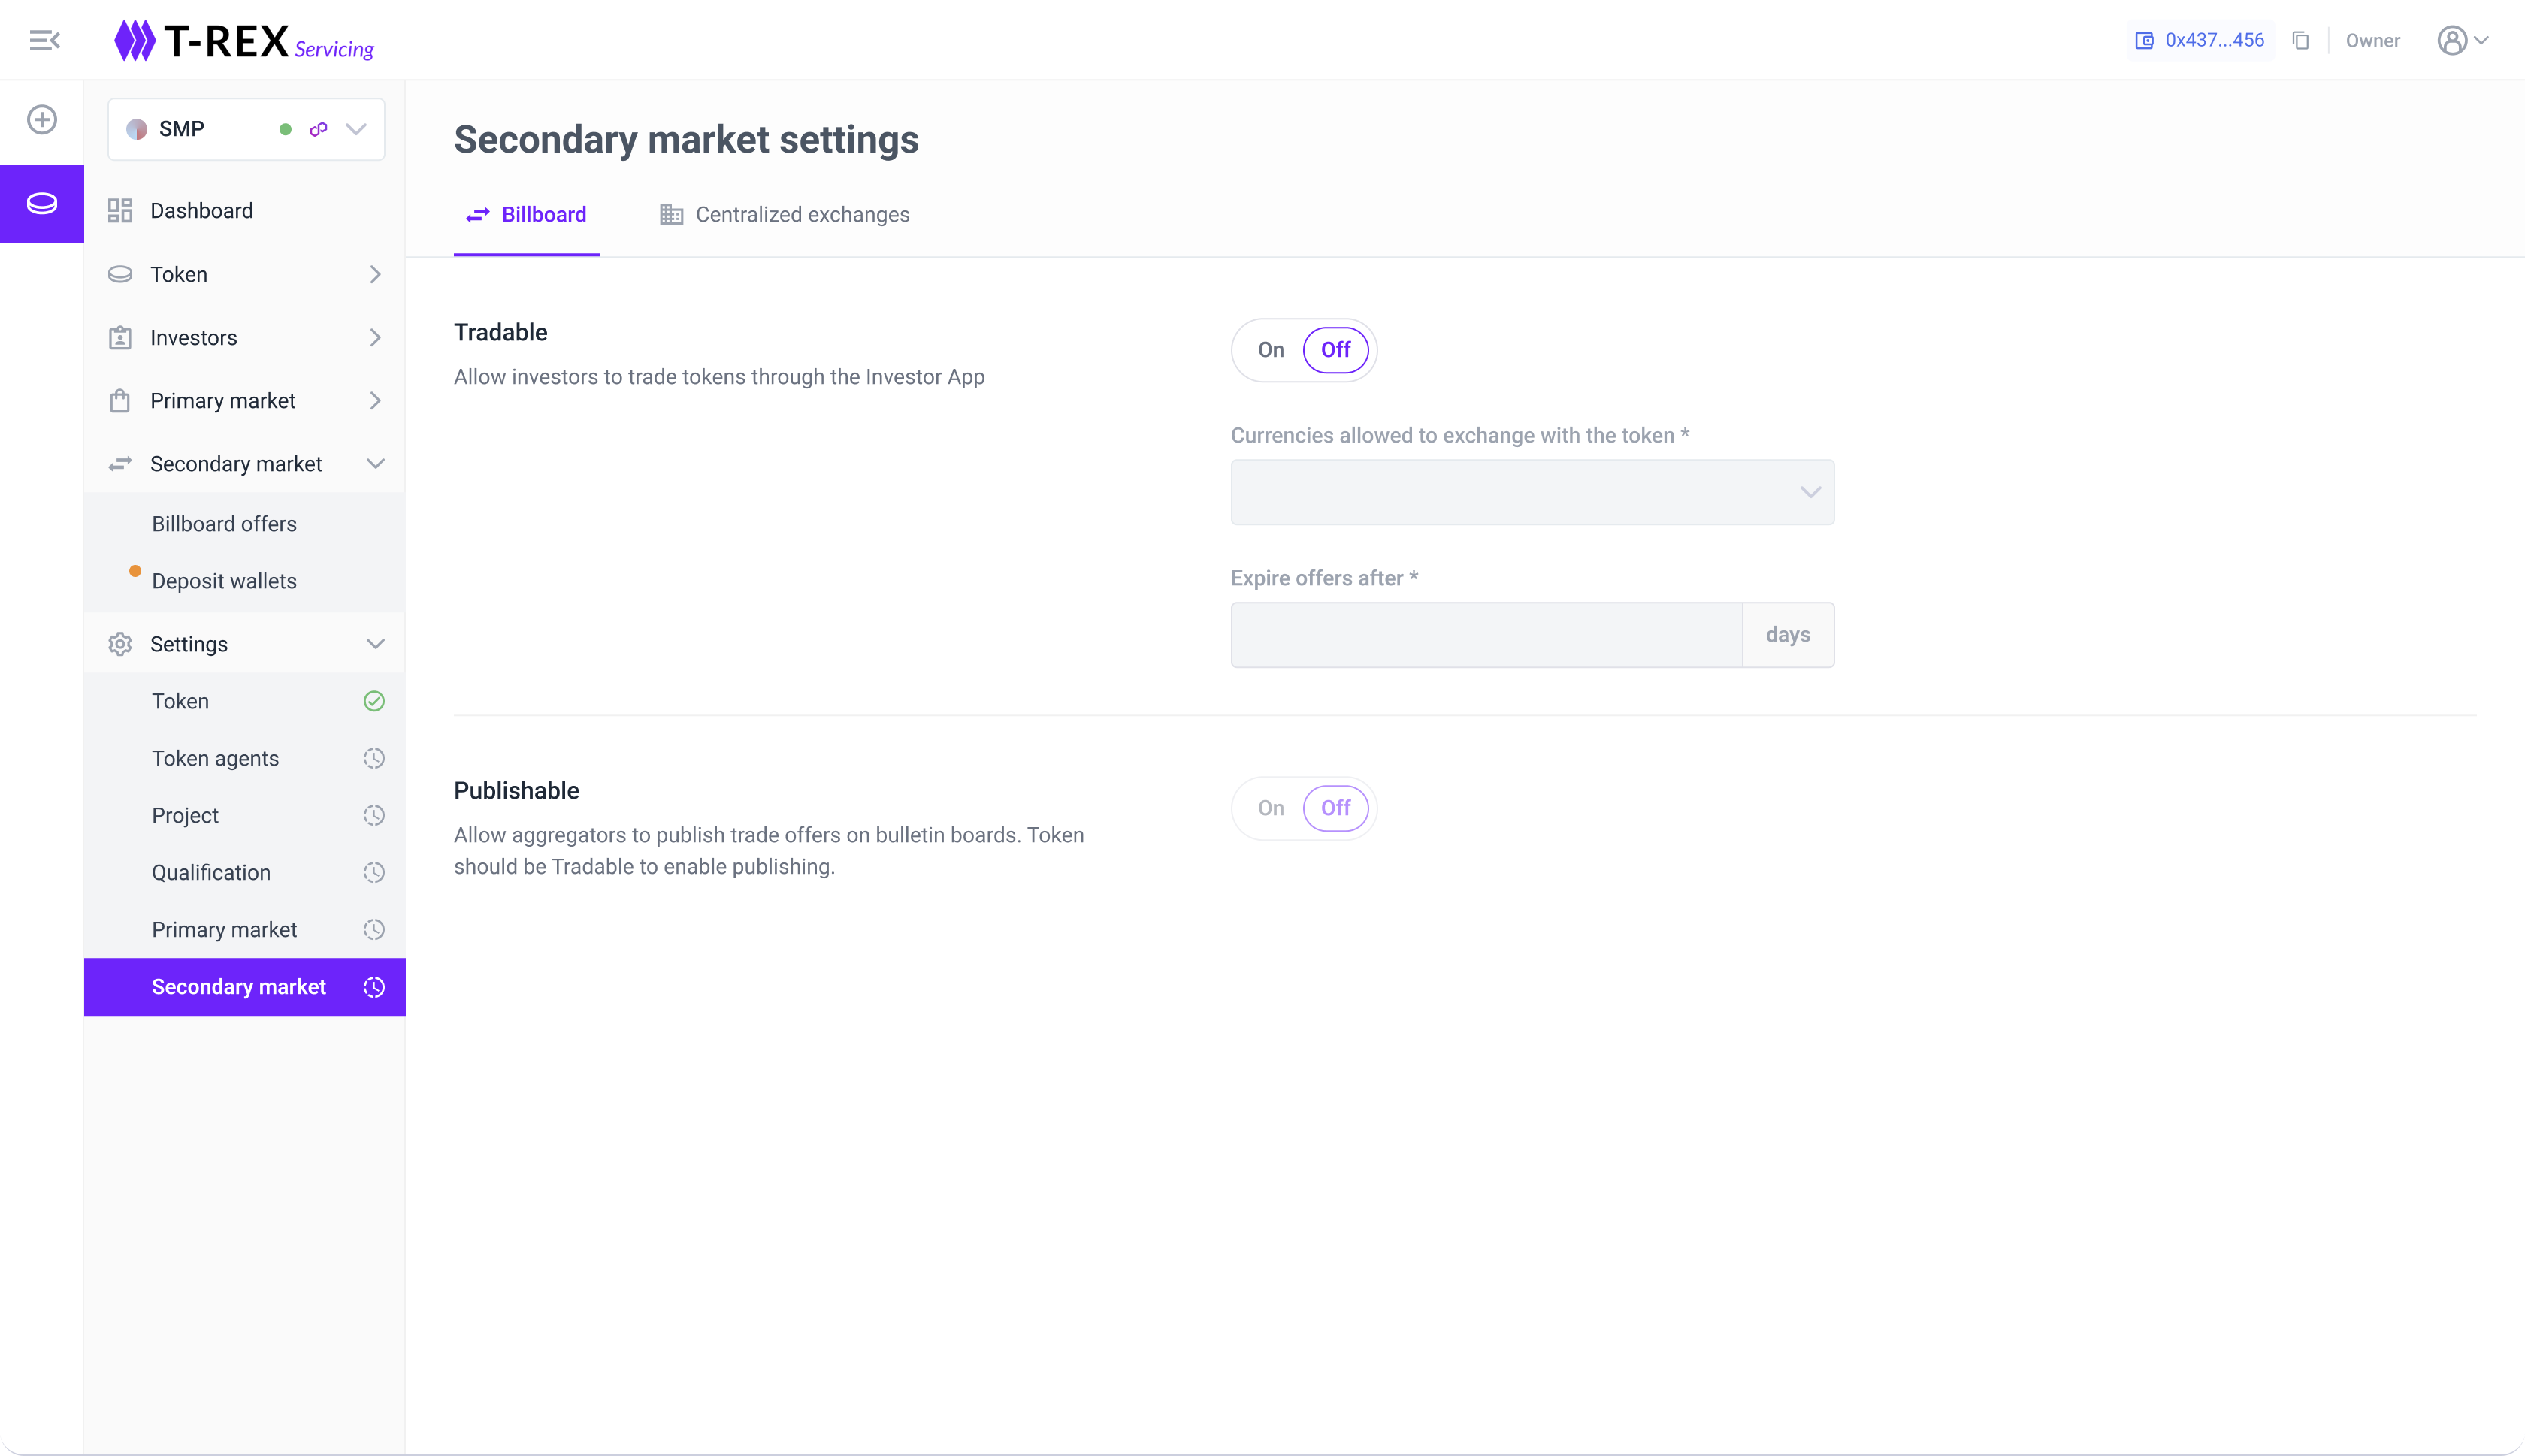
Token - Settings - Secondary Market: here they can configure everything related to your secondary market settings.
4 - Token Agent
They are the ones can can perform all actions. The won't see the token settings in the menu.